Test Box
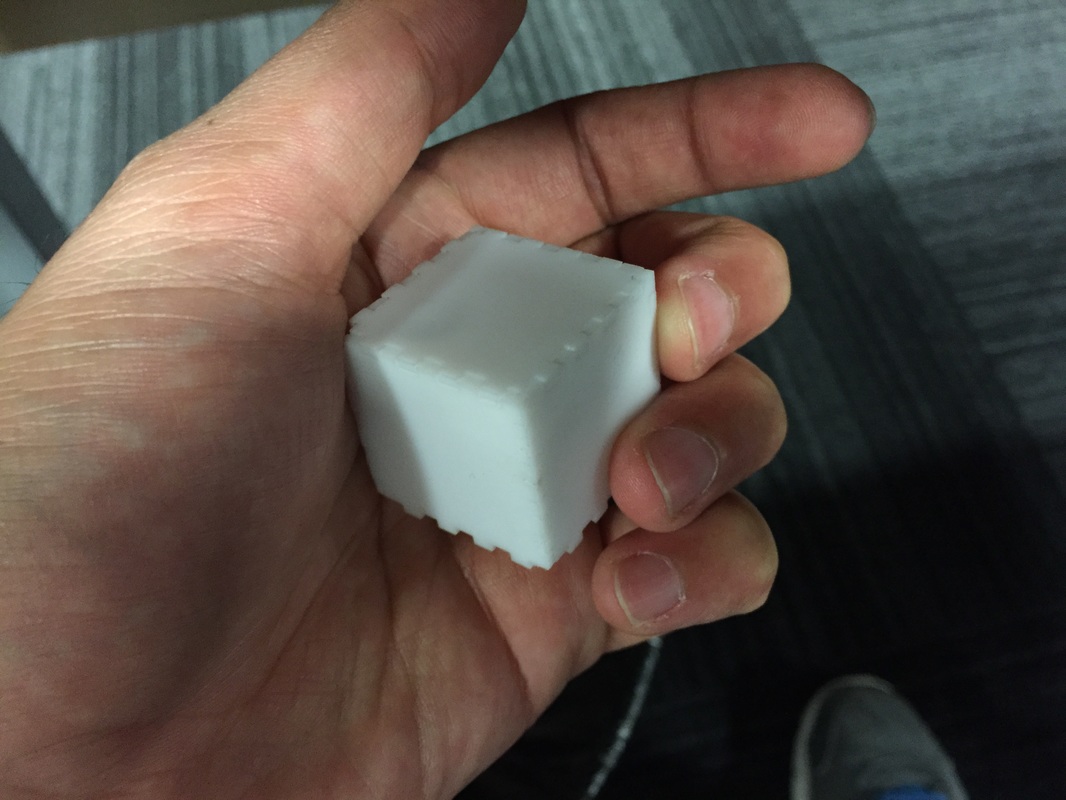
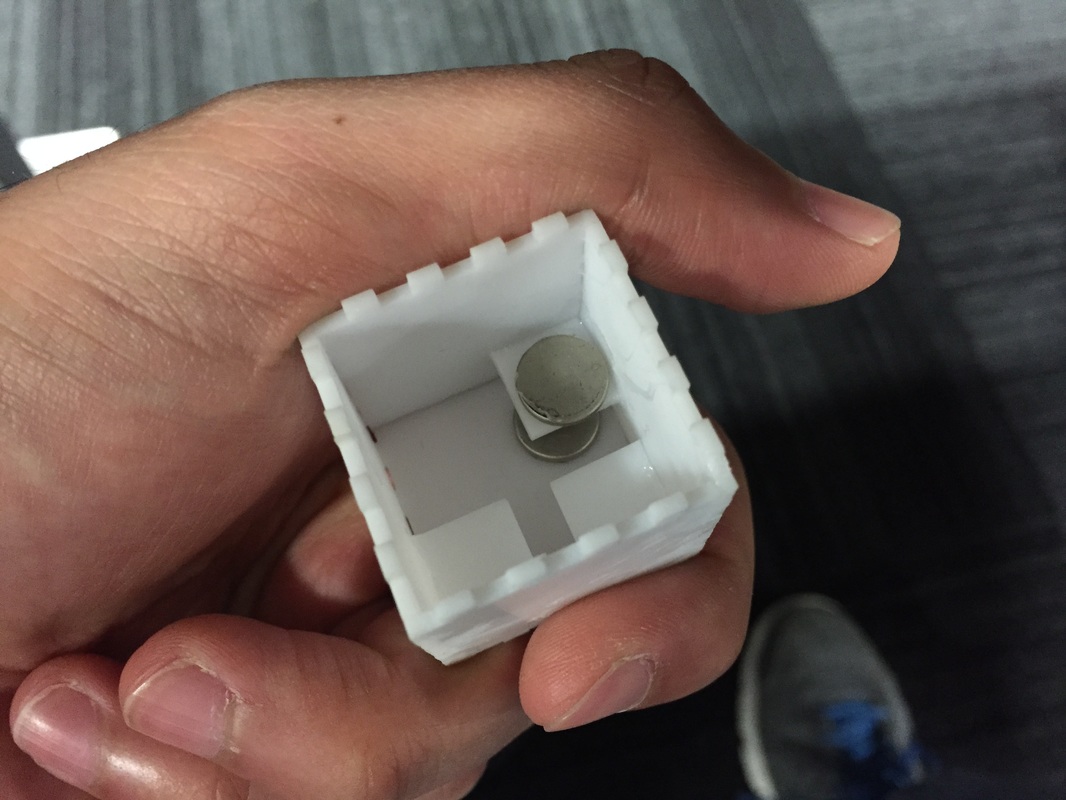
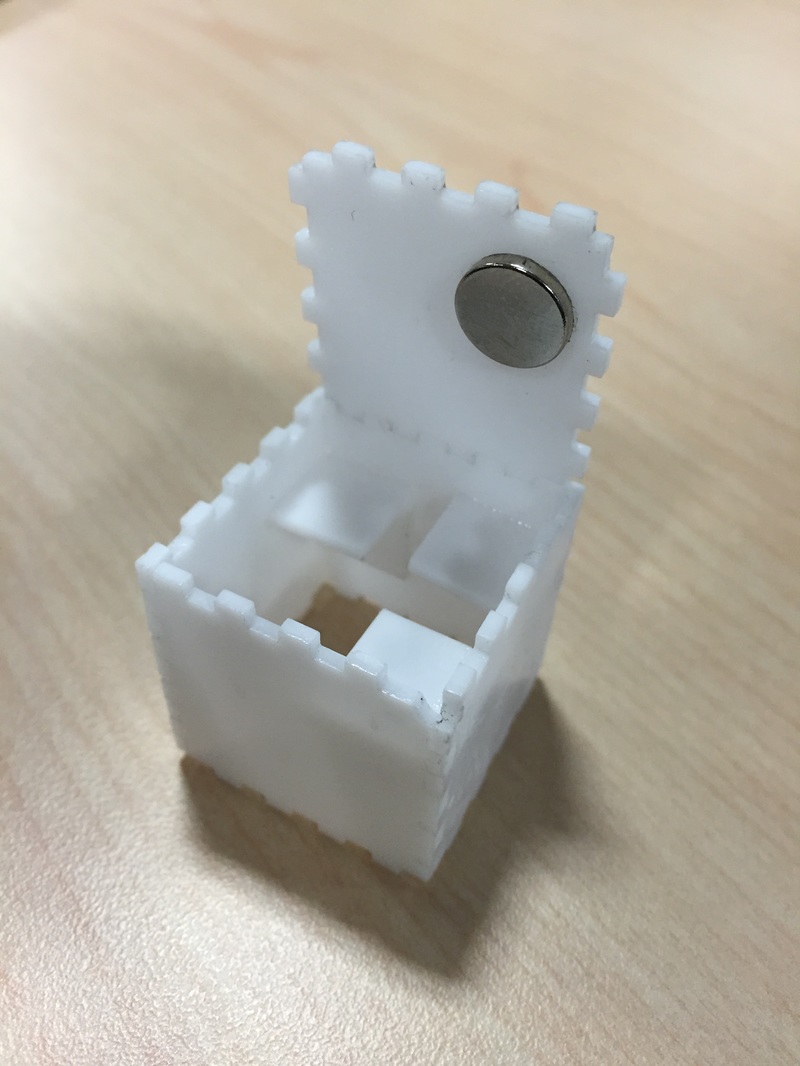
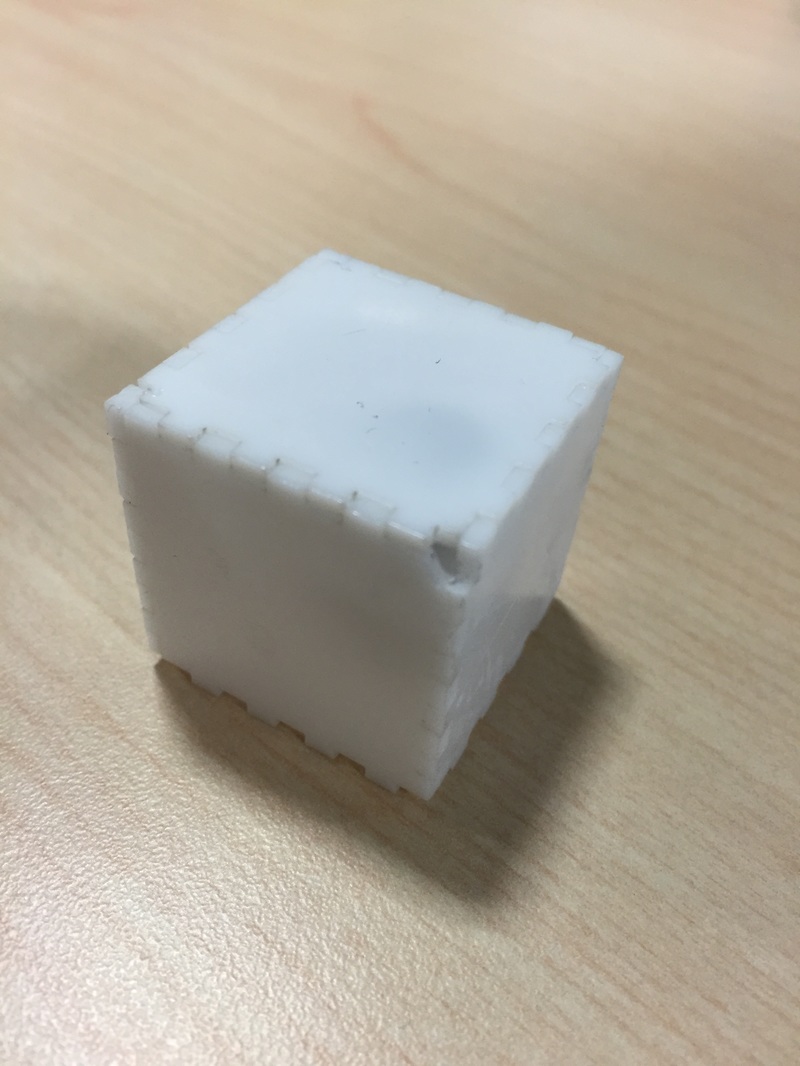
Tried my hand at using the Laser cutter at work to cut a sheet of acrylic today. The acrylic is 0.062 inches thick and will be what I use to cut the final case out of. It took a lot of finagling the laser to get the beam just right. I still have some work to do on how I cut because the beam thickness (or rather how much material the beam takes off) depends on the material as well as the laser parameters. I made a box with little 3mm x 1.5mm dove tails. Put a couple tiny magnets one on the lid and one under a small square under the lid. I glued it all with "Maxi-cure" from architects corner (same place I got the acrylic). Turned out ok. Just need a bit more practice on the machine to really understand how to cut precisely.
Tried my hand at using the Laser cutter at work to cut a sheet of acrylic today. The acrylic is 0.062 inches thick and will be what I use to cut the final case out of. It took a lot of finagling the laser to get the beam just right. I still have some work to do on how I cut because the beam thickness (or rather how much material the beam takes off) depends on the material as well as the laser parameters. I made a box with little 3mm x 1.5mm dove tails. Put a couple tiny magnets one on the lid and one under a small square under the lid. I glued it all with "Maxi-cure" from architects corner (same place I got the acrylic). Turned out ok. Just need a bit more practice on the machine to really understand how to cut precisely.
Sketchup Model
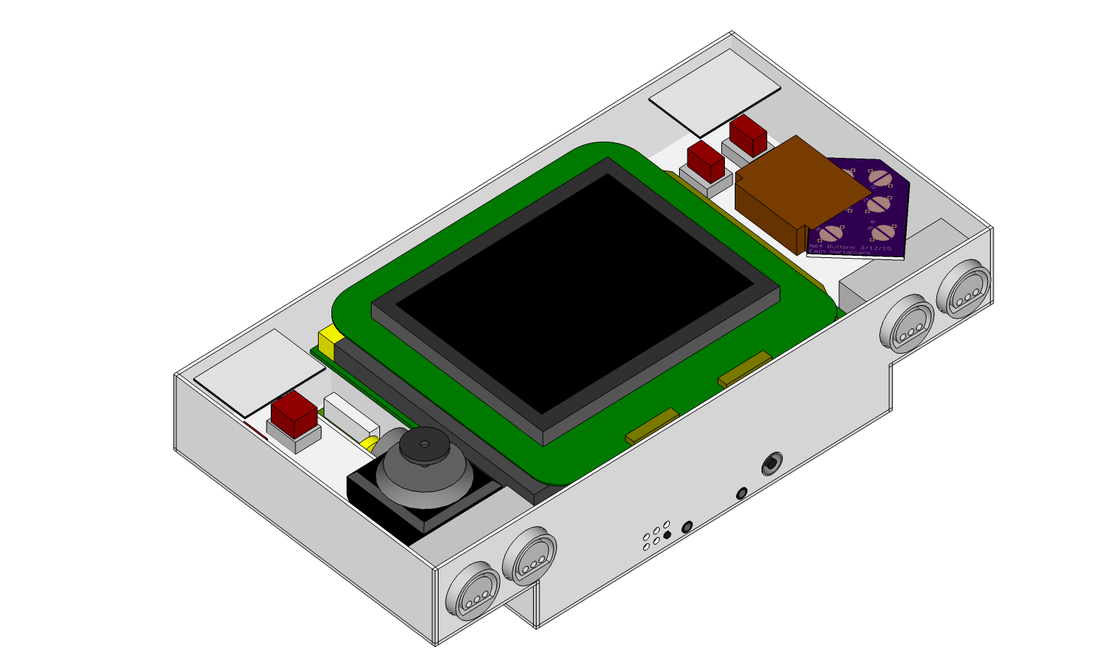
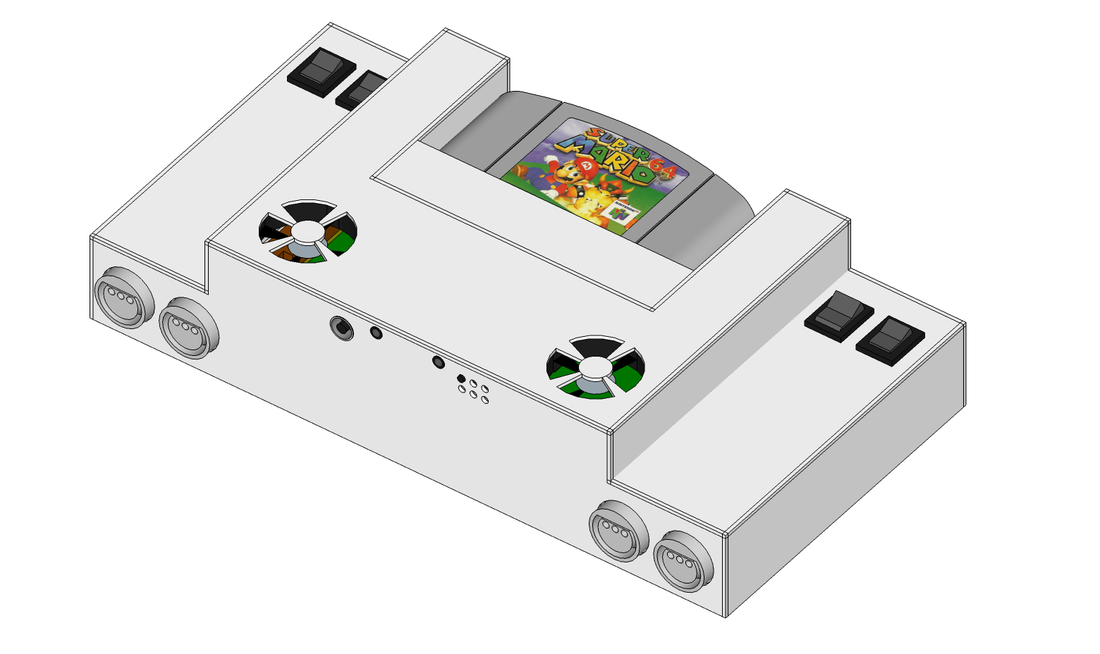
Realized I could probably include the 4 controller ports into the main unit so I've changed the design to have them mount inside! No need for the expansion anymore. I'll use the same 3.5mm audio jack with 4 contacts that I'm using for the headphones for the Audio video jack. I'll set it to turn off the screen when I plug something in. Also found some rocker switches to control 1) rumble vs memory, 2)L vs Z button, 3) On/off, and 4) fan speed (5v, 3.3v or off). Placed them in the back so it fits in with everything. I think it's coming together nicely.
Realized I could probably include the 4 controller ports into the main unit so I've changed the design to have them mount inside! No need for the expansion anymore. I'll use the same 3.5mm audio jack with 4 contacts that I'm using for the headphones for the Audio video jack. I'll set it to turn off the screen when I plug something in. Also found some rocker switches to control 1) rumble vs memory, 2)L vs Z button, 3) On/off, and 4) fan speed (5v, 3.3v or off). Placed them in the back so it fits in with everything. I think it's coming together nicely.
To-Do
1) Laser cut a test box to get better at cutting and test my button mounting and placement. Wanna make sure the grip is going to be comfortable and the buttons will be able to depress easily. Also gotta get better at gluing and not snapping corner pieces.
2) Maybe redo the A/B/C buttons pcb? maybe just cut the pad? tack it to pcb on a corner so it doesn't move?
3) Redo the schematic to take out expansion box
4) PCB layout for the internal connection of the main PCB
