Decals and Paint
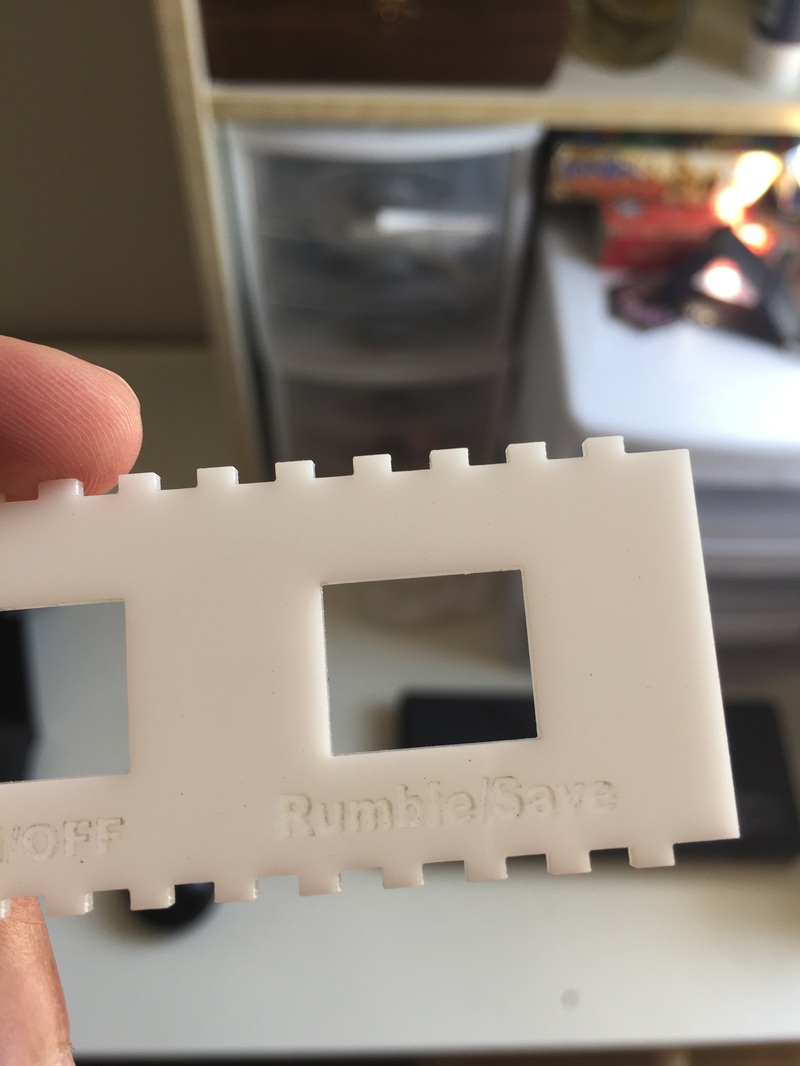
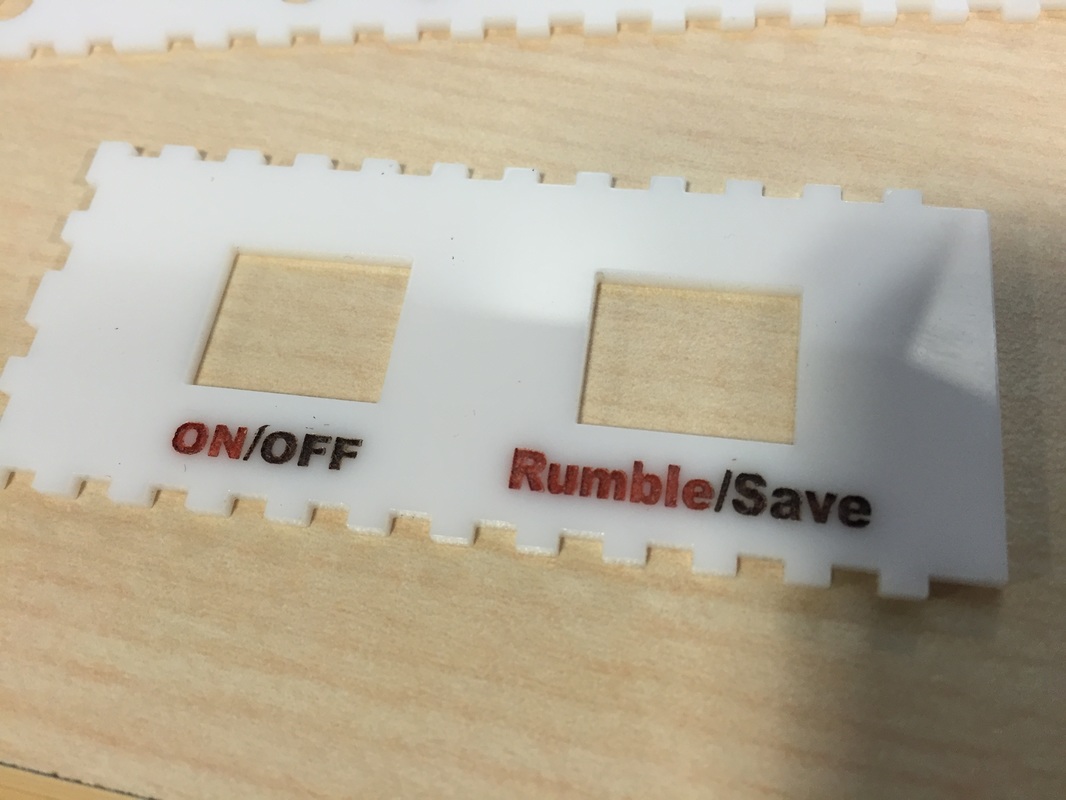
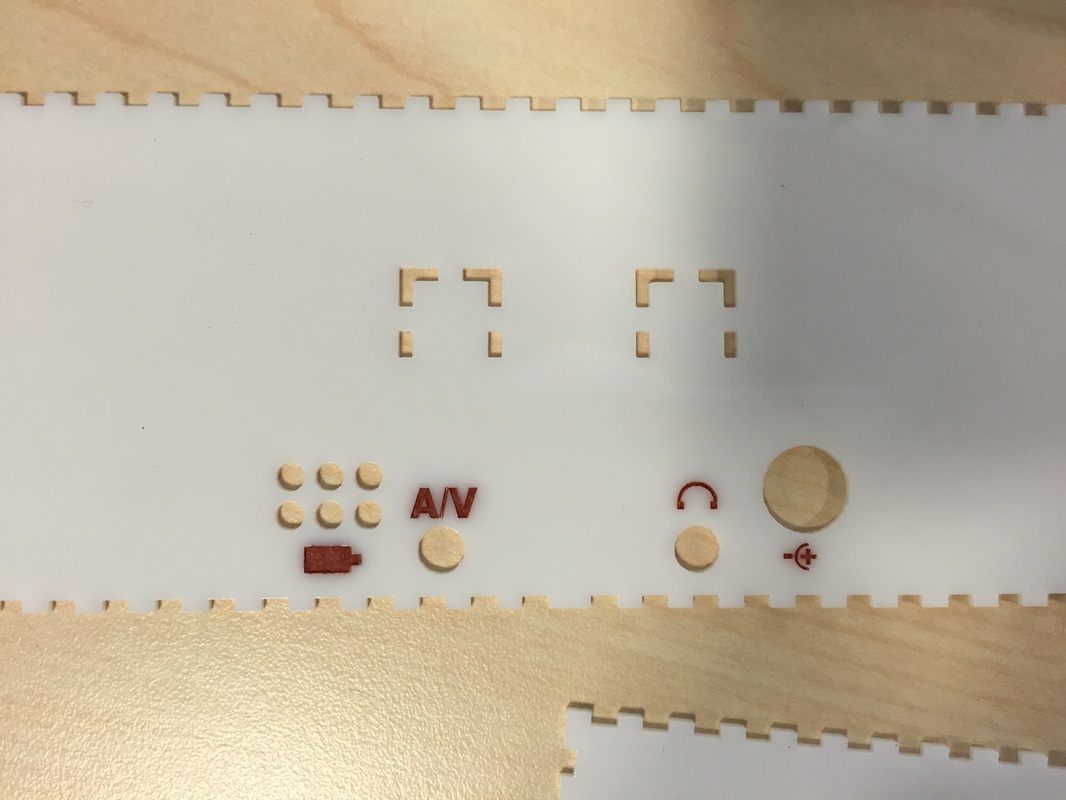
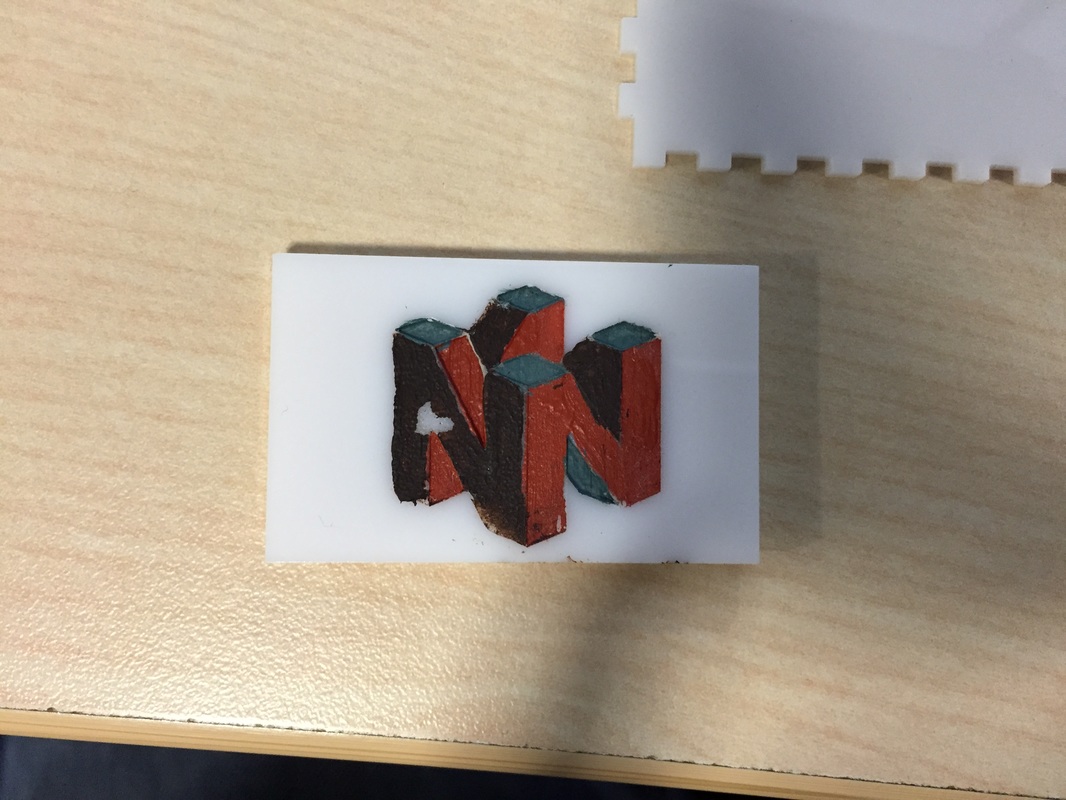
Asked my girlfriend for some help with the decals. The symbols/labels are engraved about 1/3 of the way into the acrylic with the laser. My original notion was to use a pen or something to get fine control of the engraved part but my girlfriend suggested acrylic paint. With a fairly wide brush I was able to paint a blob over the engraved parts as well as the surrounding non-engraved parts. Then after a few seconds I just wiped the remaining paint off with a tissue. The engraved part is very rough since it's been hit by a laser at 1000 dpi but the non-engraved part is really smooth, so the paint sticks to the engraved portion really quickly and don't have a chance at sticking to the rest of the perimeter. All in all I think it came out really great for test pieces.
Asked my girlfriend for some help with the decals. The symbols/labels are engraved about 1/3 of the way into the acrylic with the laser. My original notion was to use a pen or something to get fine control of the engraved part but my girlfriend suggested acrylic paint. With a fairly wide brush I was able to paint a blob over the engraved parts as well as the surrounding non-engraved parts. Then after a few seconds I just wiped the remaining paint off with a tissue. The engraved part is very rough since it's been hit by a laser at 1000 dpi but the non-engraved part is really smooth, so the paint sticks to the engraved portion really quickly and don't have a chance at sticking to the rest of the perimeter. All in all I think it came out really great for test pieces.
Screen Buttons
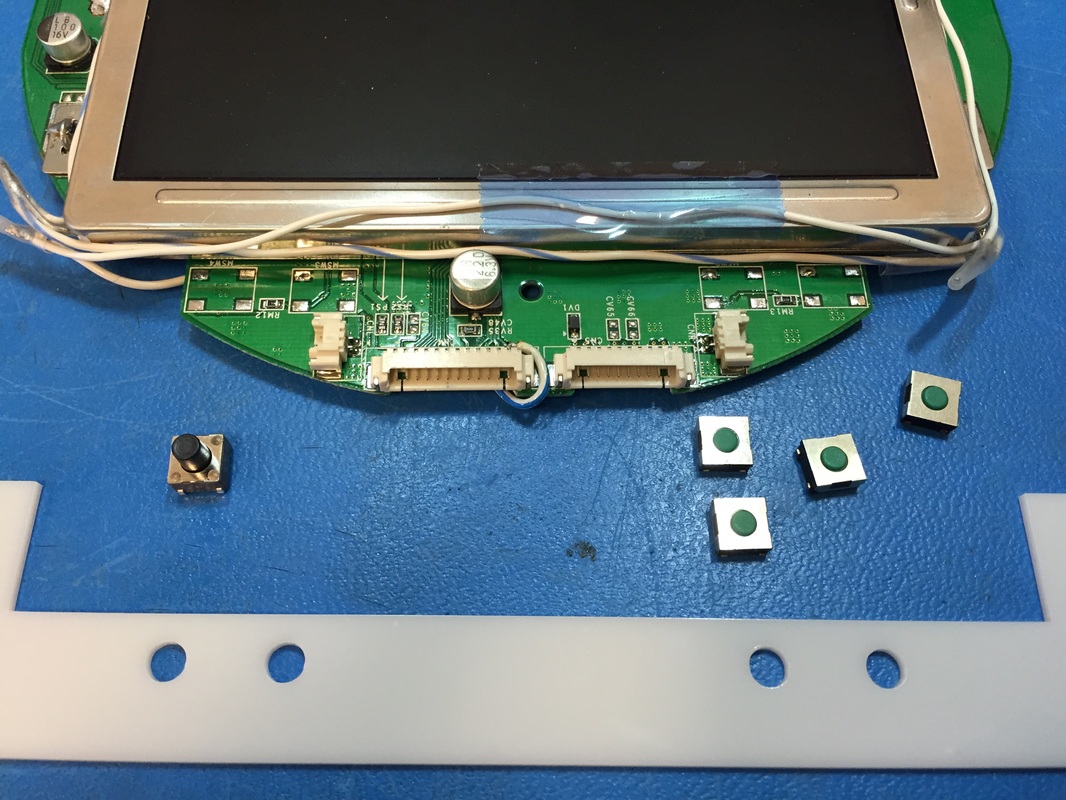
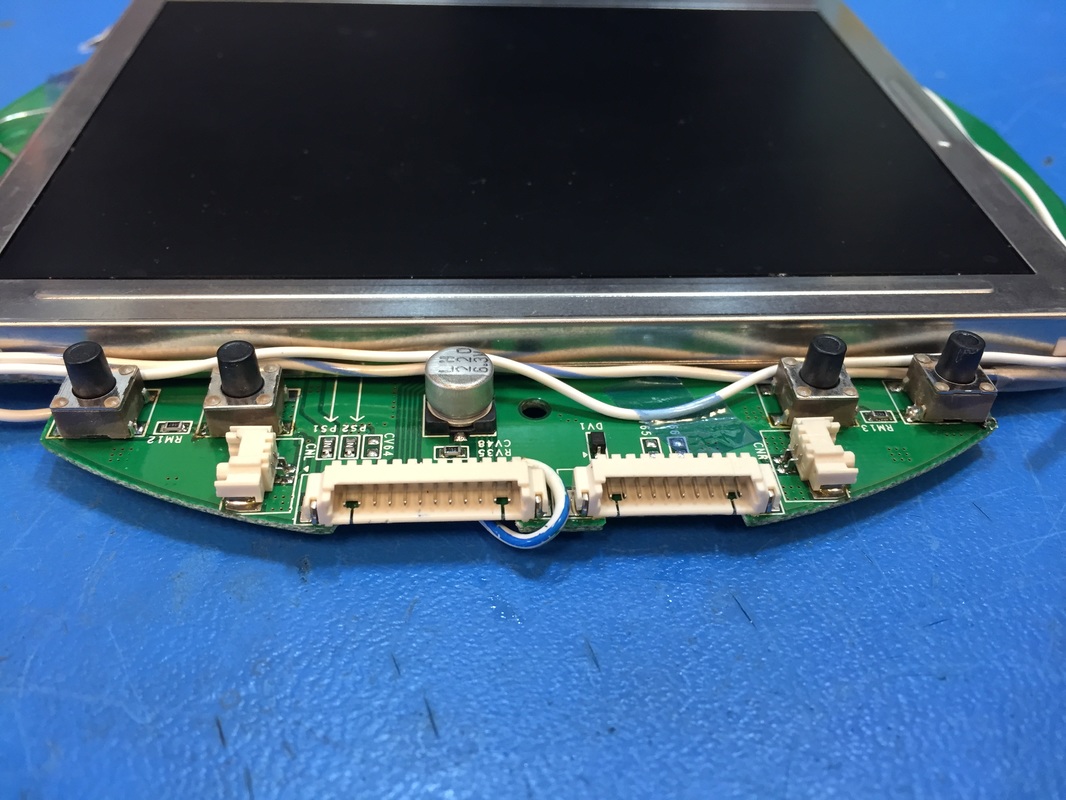
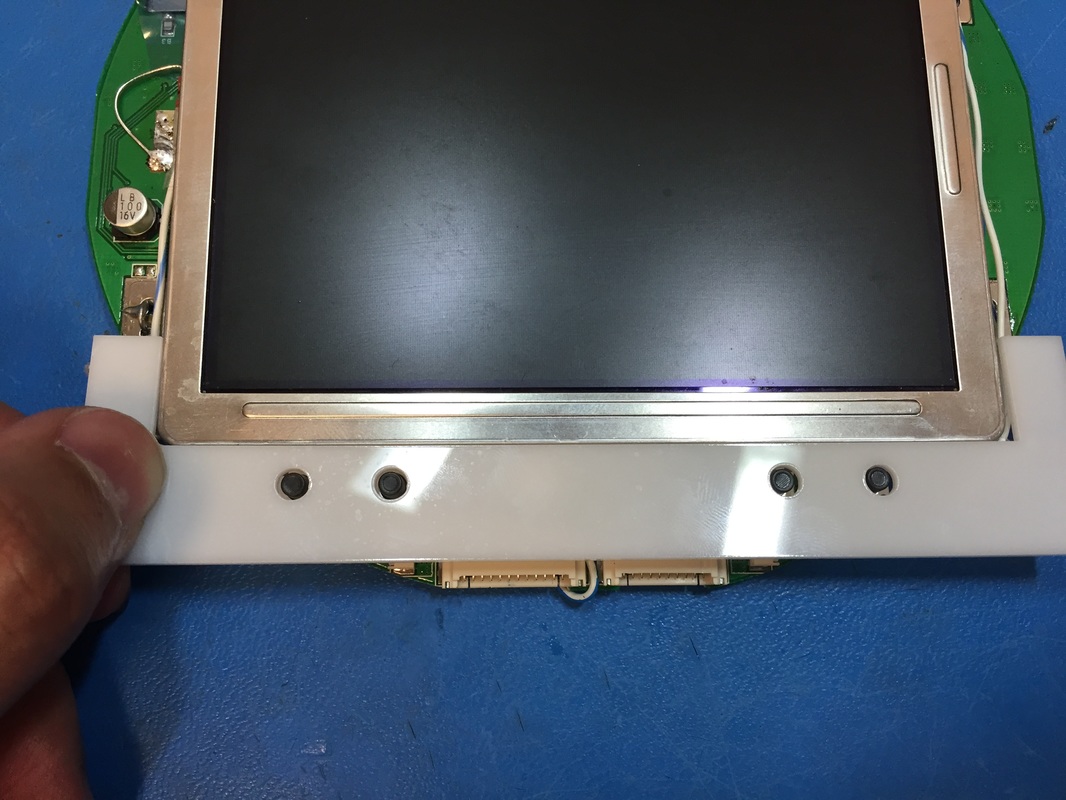
I ordered this button off of digikey. Because of its plunger height it just sticks out above the plane of the case. So I de-soldered the old screen buttons and tacked on the new ones. I made a small mold of where the button holes will be based on the corners of the screen. Then I used the mold to position each of the buttons and tacked them on. Didn't want to fully solder them since I might change my mind about the hole size or tolerance. The holes seem a bit big so I might go with a smaller diameter, we'll see after the first real front plate.
I ordered this button off of digikey. Because of its plunger height it just sticks out above the plane of the case. So I de-soldered the old screen buttons and tacked on the new ones. I made a small mold of where the button holes will be based on the corners of the screen. Then I used the mold to position each of the buttons and tacked them on. Didn't want to fully solder them since I might change my mind about the hole size or tolerance. The holes seem a bit big so I might go with a smaller diameter, we'll see after the first real front plate.
Test Face Plate
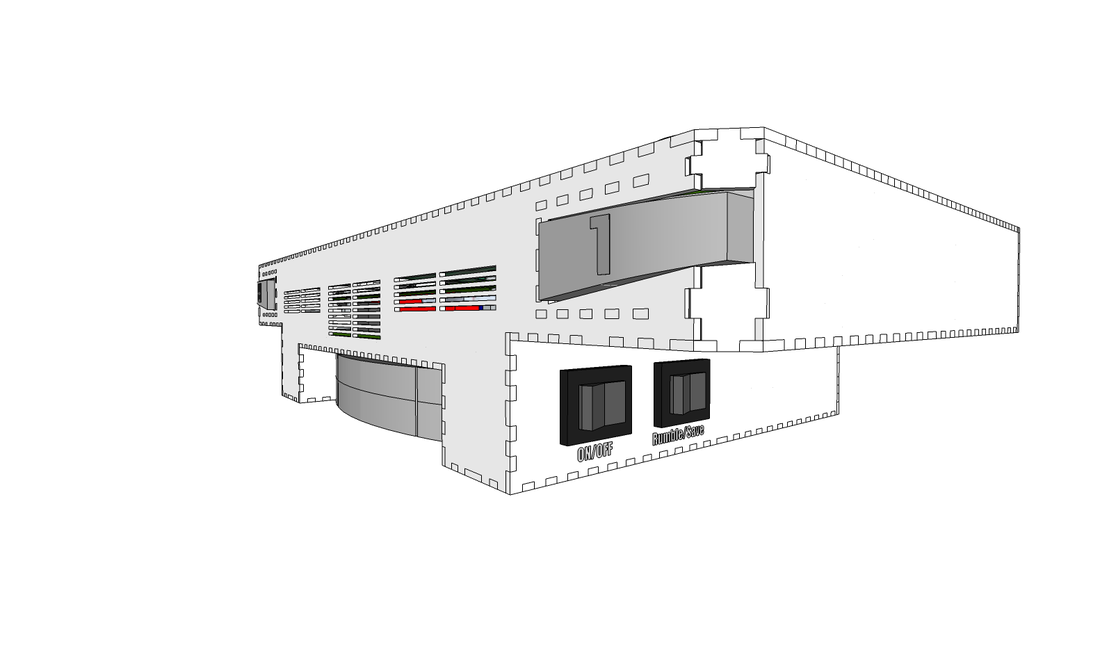
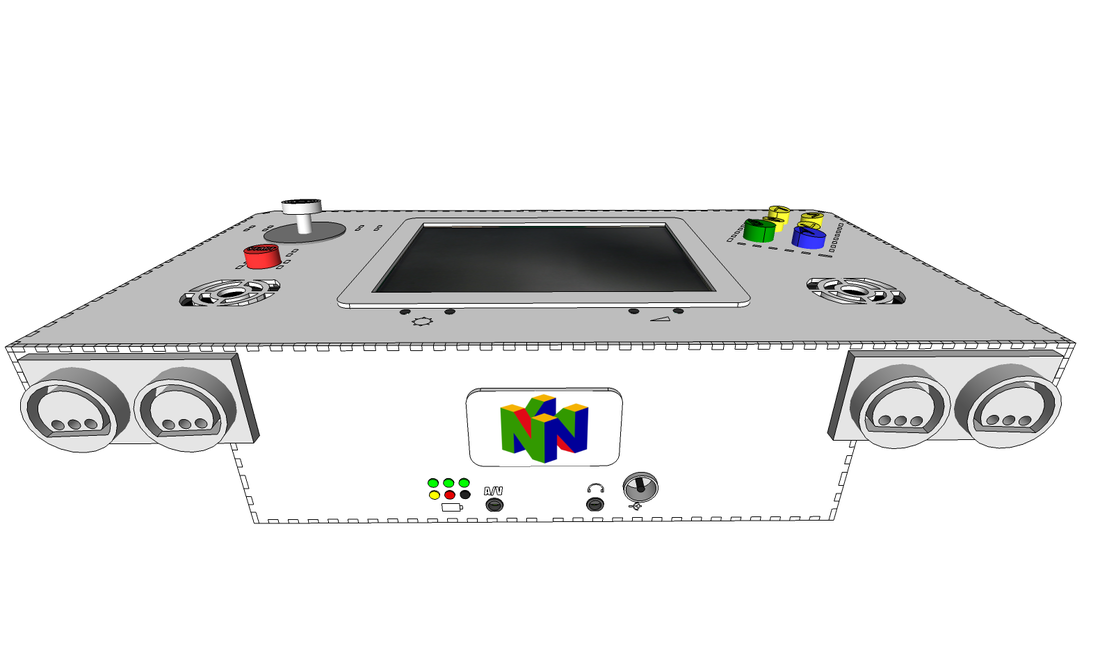
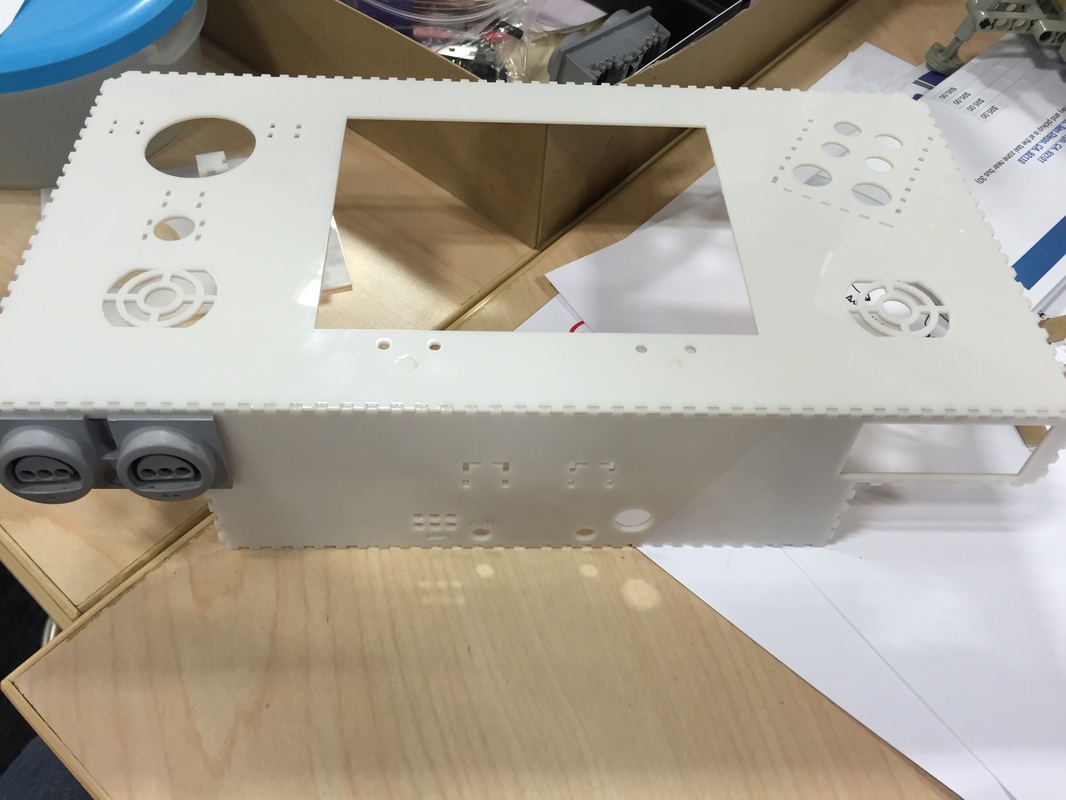
Cut out a first draft of the face-plate. First time that I could hold the whole thing in my hand and get a sense of how big its gonna be. It felt pretty nice, just gotta make sure the case is sturdy. A few things needed tweaking but all in all it was good.
I think I'm going to build up a mock-up of the case using the back part that I messed up a month ago. It'll give me a chance to practice with gluing and integrating things.
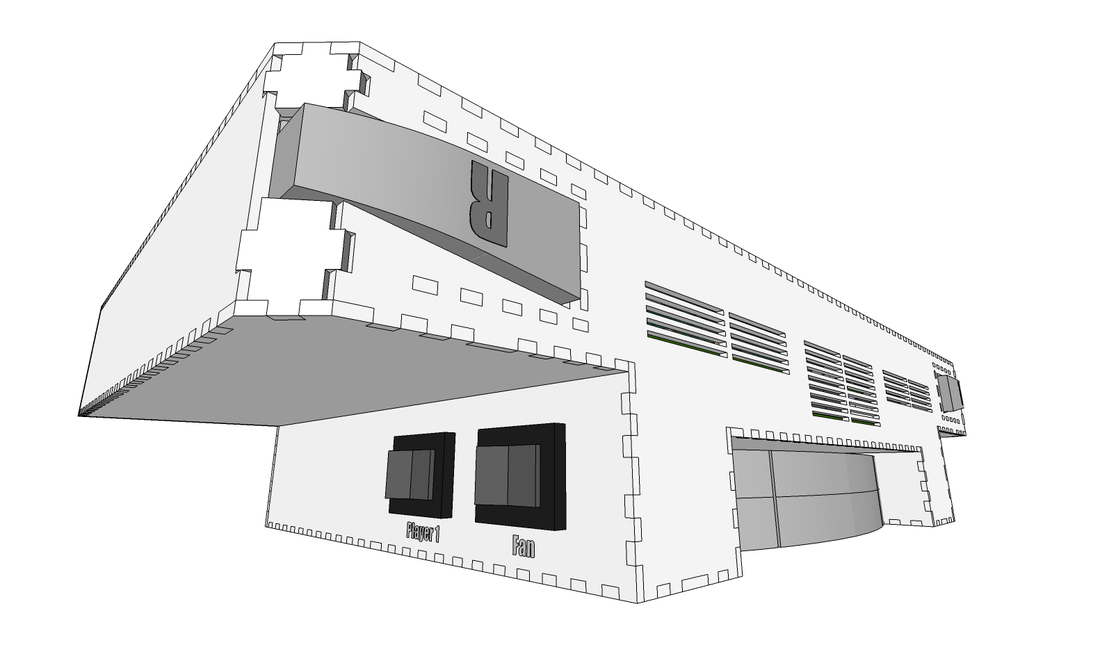
Full Project Laser cutter Outline
I've arranged the full project in a PDF ready for the laser cutter. I'll cut parts of it at a time to not waste acrylic if something needs changing. I've added long thin pieces which will be glued on the inside corners of all the interfaces to give the box more rigidity. I'm scared of the glue breaking when I plug controllers or headphone jacks in and out. Once all the PCB's come next week I'll do a bit of a pull test to see if the mounting screws and nuts can even tolerate me jamming jacks in the connectors or if the super glue with break after a few times. Can't wait!
I've arranged the full project in a PDF ready for the laser cutter. I'll cut parts of it at a time to not waste acrylic if something needs changing. I've added long thin pieces which will be glued on the inside corners of all the interfaces to give the box more rigidity. I'm scared of the glue breaking when I plug controllers or headphone jacks in and out. Once all the PCB's come next week I'll do a bit of a pull test to see if the mounting screws and nuts can even tolerate me jamming jacks in the connectors or if the super glue with break after a few times. Can't wait!
| full_project.pdf |