Shoulder Button Redo
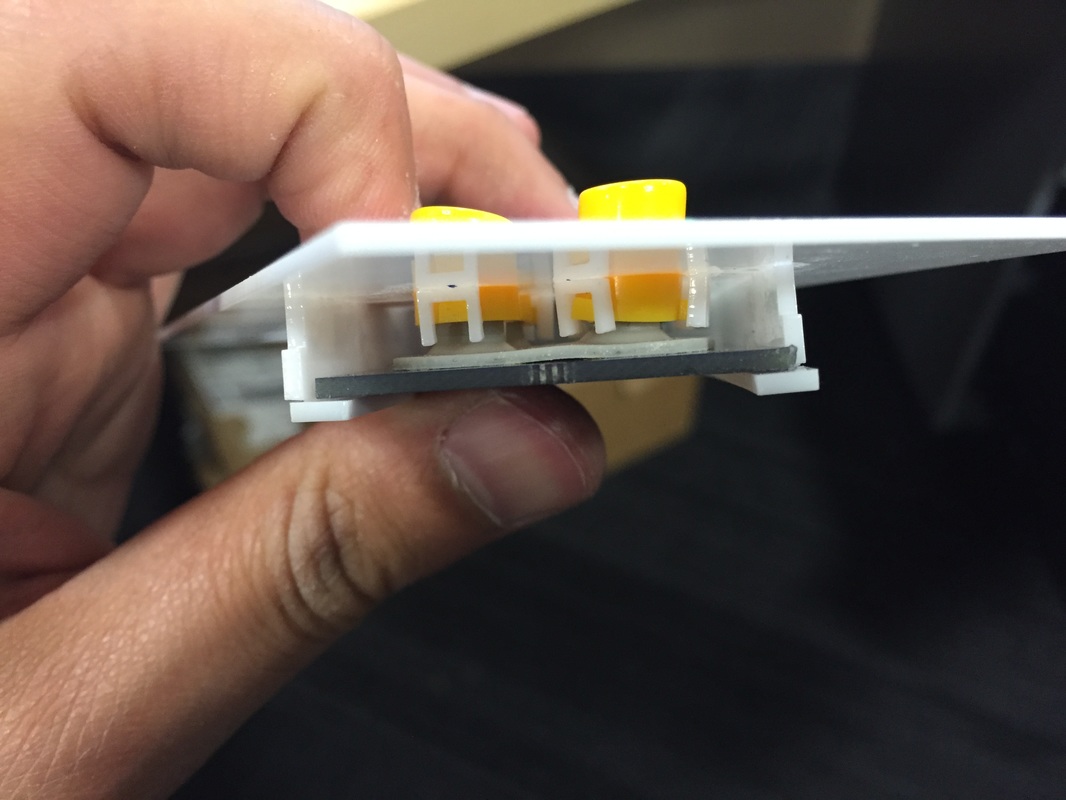
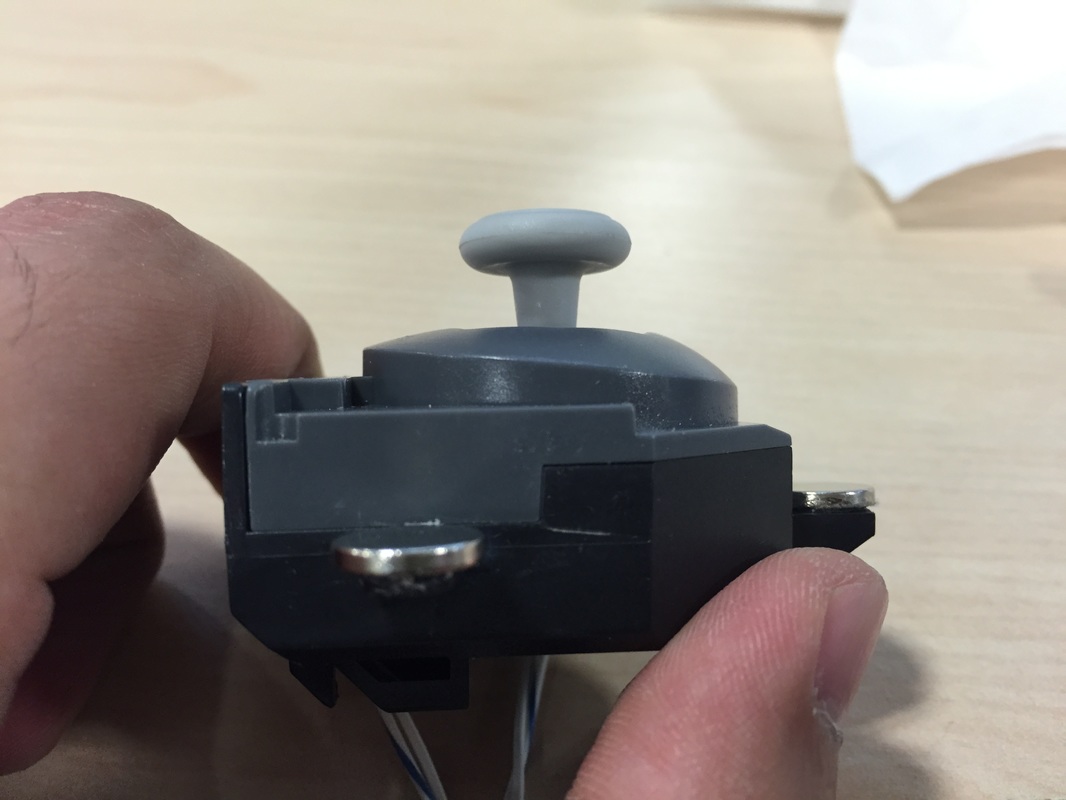
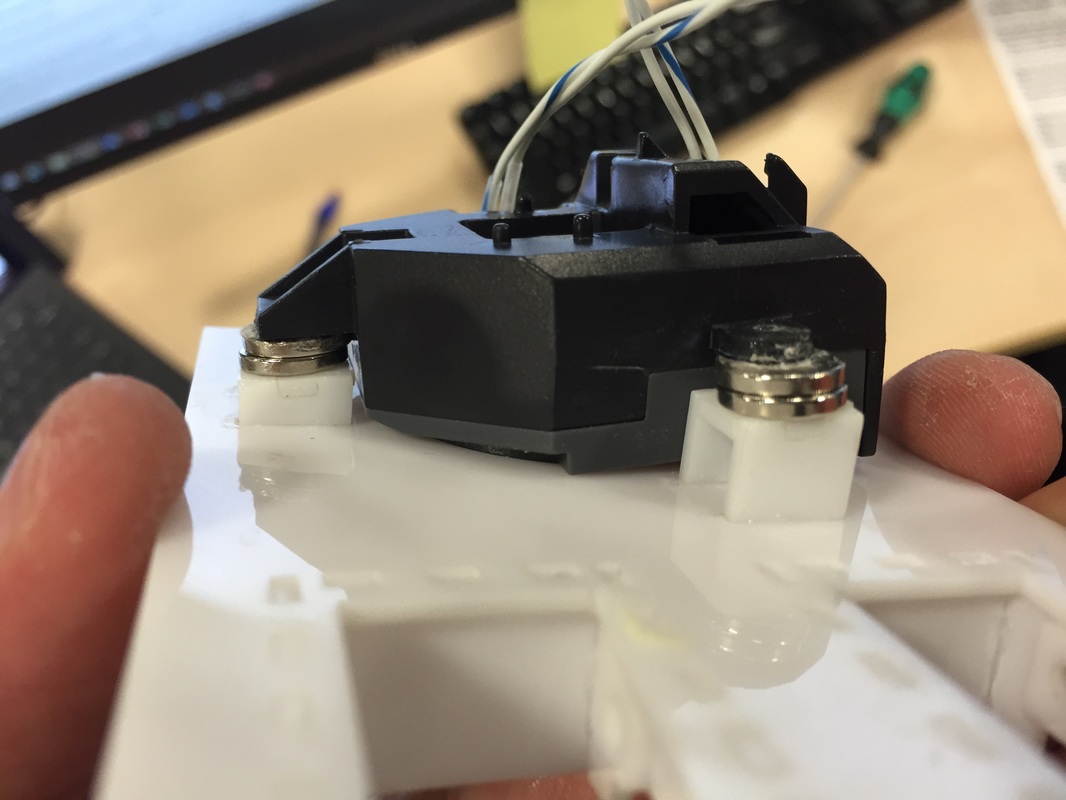
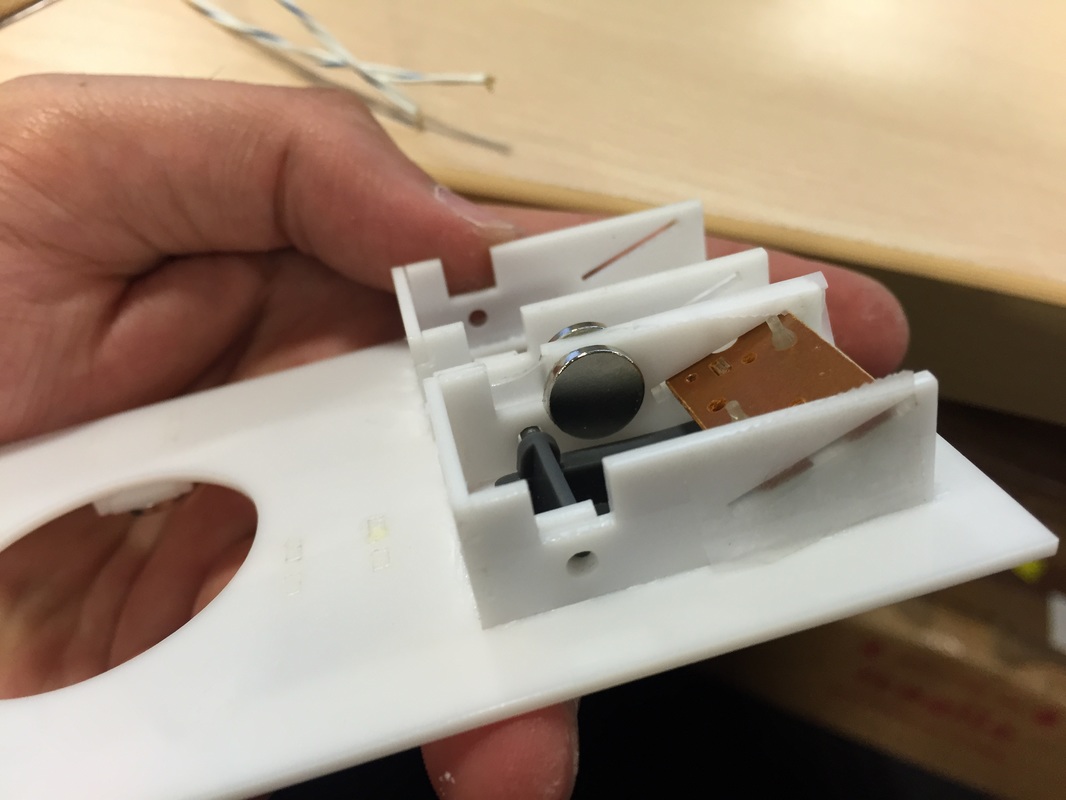
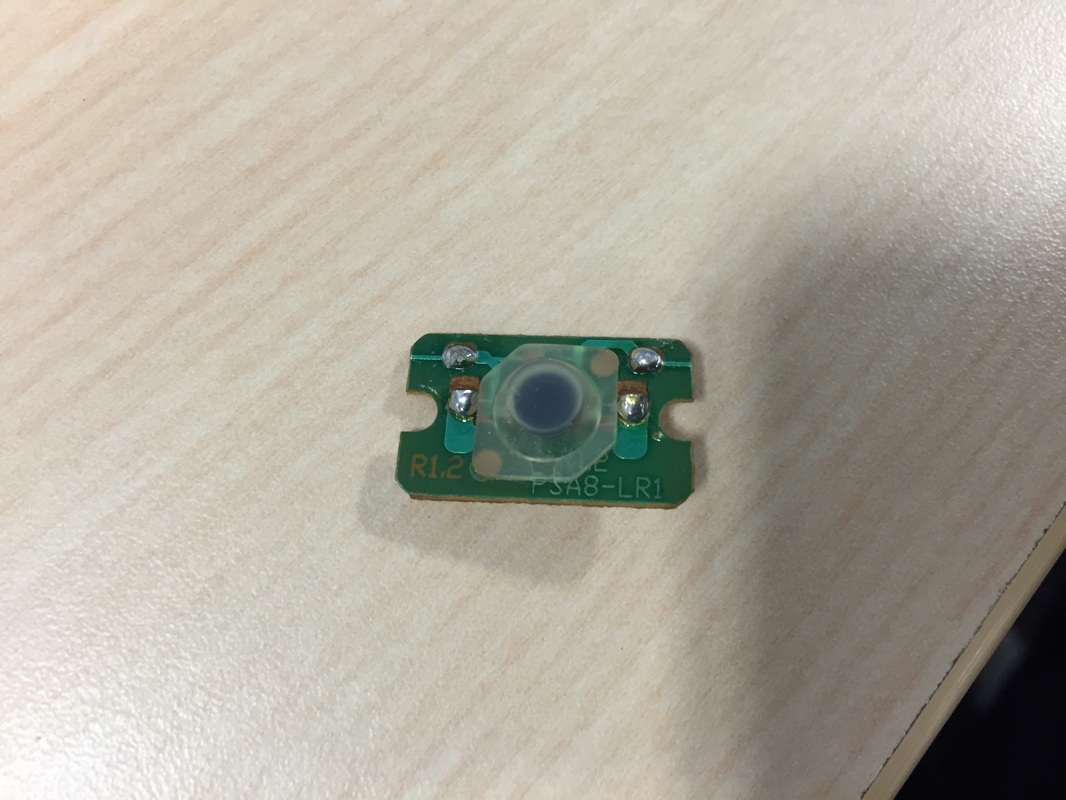
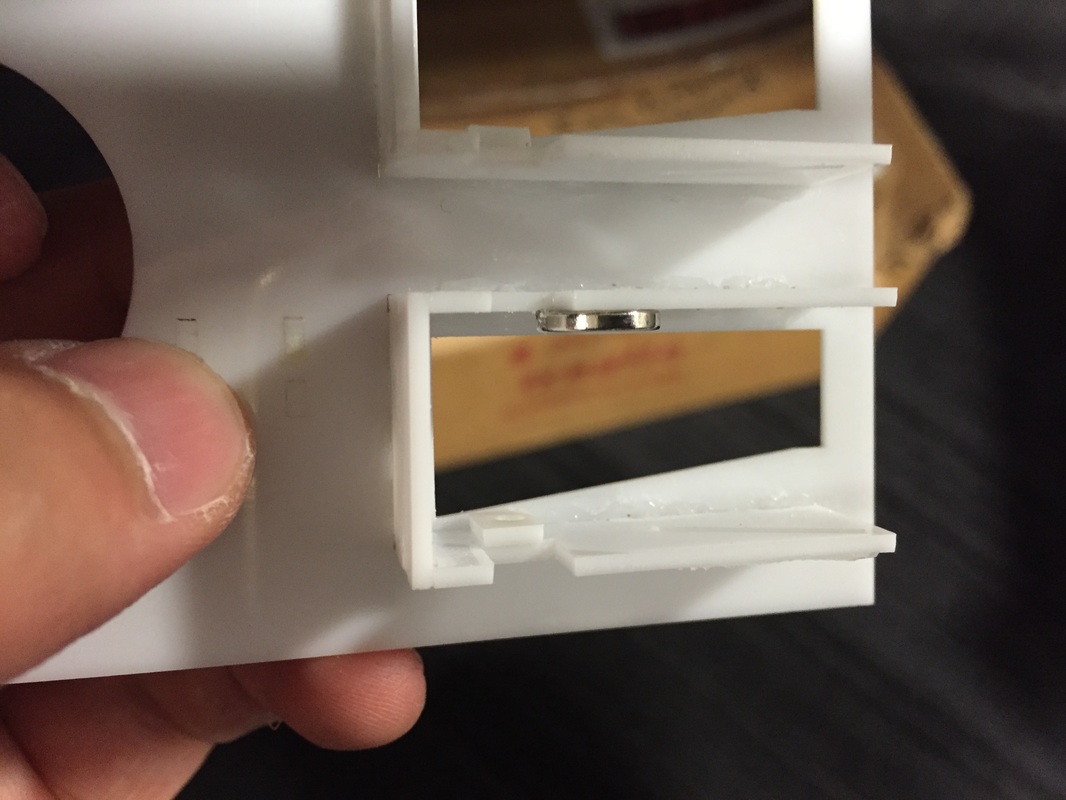
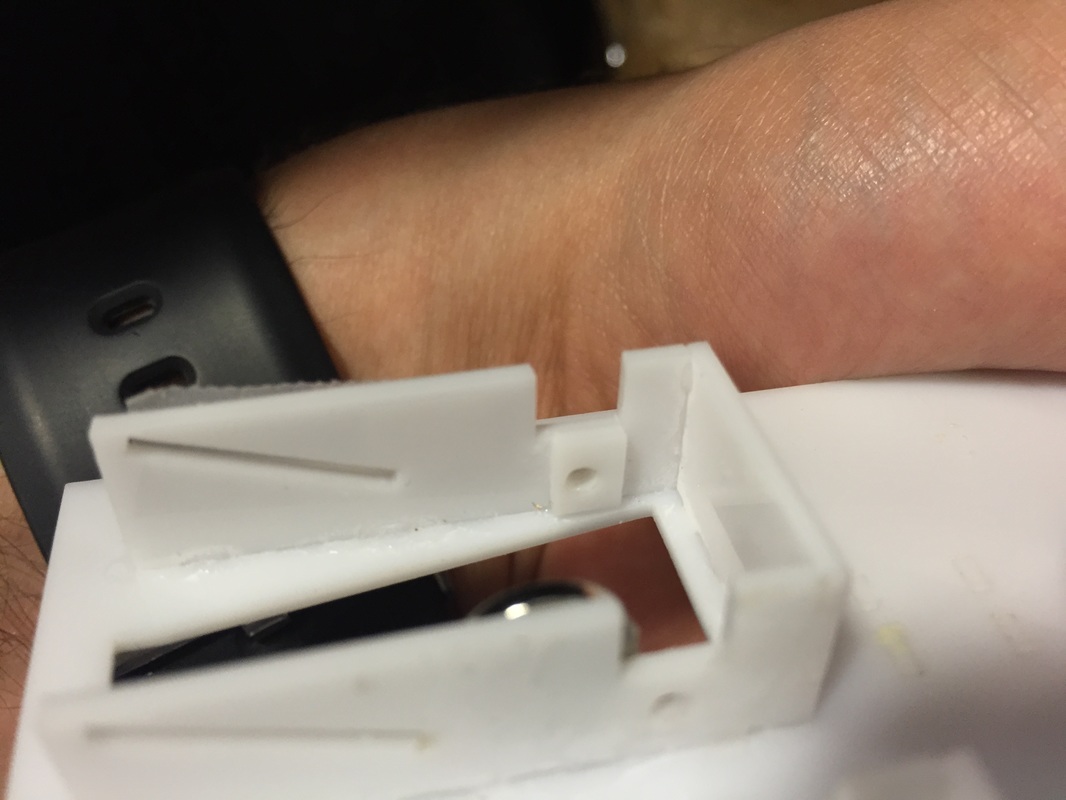
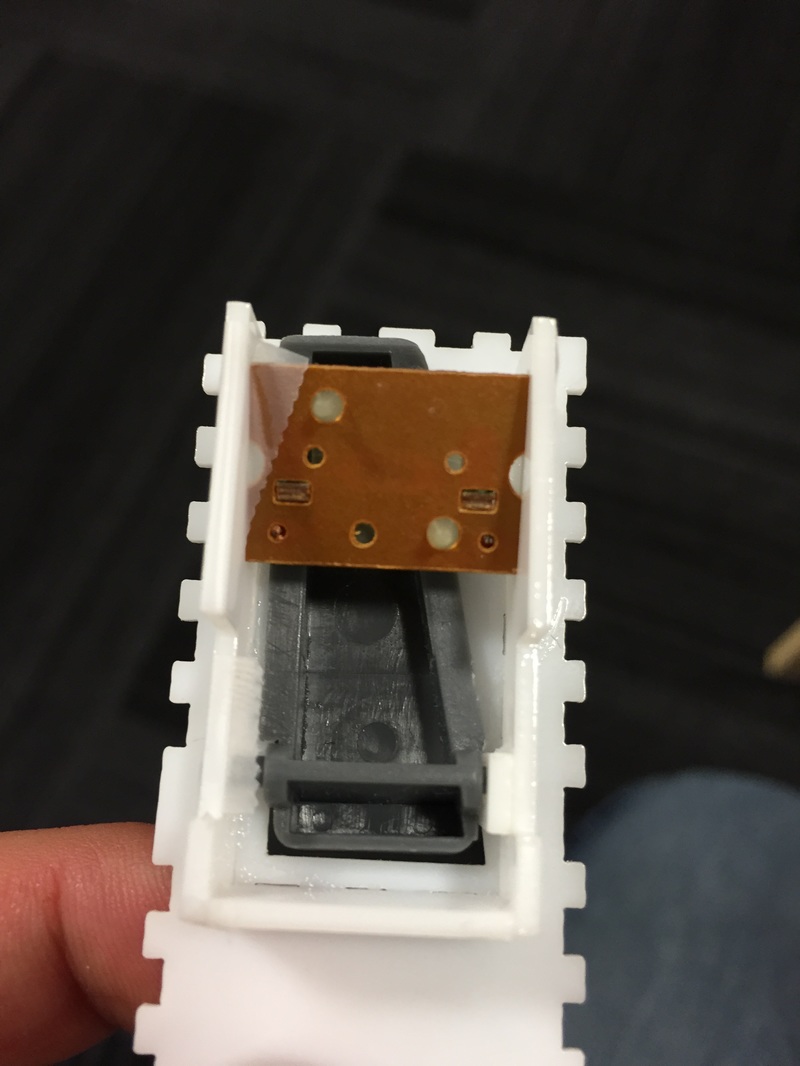
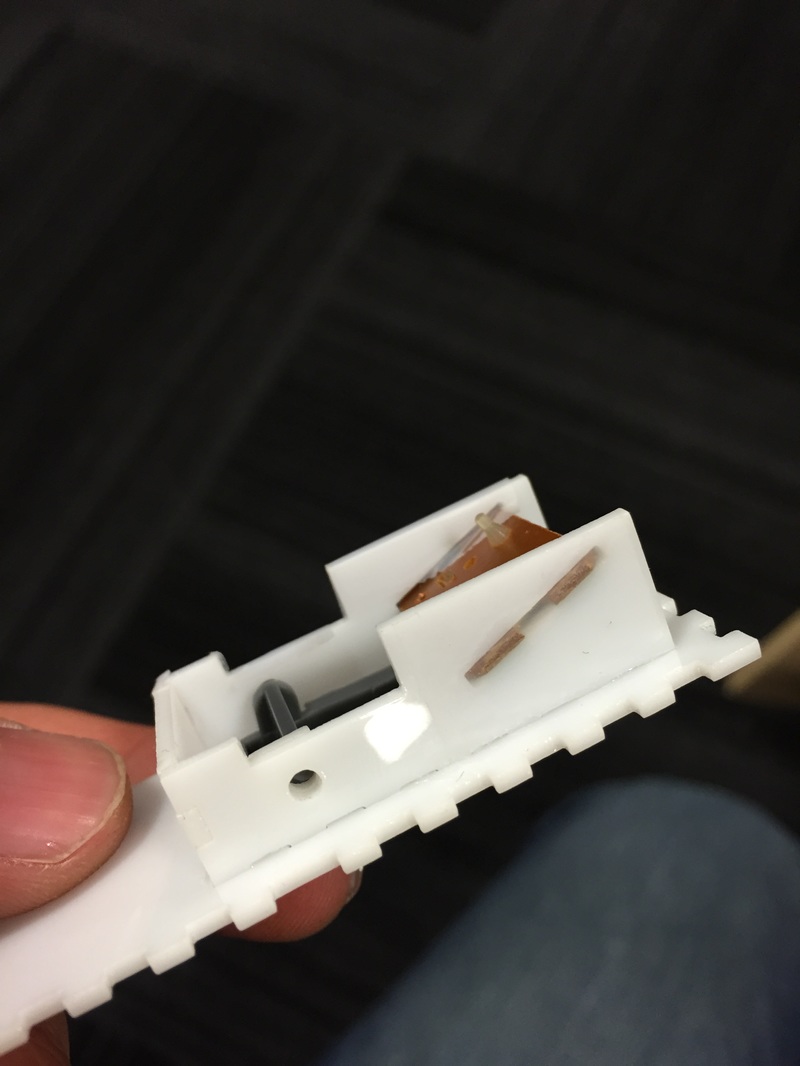
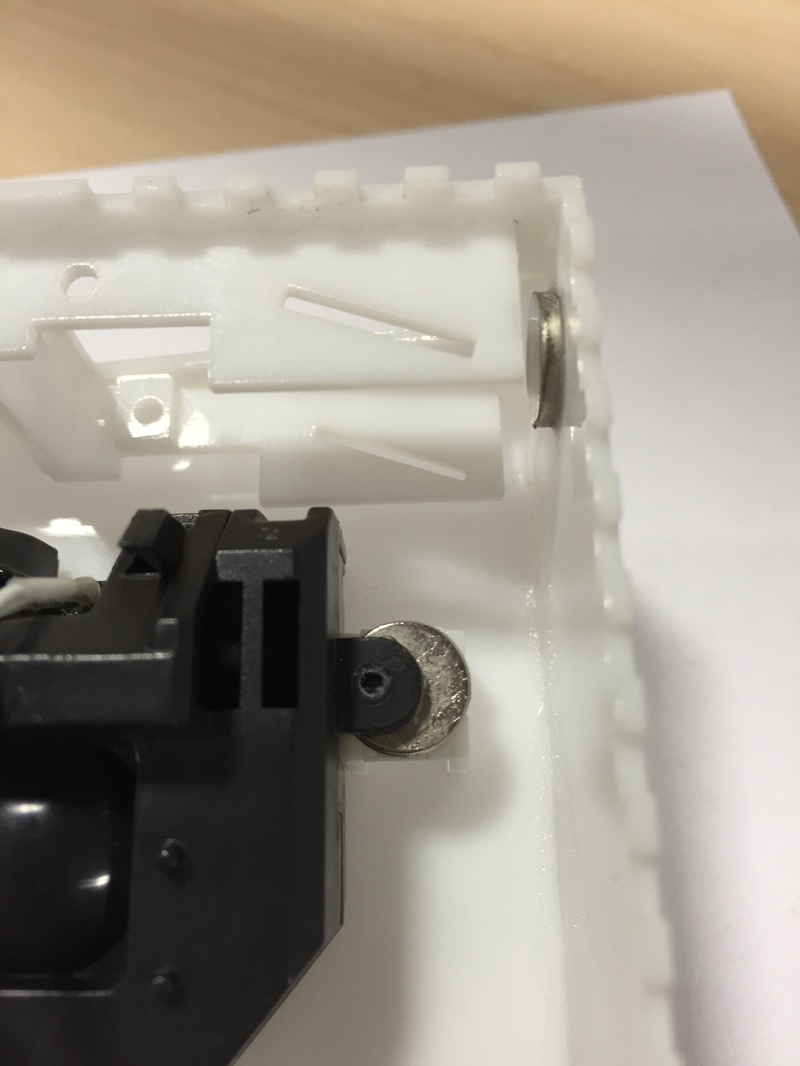
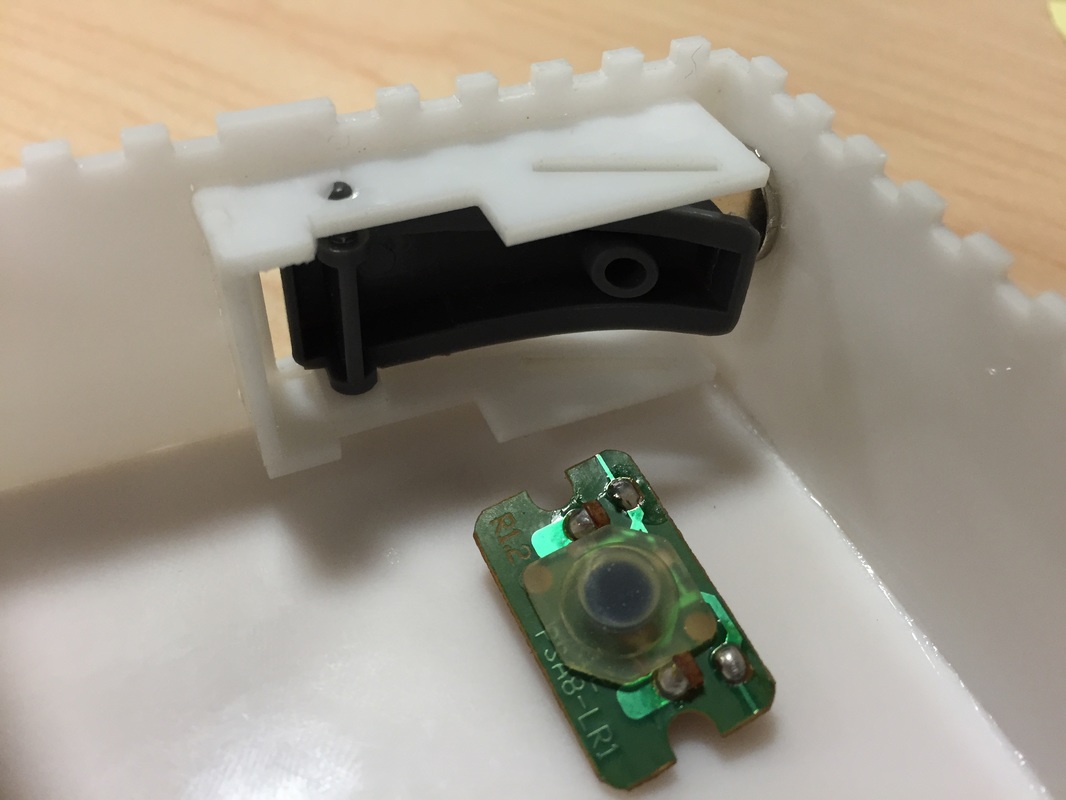
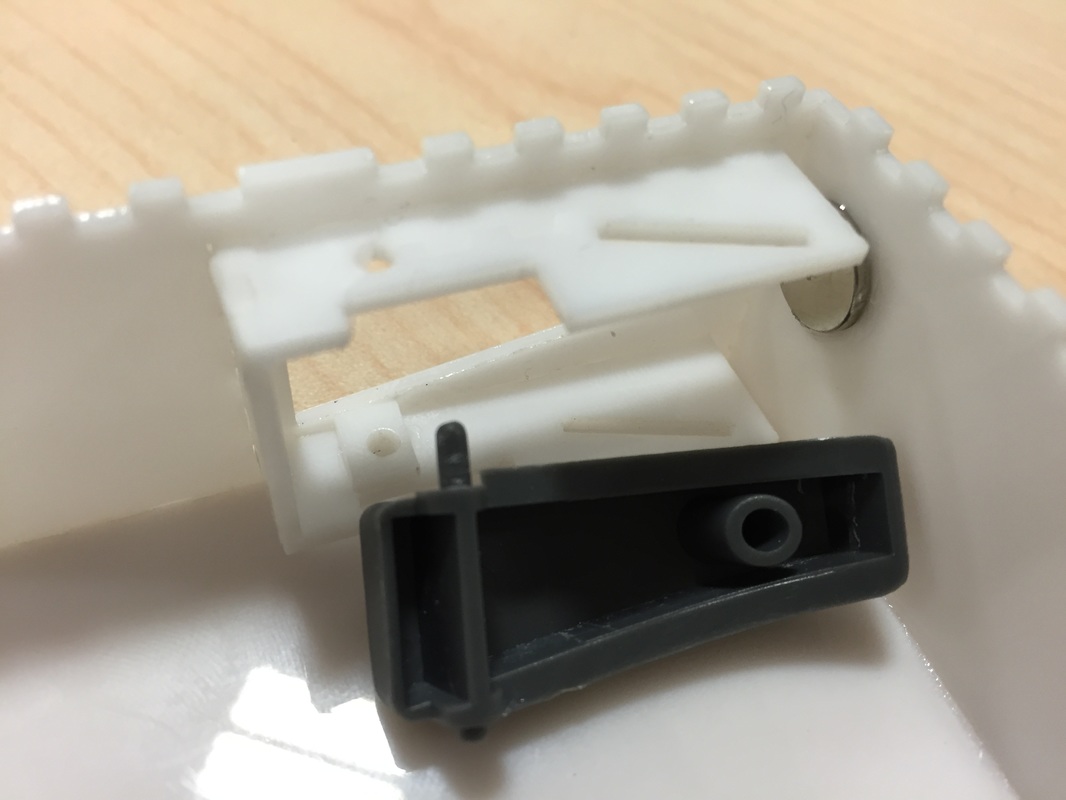
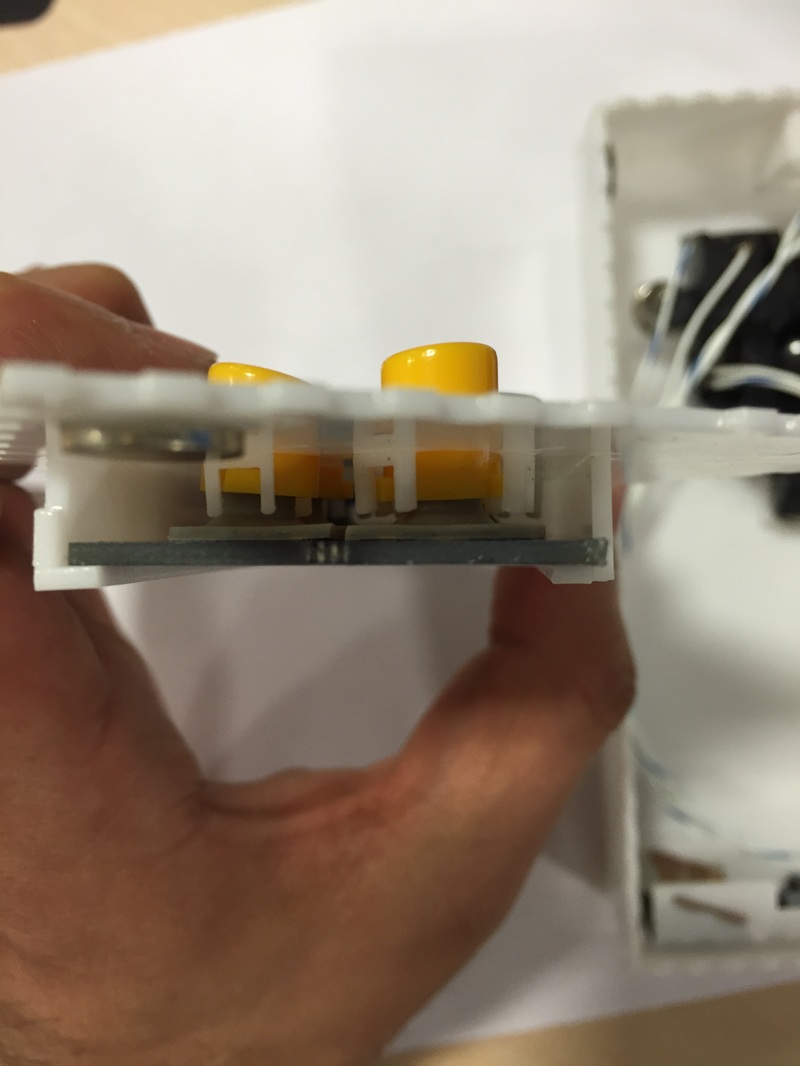
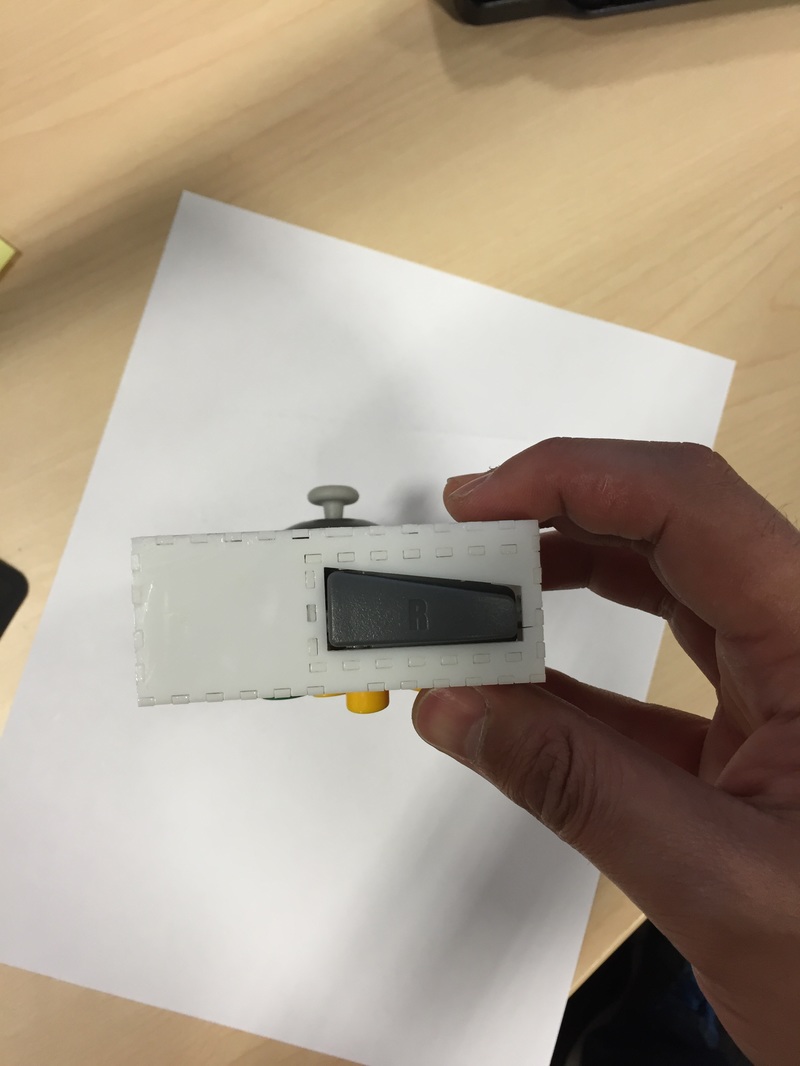
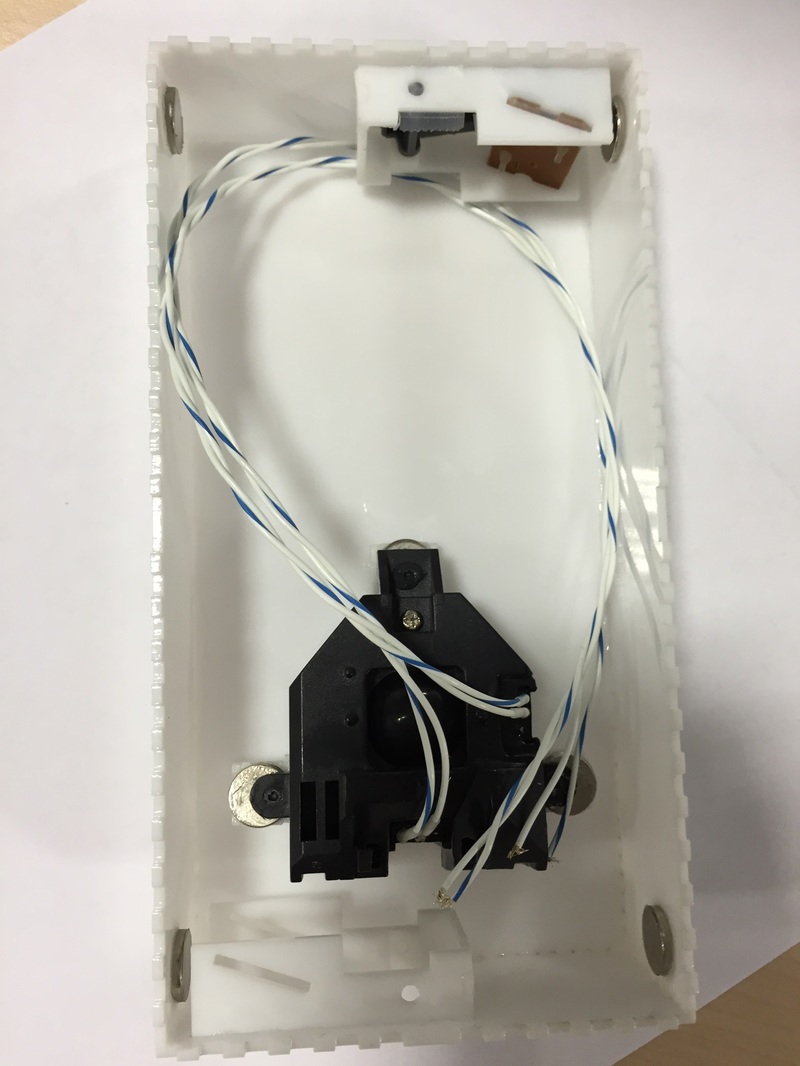
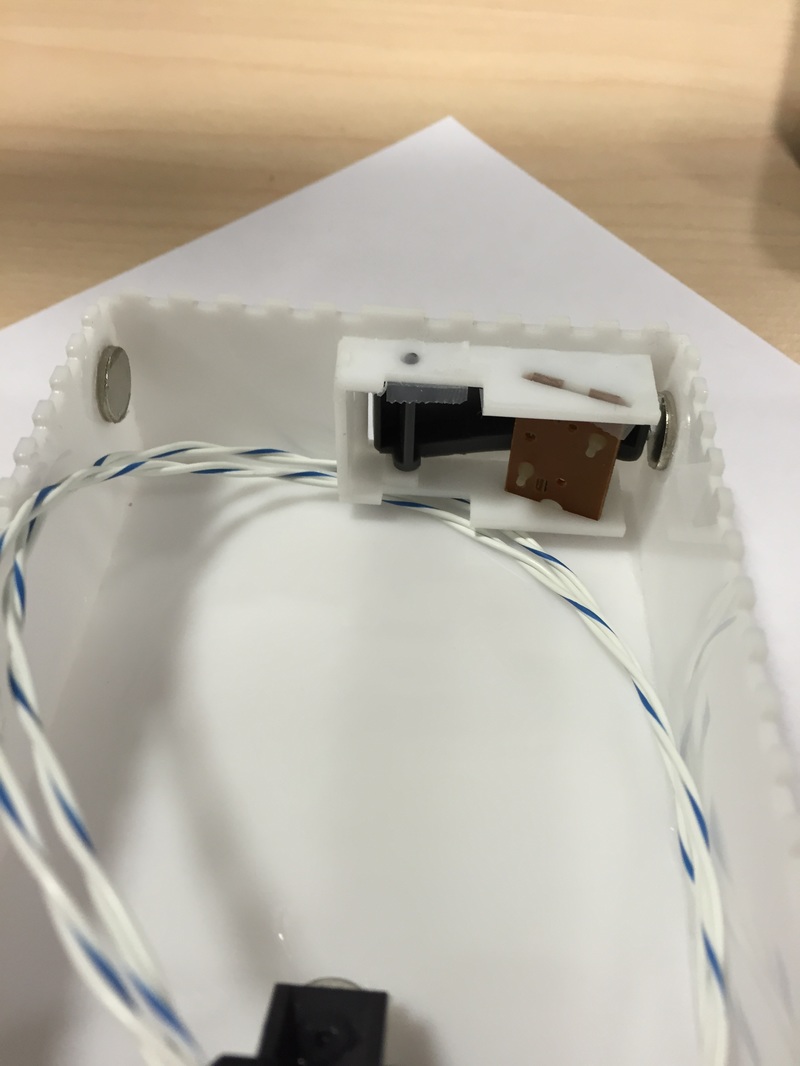
Had to redo the shoulder button, making one side of the bracket holding the actual button pcb a tight fit and the other side a wider fit so I can sneak in the PCB after the fact. Have to use a piece of tape to keep it from playing around too much but I think I'm happy with that. It doesn't take too much effort for the tape and its small enough. The pivot point bracket was slimmed down as well. As you'll see in the sketchup model the bracket for the ABC buttons was encroaching on the space of the shoulder button bracket. A tiny piece of tape keeps the pivot dowel from rattling too much as well. I also made the opening for the button a bit slimmer. I'm very happy with it.
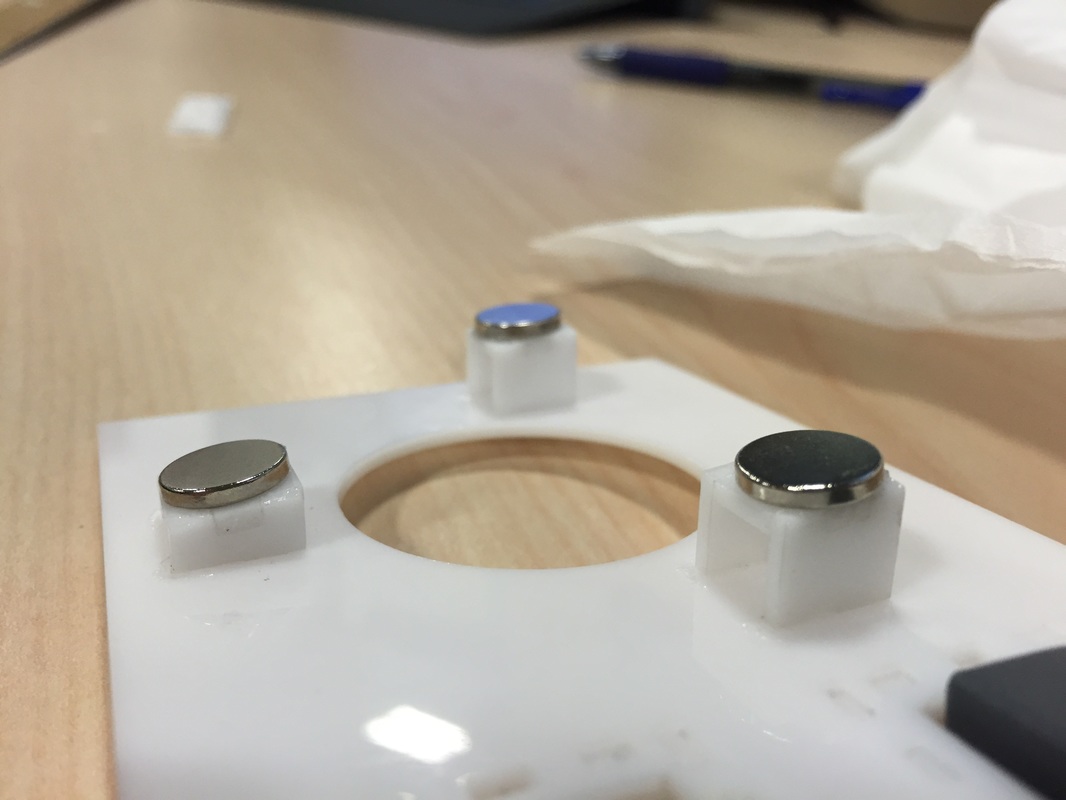
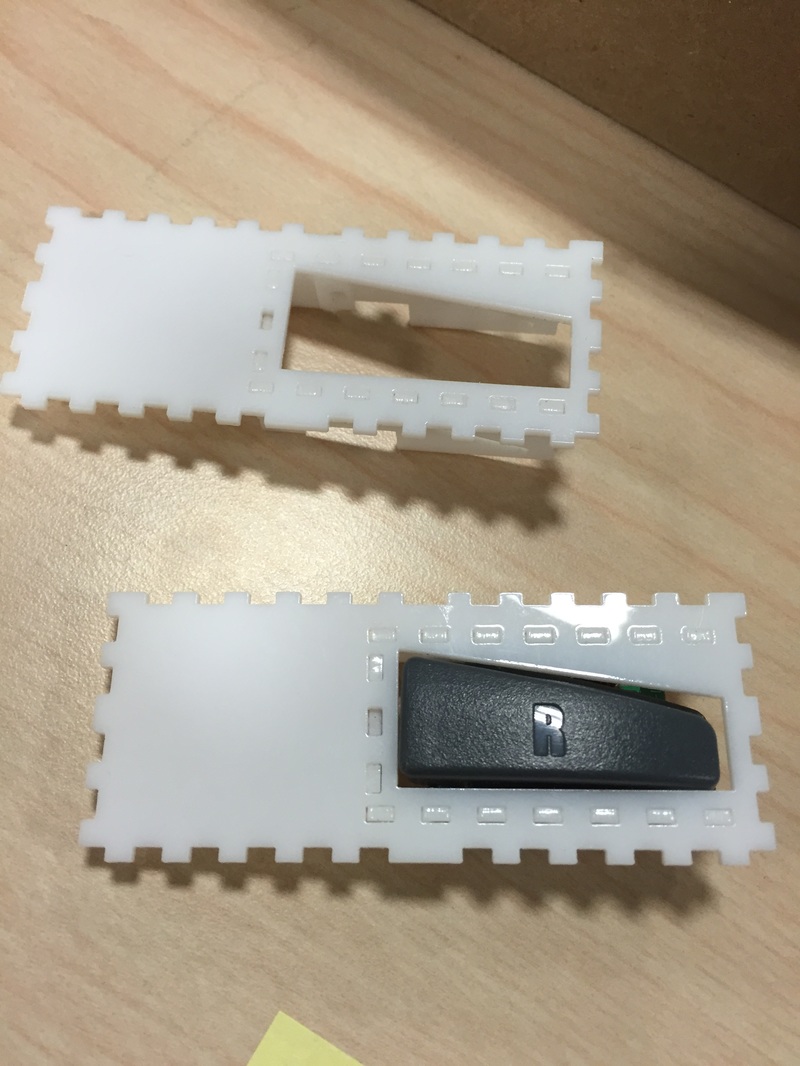
Made a mistake and cut the same panel out for L and R buttons so the L button wouldn't work for this demo, but I swapped the R button around for pictures since its all made to be serviceable. Also you can see there is a tiny magnet next to where this guy mounts, this is to that the box closes and stays shut. Refer to an earlier post where I made a simple box with magnets.
I brought to button about 3mm away from the edge of the box so my index finger wouldn't have to reach as much.
Had to redo the shoulder button, making one side of the bracket holding the actual button pcb a tight fit and the other side a wider fit so I can sneak in the PCB after the fact. Have to use a piece of tape to keep it from playing around too much but I think I'm happy with that. It doesn't take too much effort for the tape and its small enough. The pivot point bracket was slimmed down as well. As you'll see in the sketchup model the bracket for the ABC buttons was encroaching on the space of the shoulder button bracket. A tiny piece of tape keeps the pivot dowel from rattling too much as well. I also made the opening for the button a bit slimmer. I'm very happy with it.
Made a mistake and cut the same panel out for L and R buttons so the L button wouldn't work for this demo, but I swapped the R button around for pictures since its all made to be serviceable. Also you can see there is a tiny magnet next to where this guy mounts, this is to that the box closes and stays shut. Refer to an earlier post where I made a simple box with magnets.
I brought to button about 3mm away from the edge of the box so my index finger wouldn't have to reach as much.

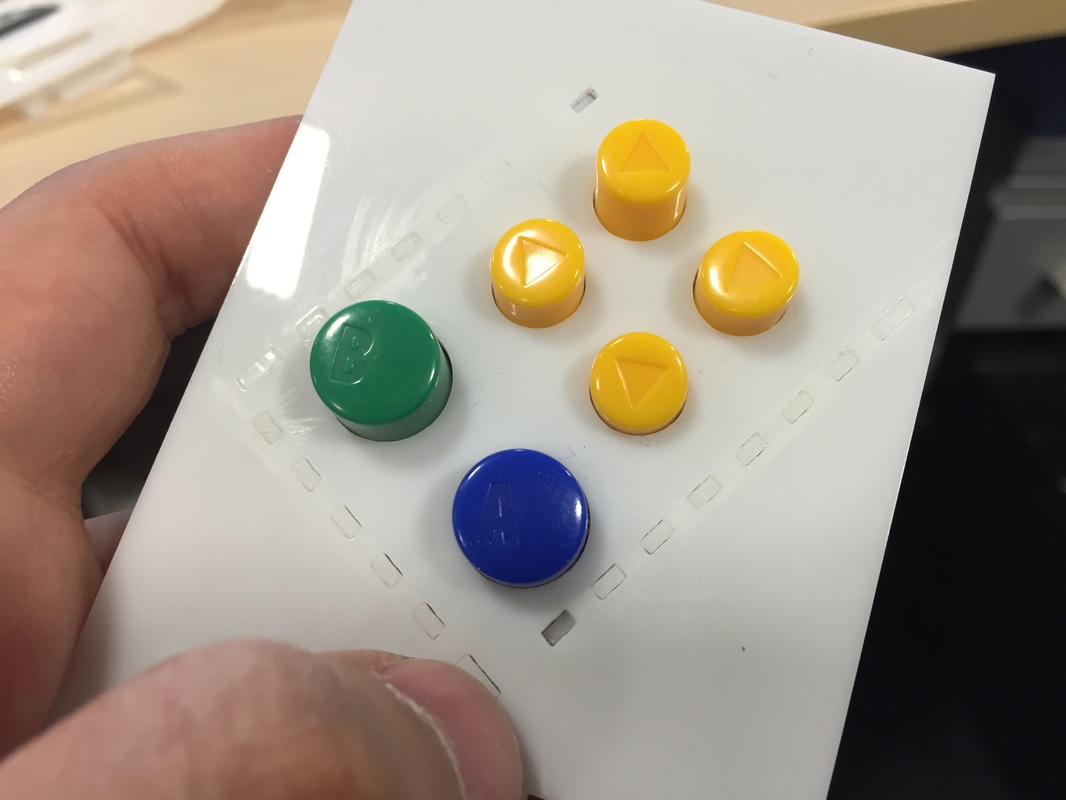
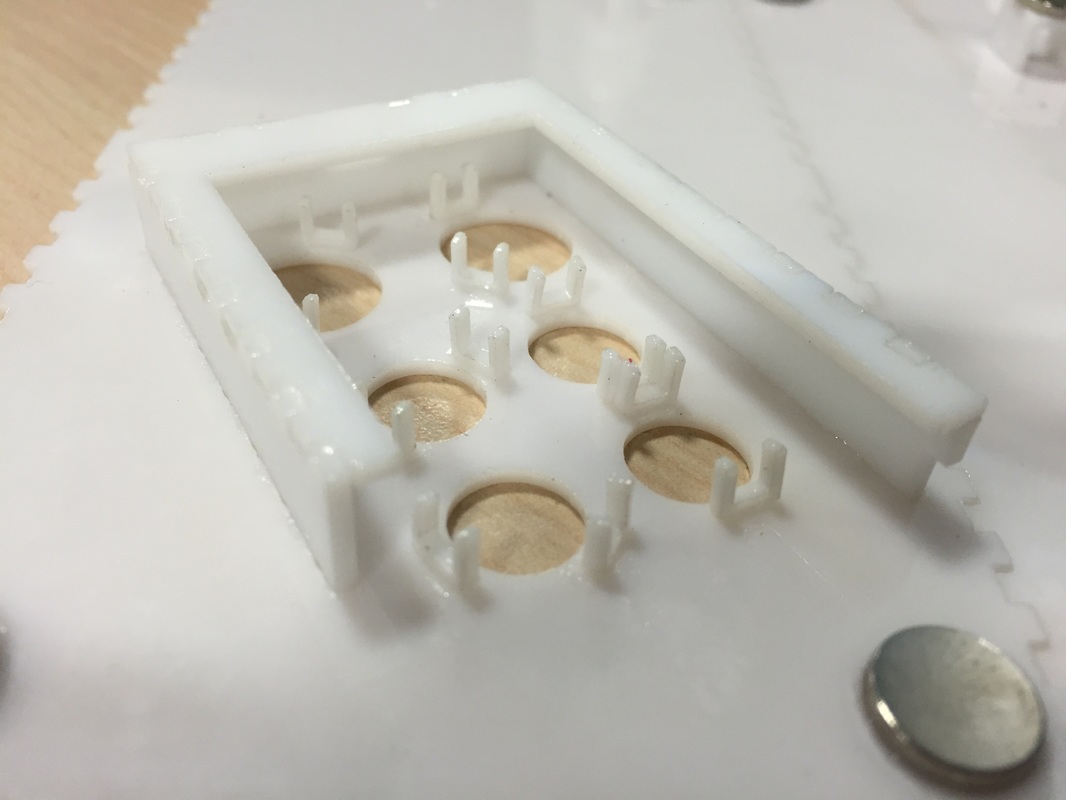
ABC Buttons
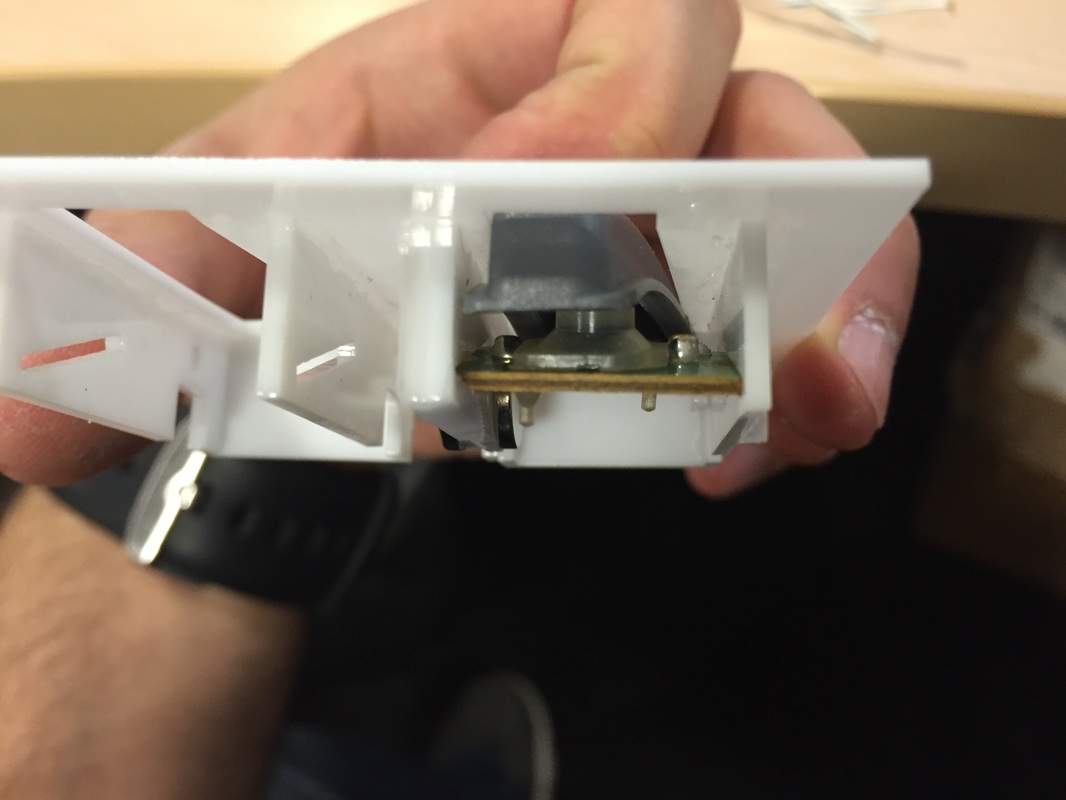
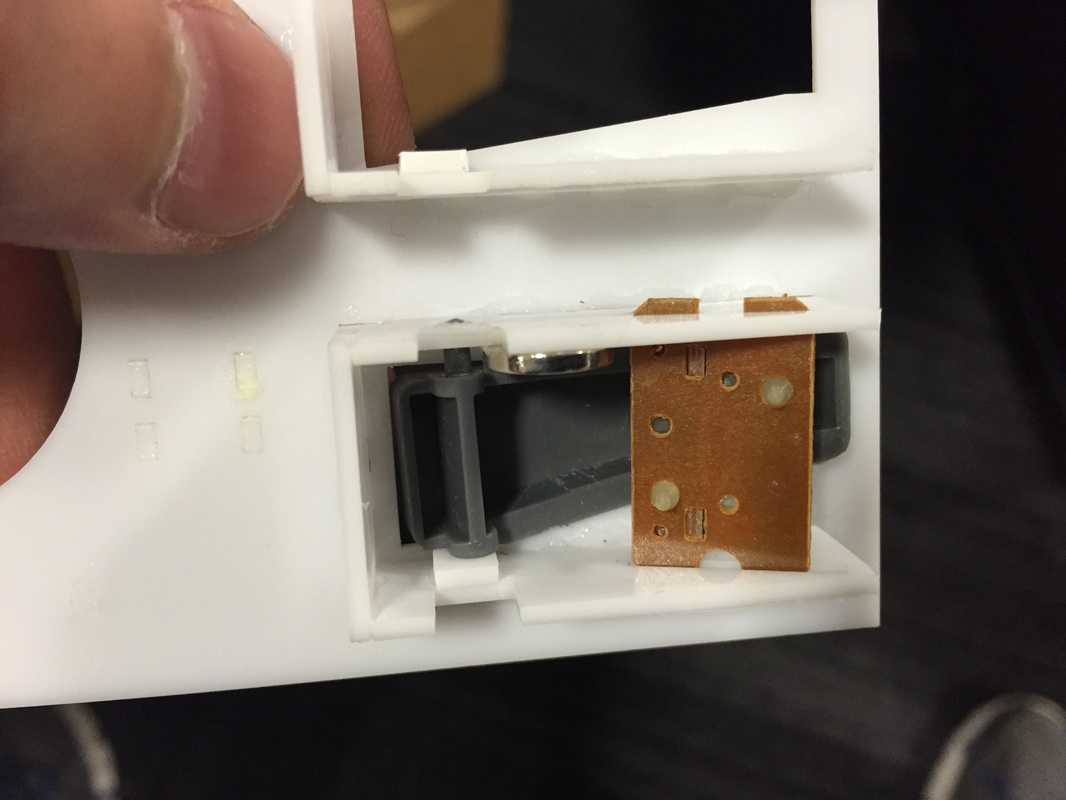
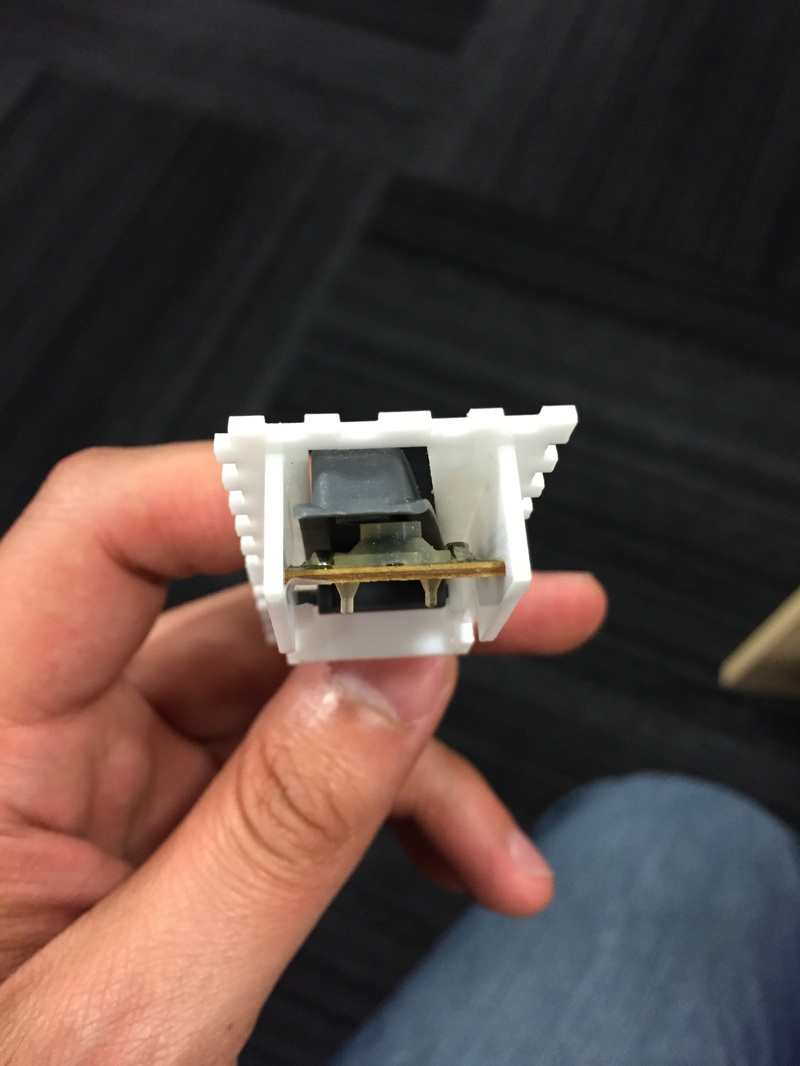
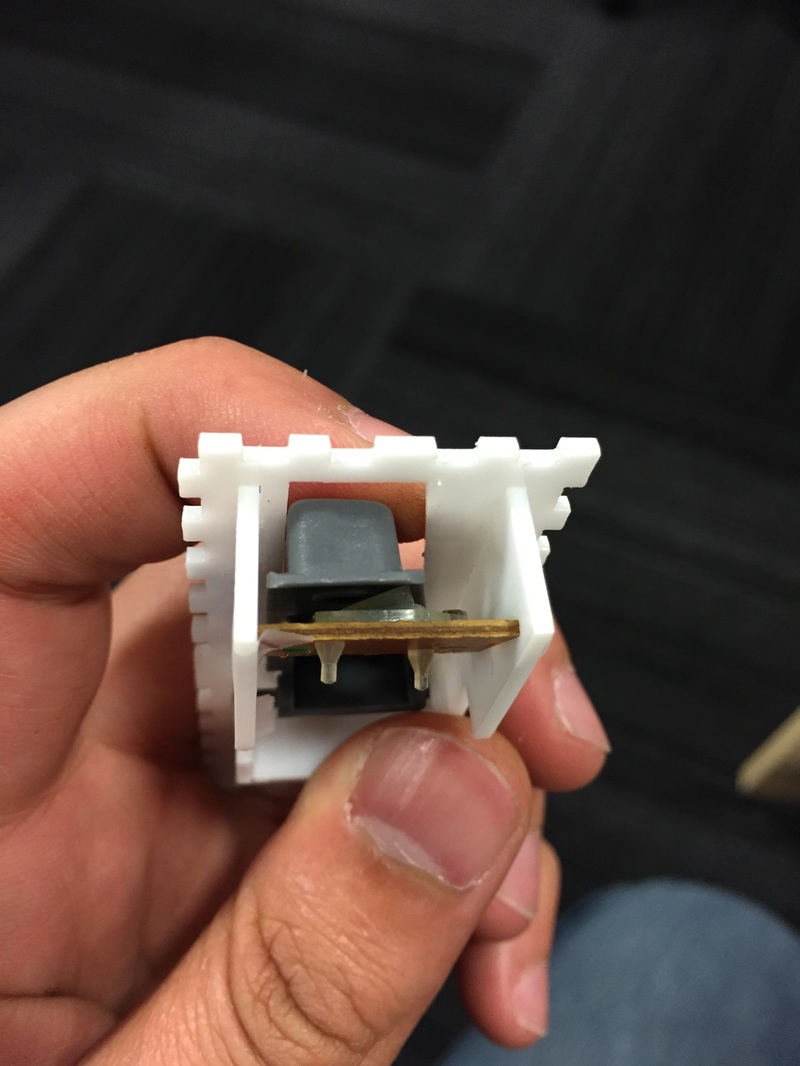
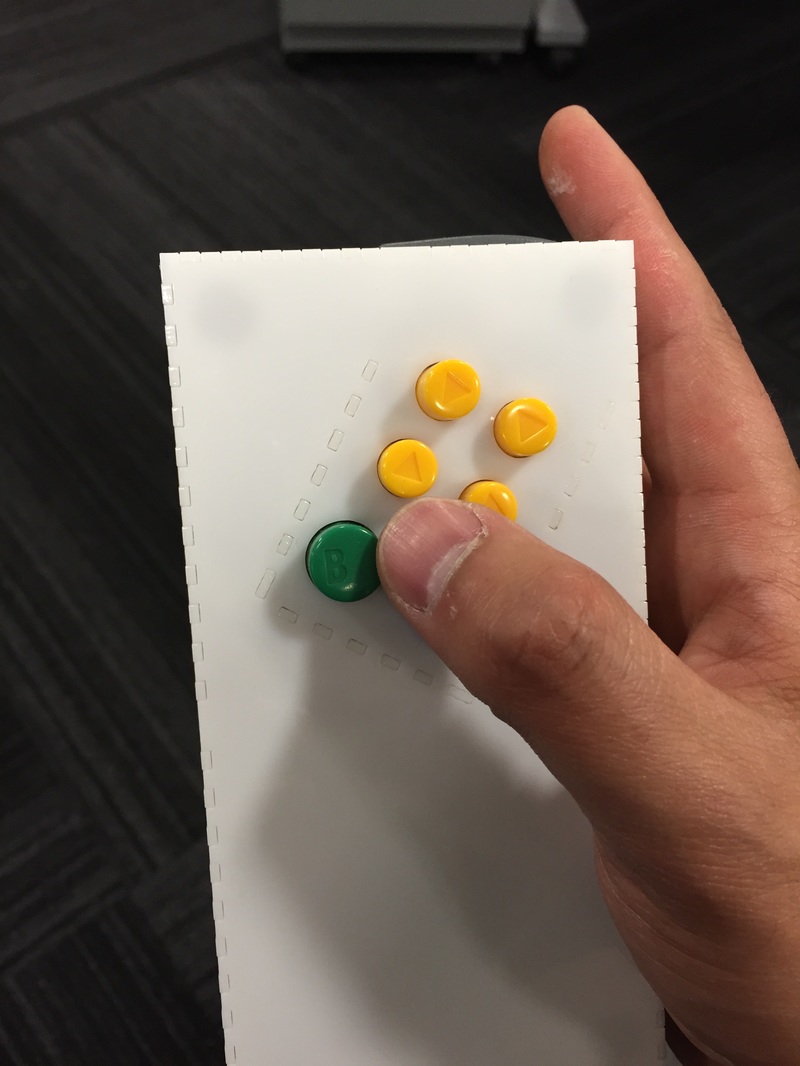
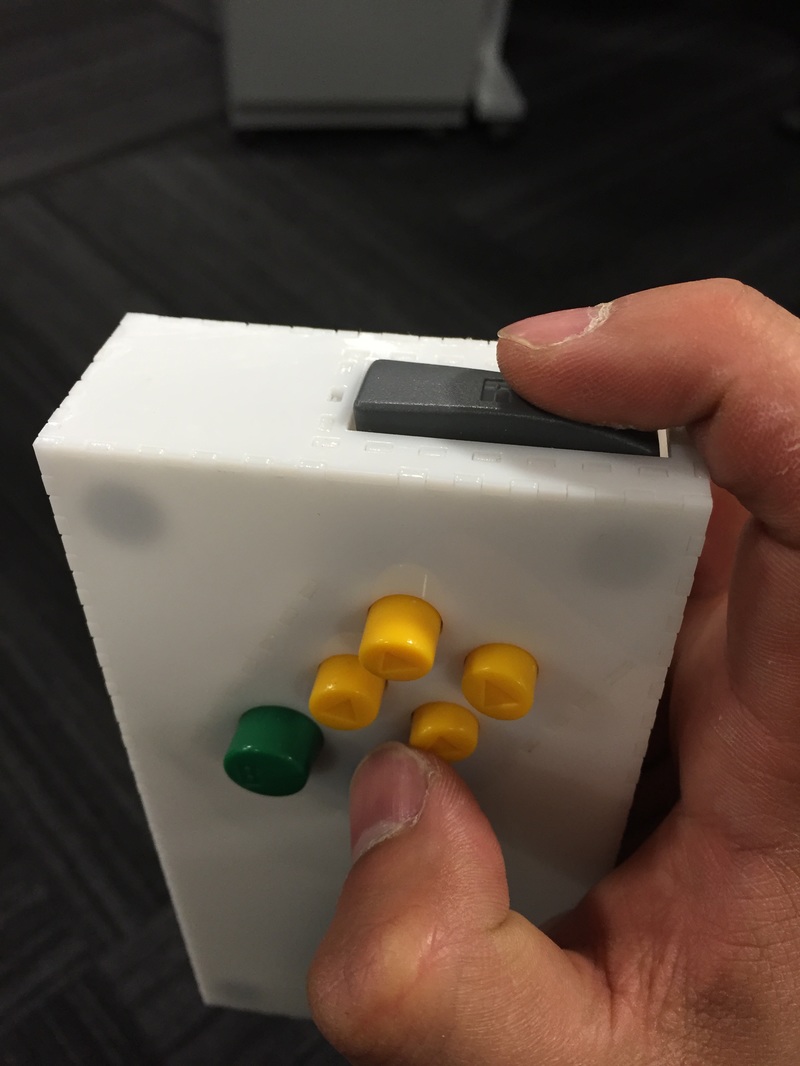
I had to make one side of the bracket shorter this time around so that I can push the buttons as close to the top edge as possible without hitting the shoulder button assembly. I also got a bit too cocky with the little alignment pegs and messed up a few places. But all in all it's just like the last design.
I had to make one side of the bracket shorter this time around so that I can push the buttons as close to the top edge as possible without hitting the shoulder button assembly. I also got a bit too cocky with the little alignment pegs and messed up a few places. But all in all it's just like the last design.
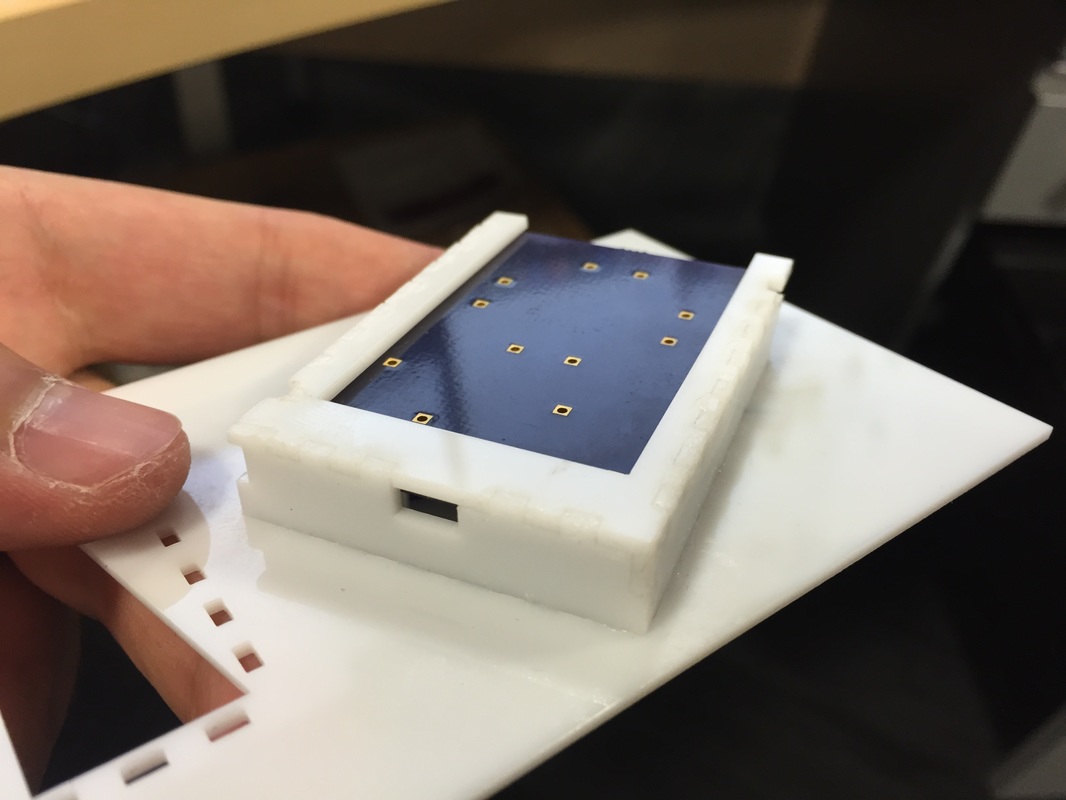
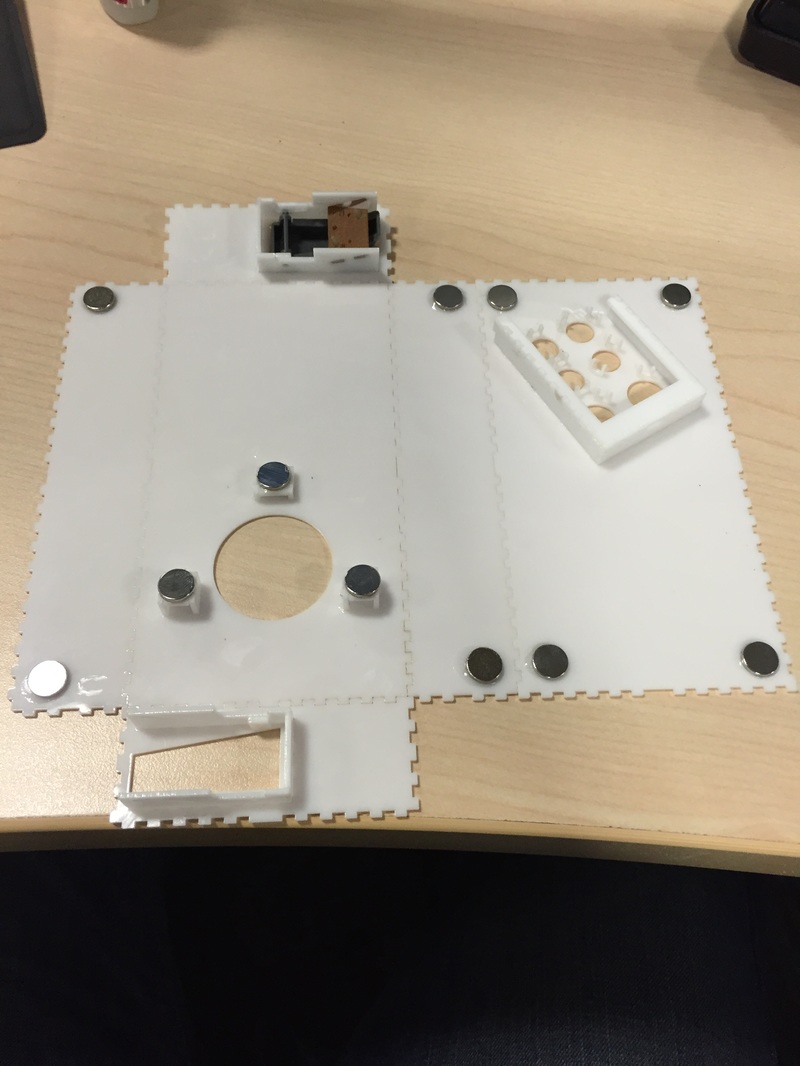
Box
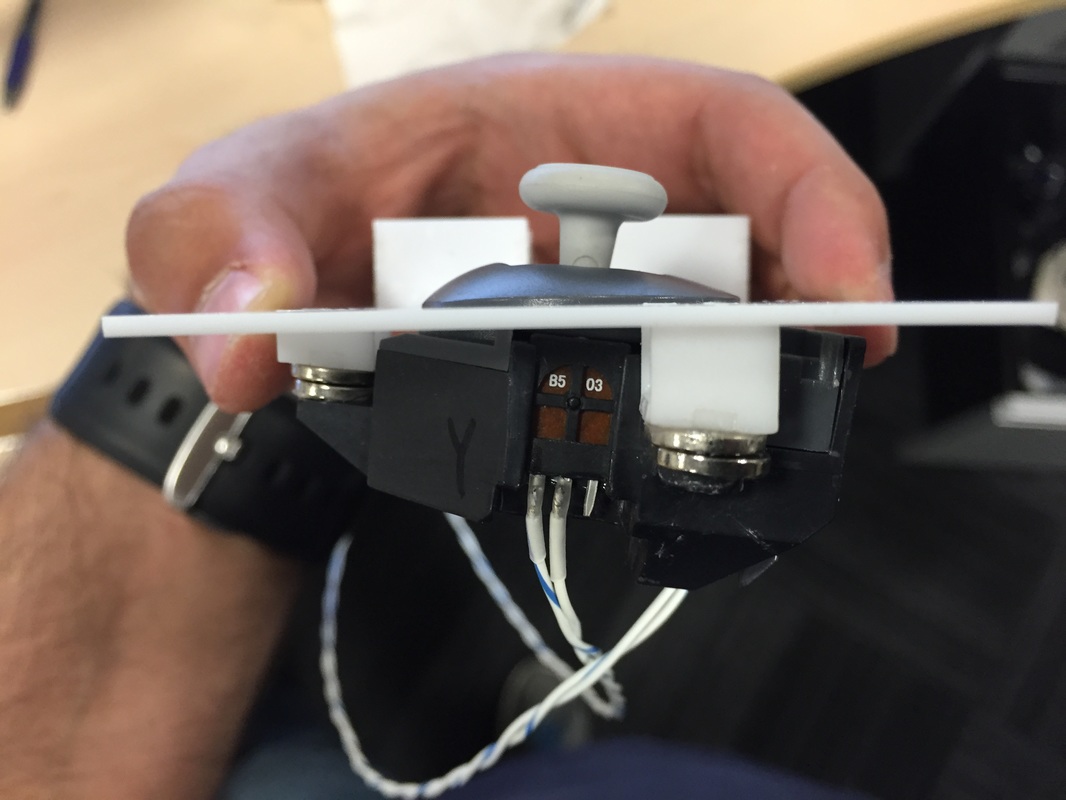
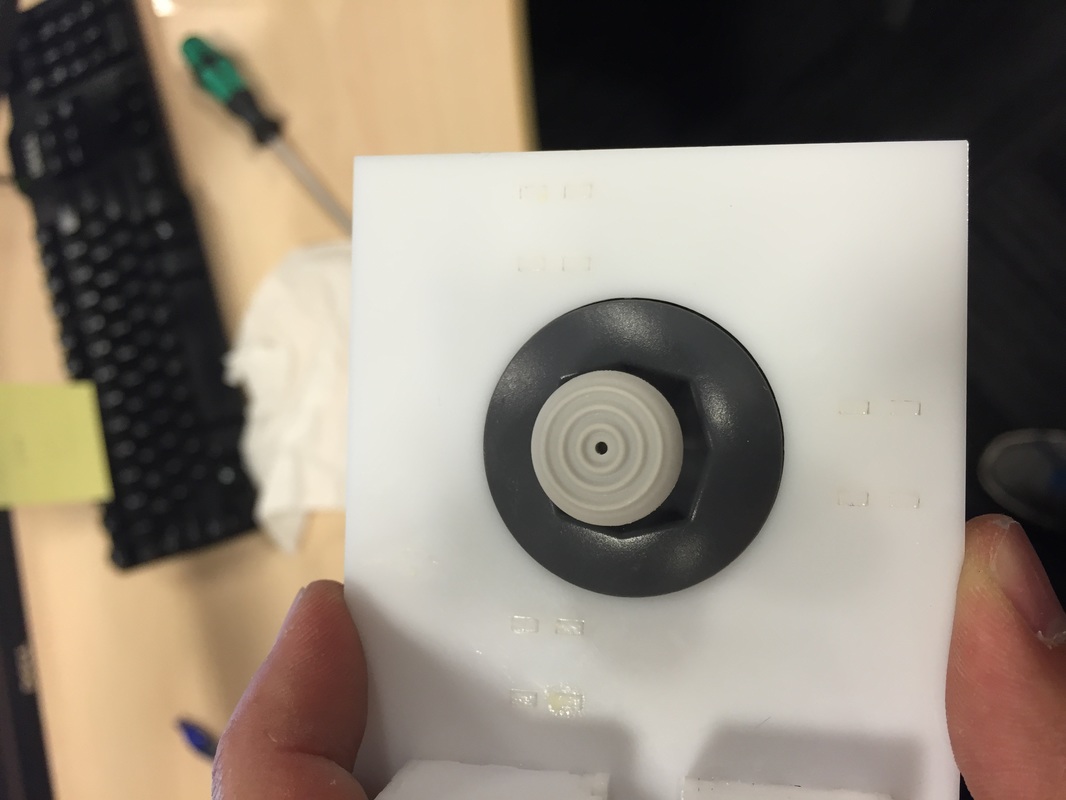
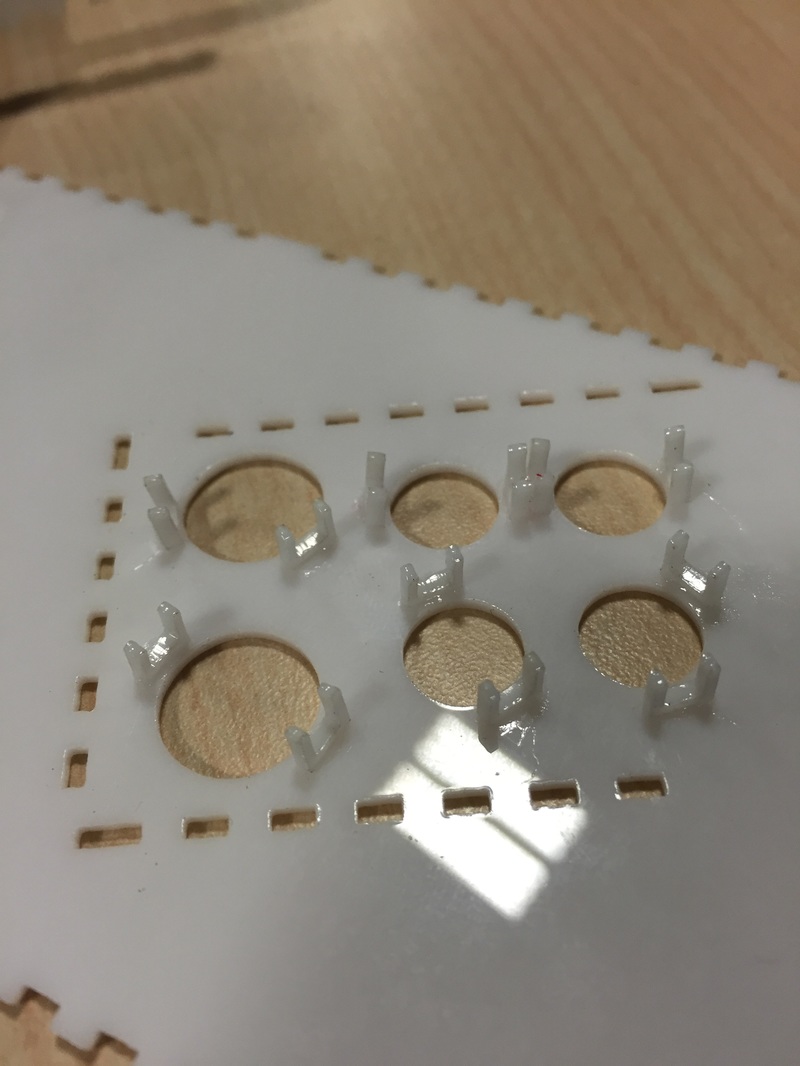
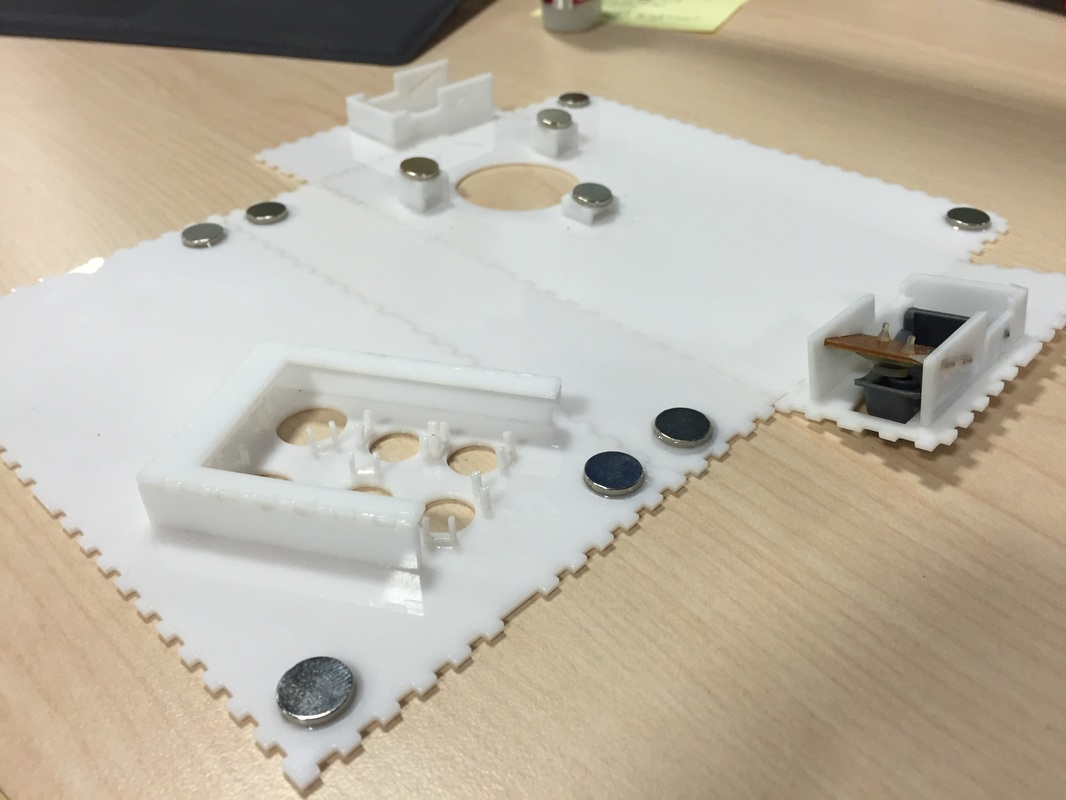
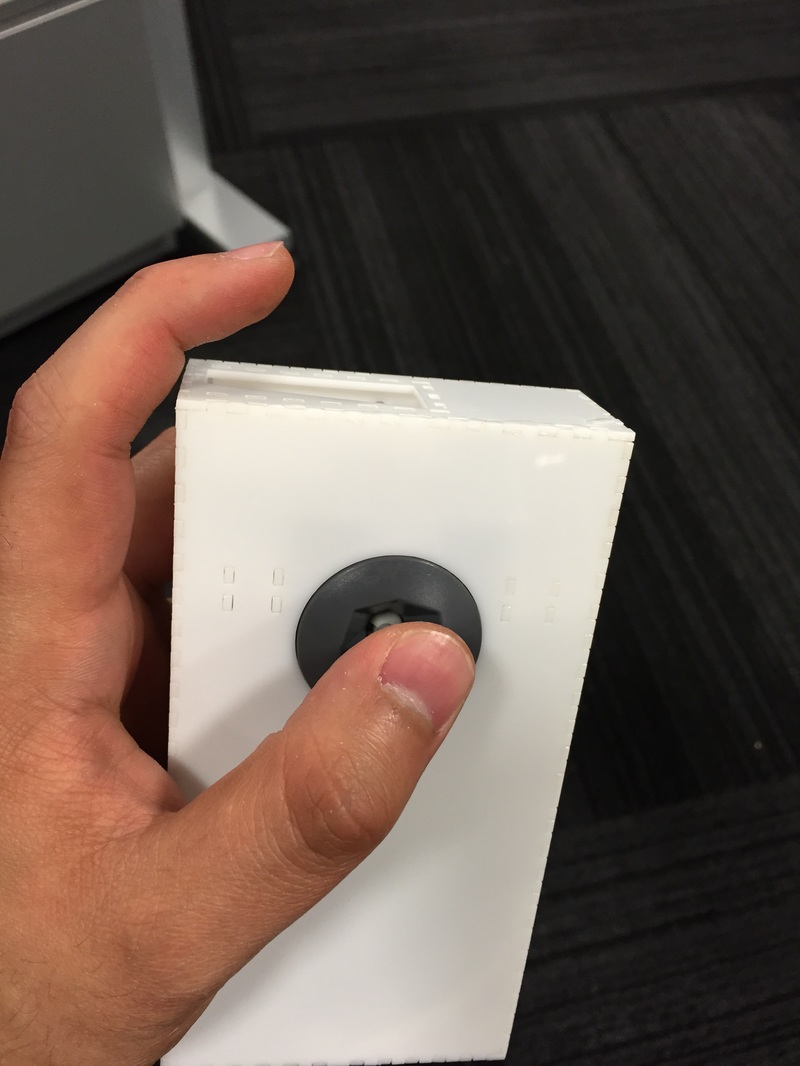
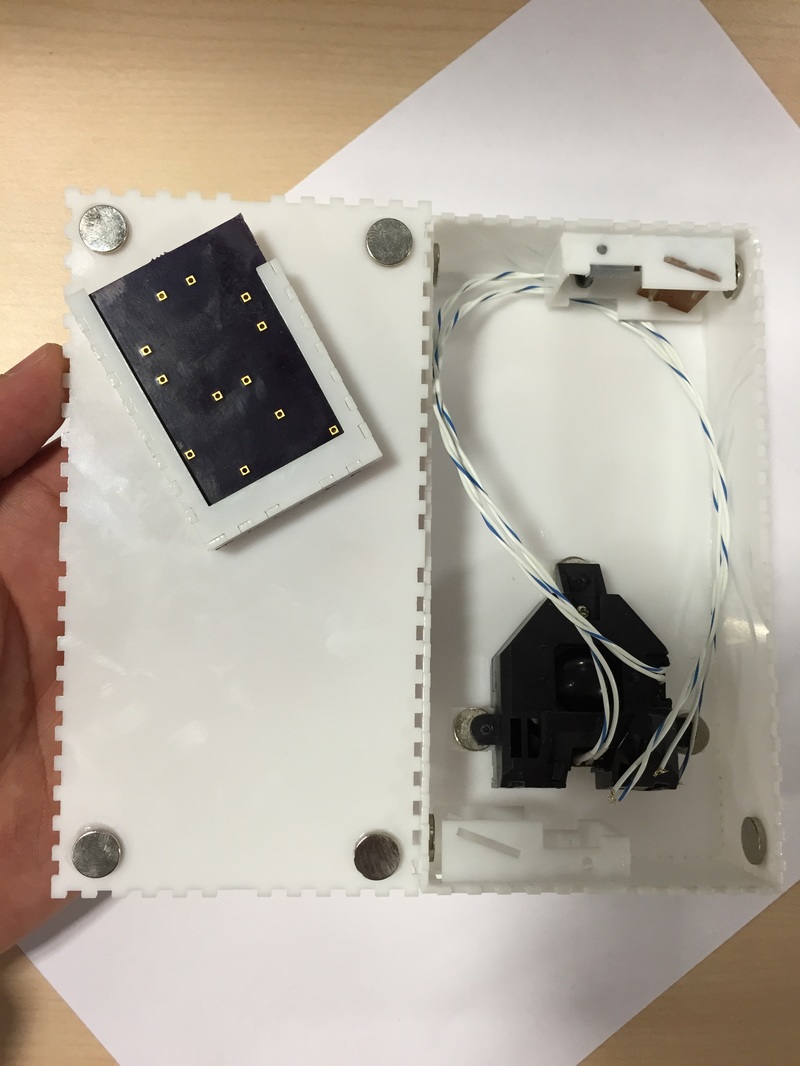
I wanted to make a box that would allow me to hold each side of the controls (ABC and R button, Analog stick and L button) to get a feel for how far away from the edge I could put each assembly while keeping it comfortable for me to hold in my hand. Bot Analog stick and ABC buttons are centered about 37mm from their respective side edges which gave me a comfortable grip so I wouldn't have to reach to hit the B or C buttons and I could move the stick all the way to the right easily. I wanted to keep both controls at about 40mm from the top but the ABC buttons' bracket was getting too close to the shoulder button bracket so the analog stick is centered at 40mm from the top but the ABC buttons are about 45mm (ABC button assembly's middle I'm taking to be a bit higher and to the left of the A button.
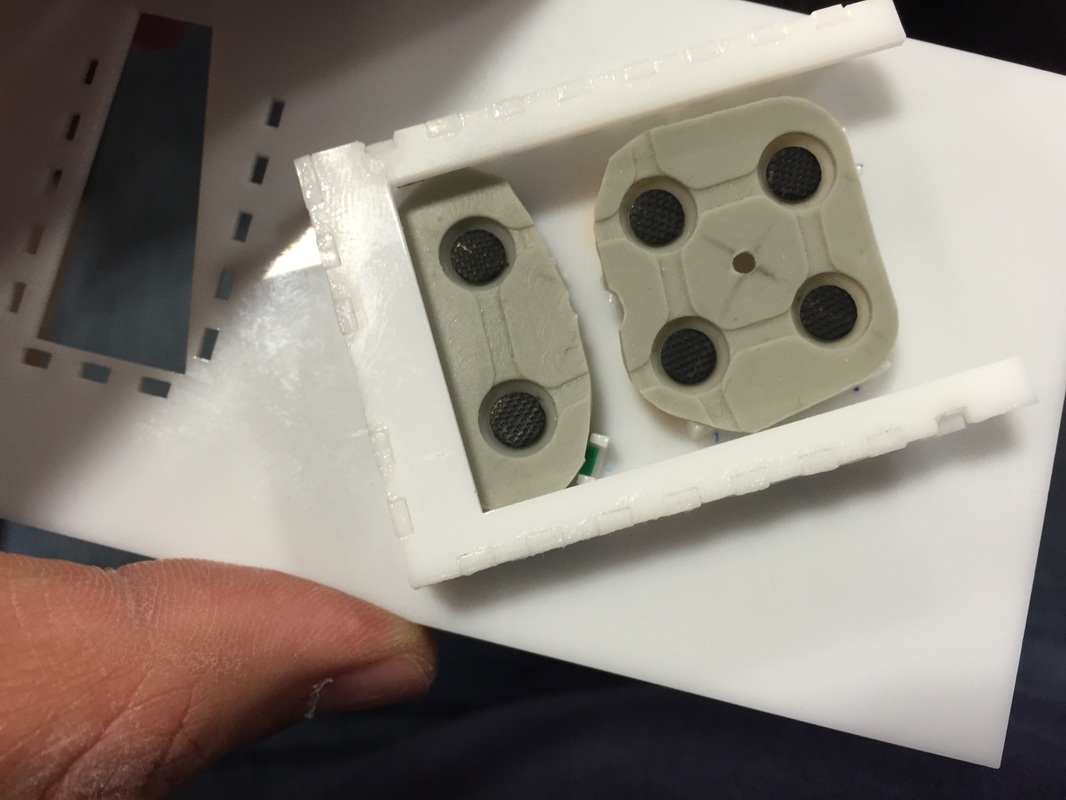
The rest of the box is pretty simple. The face-plate is held on by magnets. The analog stick is held on by magnets as well just like my last post.
I made the box's depth 30mm from outside top face to bottom face. This gave the inside ~27mm which was just enough for the analog stick (I think its like 26mm at its lowest, hard to measure since its on a slant).
I miscalculated a little for the panels that hold the shoulder buttons, they are a bit too short so you can see they cracked in a couple places when I glued that piece in. Not a problem though, just gotta be careful on the final cut.
I wanted to make a box that would allow me to hold each side of the controls (ABC and R button, Analog stick and L button) to get a feel for how far away from the edge I could put each assembly while keeping it comfortable for me to hold in my hand. Bot Analog stick and ABC buttons are centered about 37mm from their respective side edges which gave me a comfortable grip so I wouldn't have to reach to hit the B or C buttons and I could move the stick all the way to the right easily. I wanted to keep both controls at about 40mm from the top but the ABC buttons' bracket was getting too close to the shoulder button bracket so the analog stick is centered at 40mm from the top but the ABC buttons are about 45mm (ABC button assembly's middle I'm taking to be a bit higher and to the left of the A button.
The rest of the box is pretty simple. The face-plate is held on by magnets. The analog stick is held on by magnets as well just like my last post.
I made the box's depth 30mm from outside top face to bottom face. This gave the inside ~27mm which was just enough for the analog stick (I think its like 26mm at its lowest, hard to measure since its on a slant).
I miscalculated a little for the panels that hold the shoulder buttons, they are a bit too short so you can see they cracked in a couple places when I glued that piece in. Not a problem though, just gotta be careful on the final cut.


Conclusion
The grip feels great. I was worried at first when I only held one side and tried to articulate the stick and press the shoulder button as well, since that's going to be the Z button for most of the time I wanted it to feel comfortable. After realizing that I'll be holding the whole console with two hands and that there will be force from my right hand helping me hold the thing my left index finger was a lot happier in pressing the shoulder button.
The grip feels great. I was worried at first when I only held one side and tried to articulate the stick and press the shoulder button as well, since that's going to be the Z button for most of the time I wanted it to feel comfortable. After realizing that I'll be holding the whole console with two hands and that there will be force from my right hand helping me hold the thing my left index finger was a lot happier in pressing the shoulder button.
| FullTestBox.skp |
Next Steps:
I'll be worrying about the screen assembly next. I've got a less-than-optimal bracketing system set up but not sure if it'll hold up, so gotta run a test of that. I'm trying to etch away a certain depth of the acrylic sheet so the screen has an indentation to sit in. If that doesn't work then I'm thinking an extra layer of acrylic added to the border of the cut-out to hold a bit more of the screen. Gotta think it thru more. This will affect the overall model of the box which I gotta update since all the controls have been finalized. So it's back to imagination and sketchup!
I'll be worrying about the screen assembly next. I've got a less-than-optimal bracketing system set up but not sure if it'll hold up, so gotta run a test of that. I'm trying to etch away a certain depth of the acrylic sheet so the screen has an indentation to sit in. If that doesn't work then I'm thinking an extra layer of acrylic added to the border of the cut-out to hold a bit more of the screen. Gotta think it thru more. This will affect the overall model of the box which I gotta update since all the controls have been finalized. So it's back to imagination and sketchup!