Battery Brackets
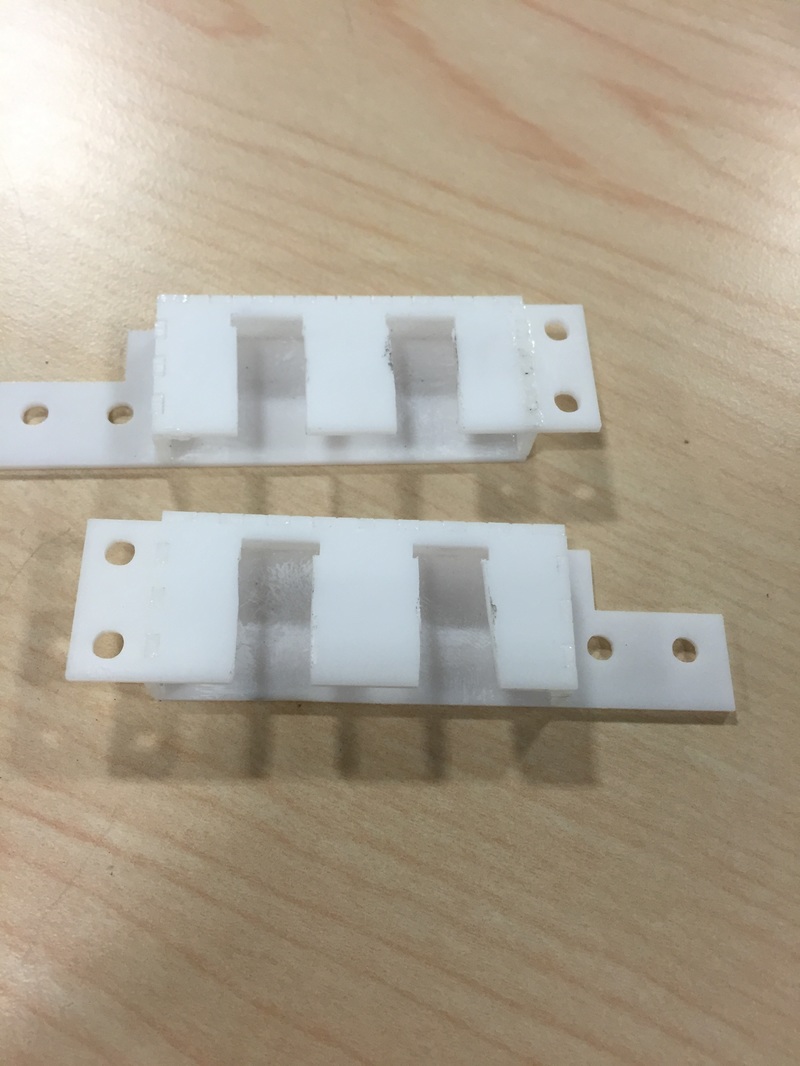
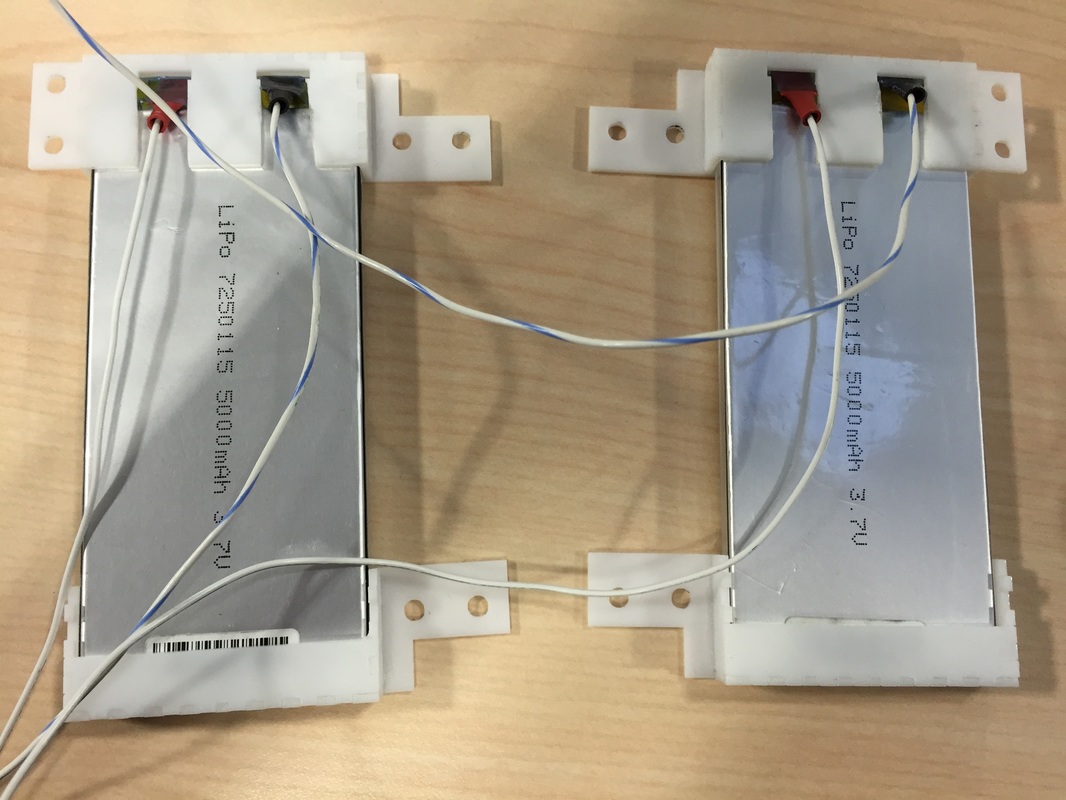
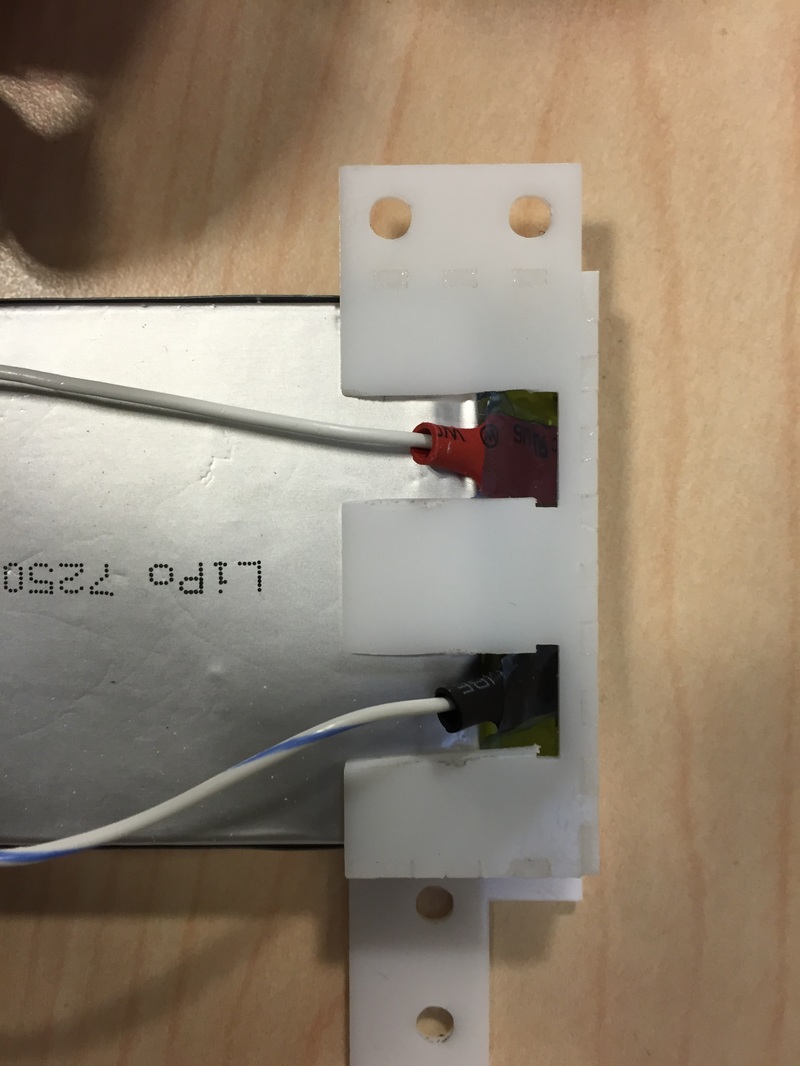
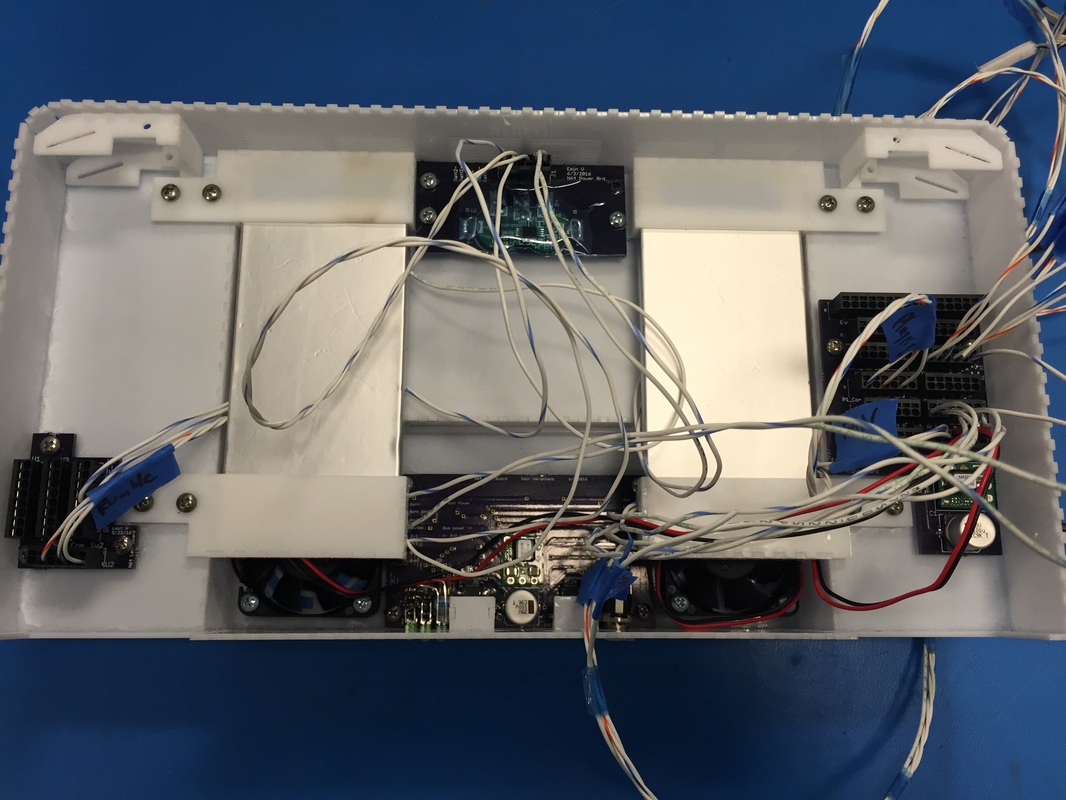
Started with the brackets for the batteries so I can position the PCB's finally, The brackets proved to be a bit crappy design since the opening for the wires were too small and the tabs for the batteries too rigid. Ended up dremeling wide channels in the bracket where the tabs and wires would come out of the battery and bracket. It still proved to be stiff so I'll update that in the Illustrator file.
Started with the brackets for the batteries so I can position the PCB's finally, The brackets proved to be a bit crappy design since the opening for the wires were too small and the tabs for the batteries too rigid. Ended up dremeling wide channels in the bracket where the tabs and wires would come out of the battery and bracket. It still proved to be stiff so I'll update that in the Illustrator file.
Buttons
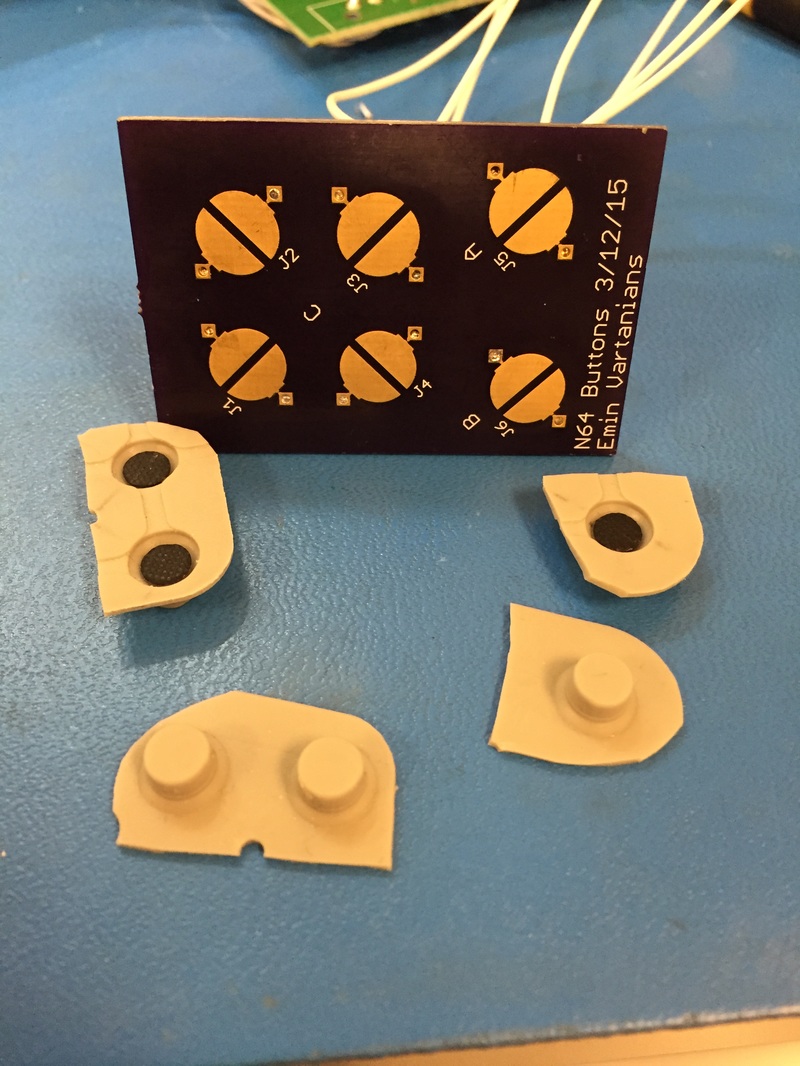
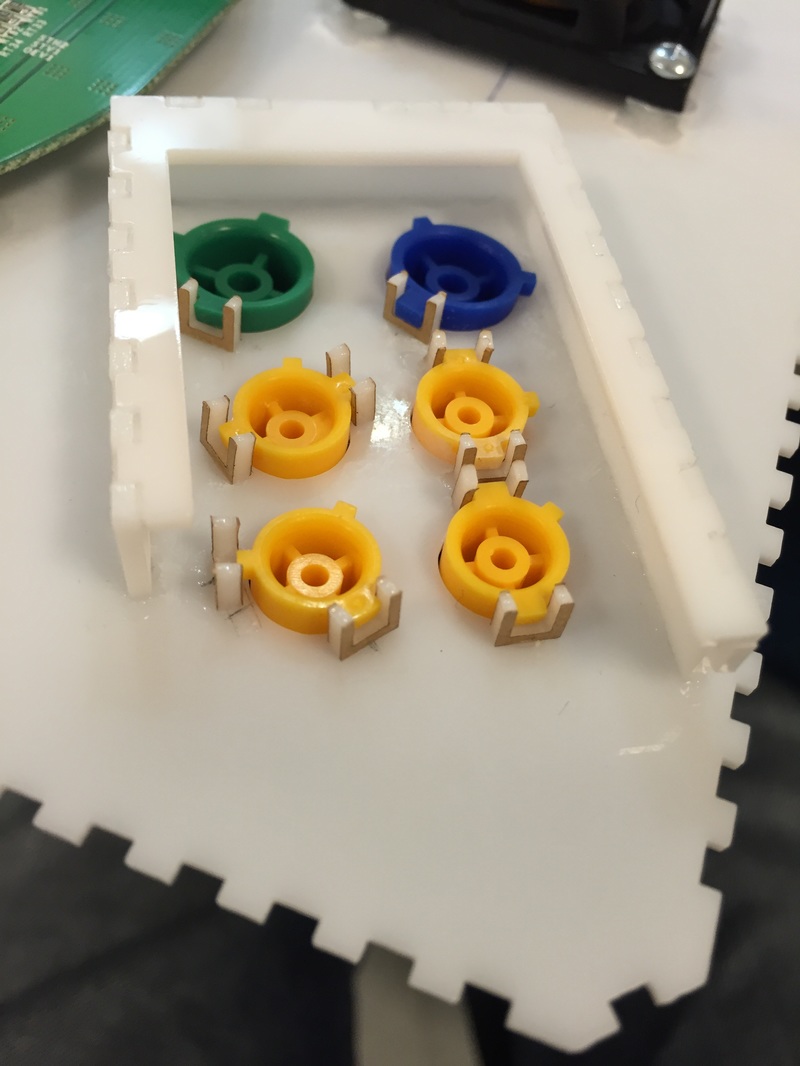
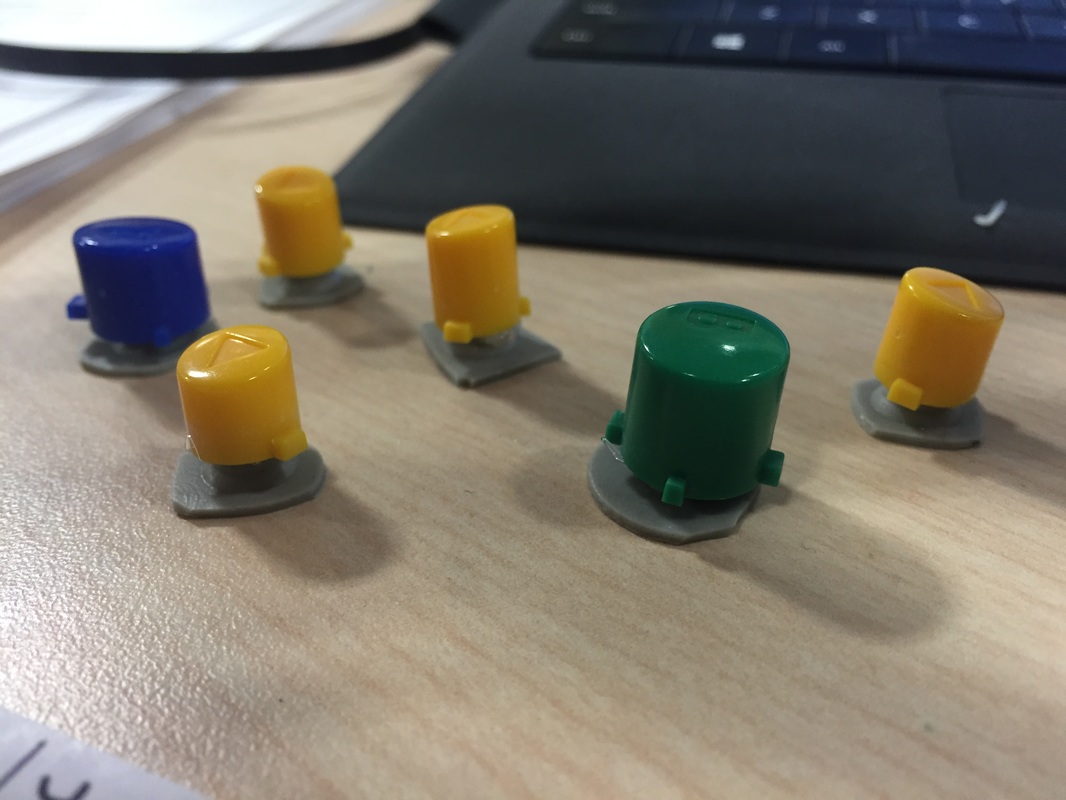
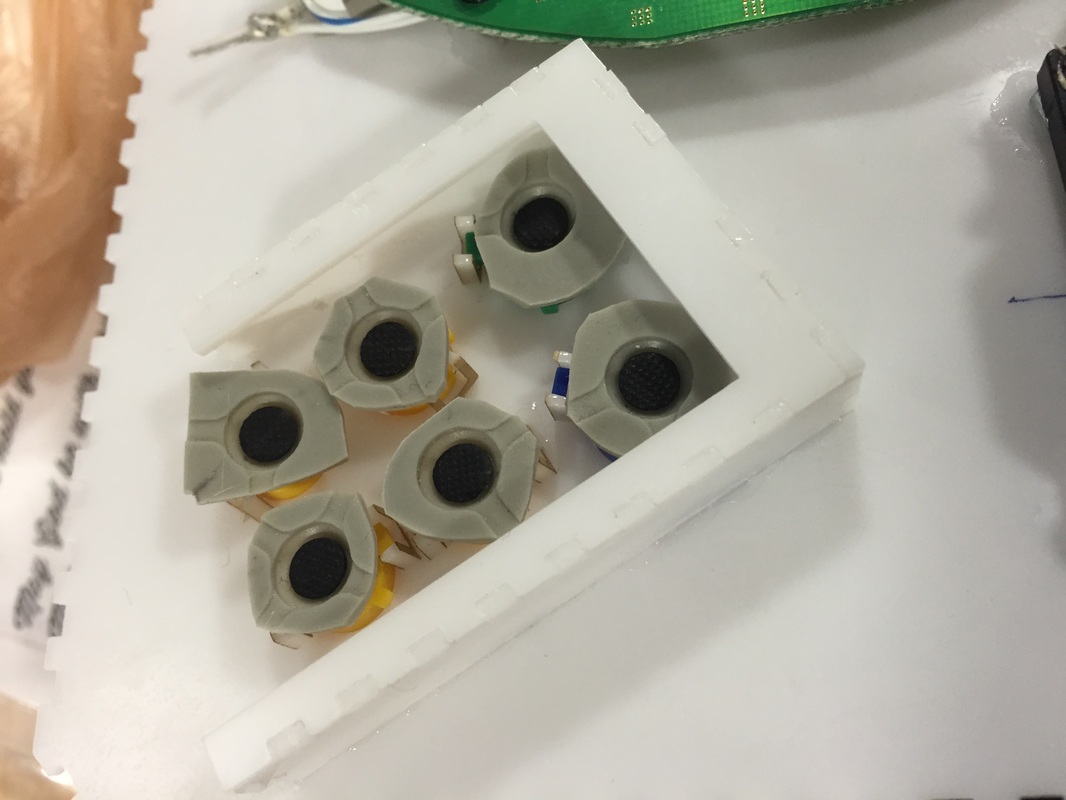
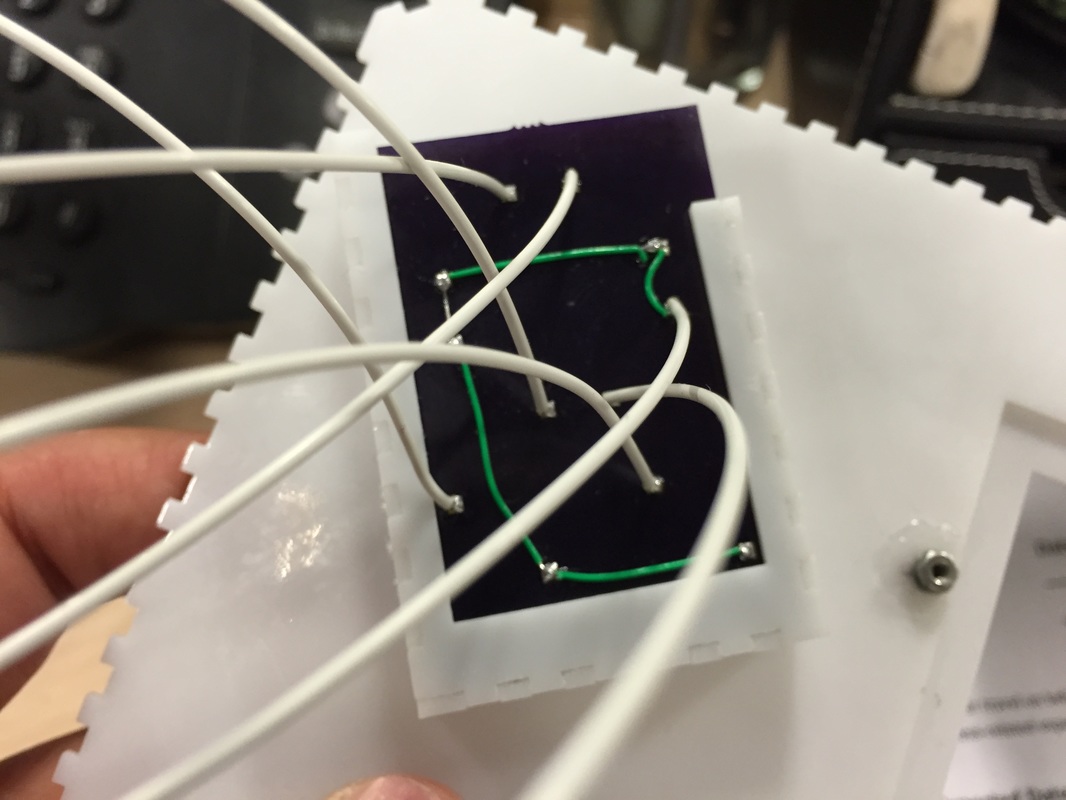
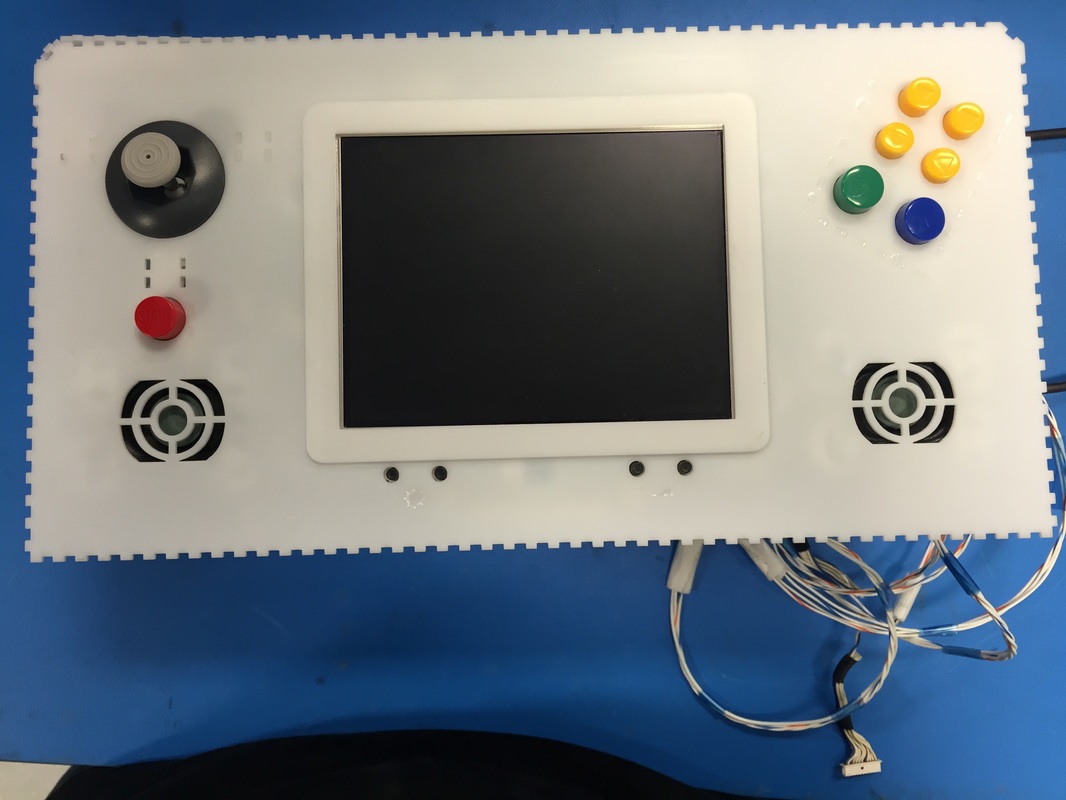
While I let the glue on the nuts that hold the battery brackets dry I focused on the face plate and buttons. First wired up all the controls on the control PCB and connected some stuff to test the game still works, check. Then I cut up the button's rubber membrane for each button. I found that they kept slipping when I pressed the A button so I ended up hot gluing the membranes to each of their button bottoms. Hot glue is not really seen and its easily replaceable. After I did all that the buttons didn't slip and contacted the PCB a lot better. The A button is still a bit finicky but it'll do for now.
While I let the glue on the nuts that hold the battery brackets dry I focused on the face plate and buttons. First wired up all the controls on the control PCB and connected some stuff to test the game still works, check. Then I cut up the button's rubber membrane for each button. I found that they kept slipping when I pressed the A button so I ended up hot gluing the membranes to each of their button bottoms. Hot glue is not really seen and its easily replaceable. After I did all that the buttons didn't slip and contacted the PCB a lot better. The A button is still a bit finicky but it'll do for now.
First go at Integration
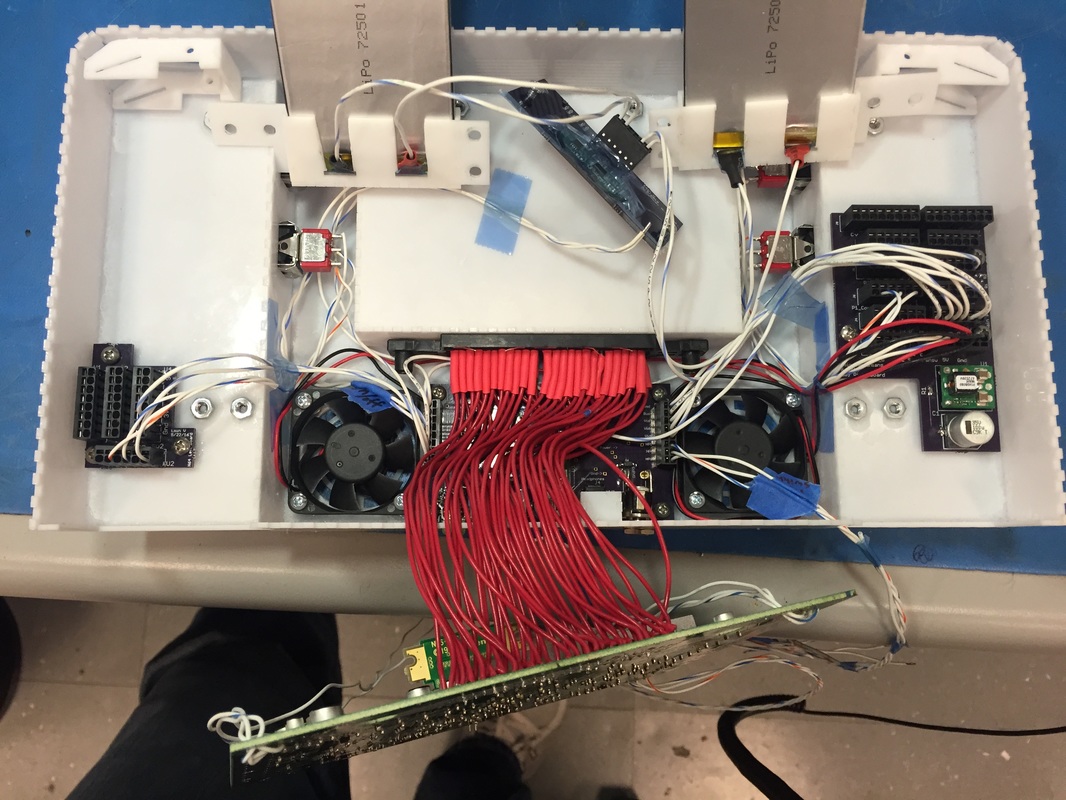
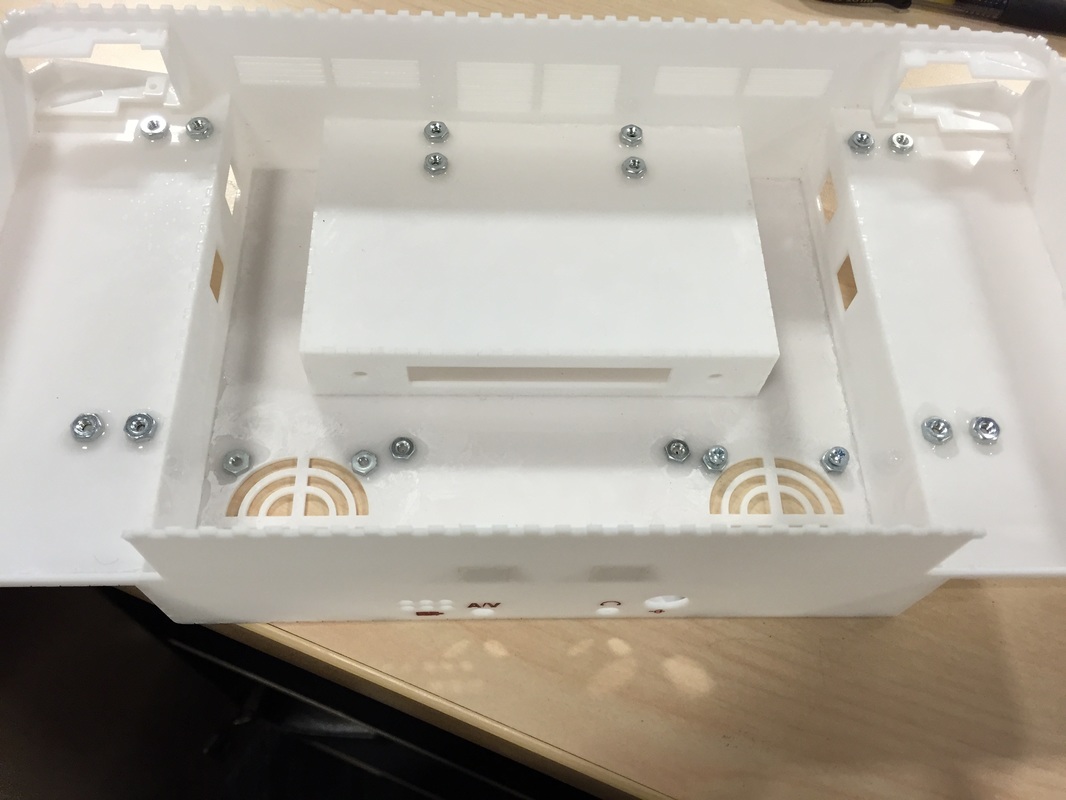
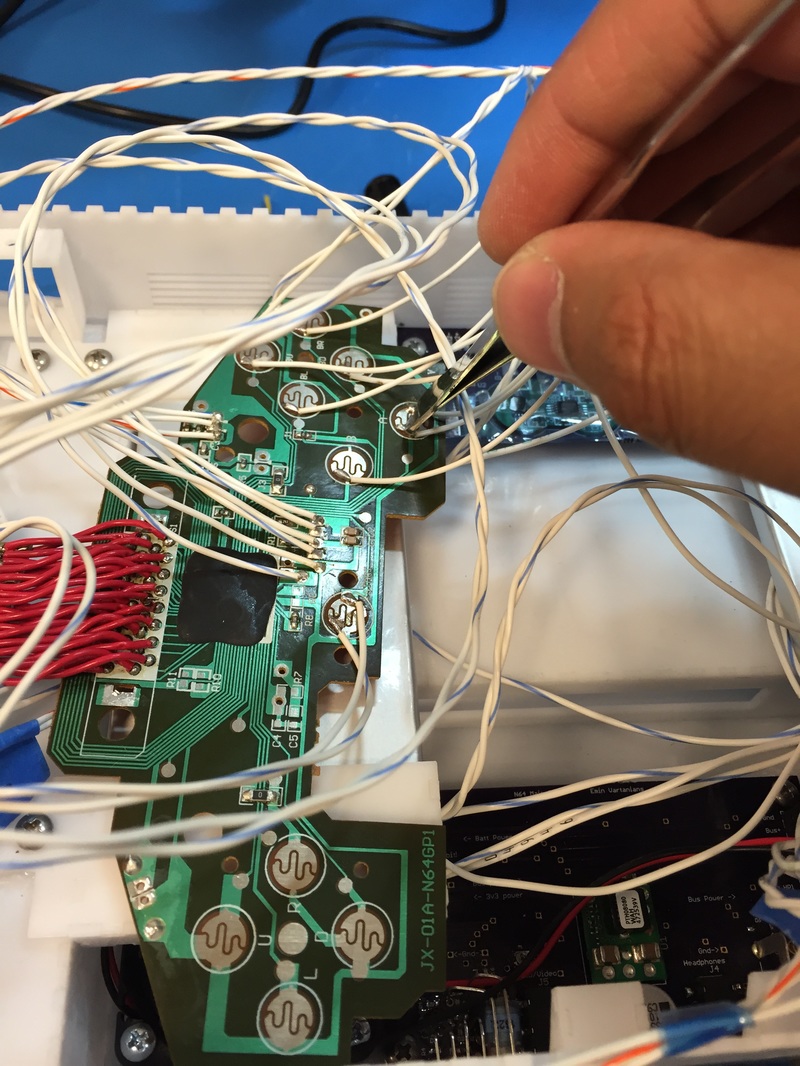
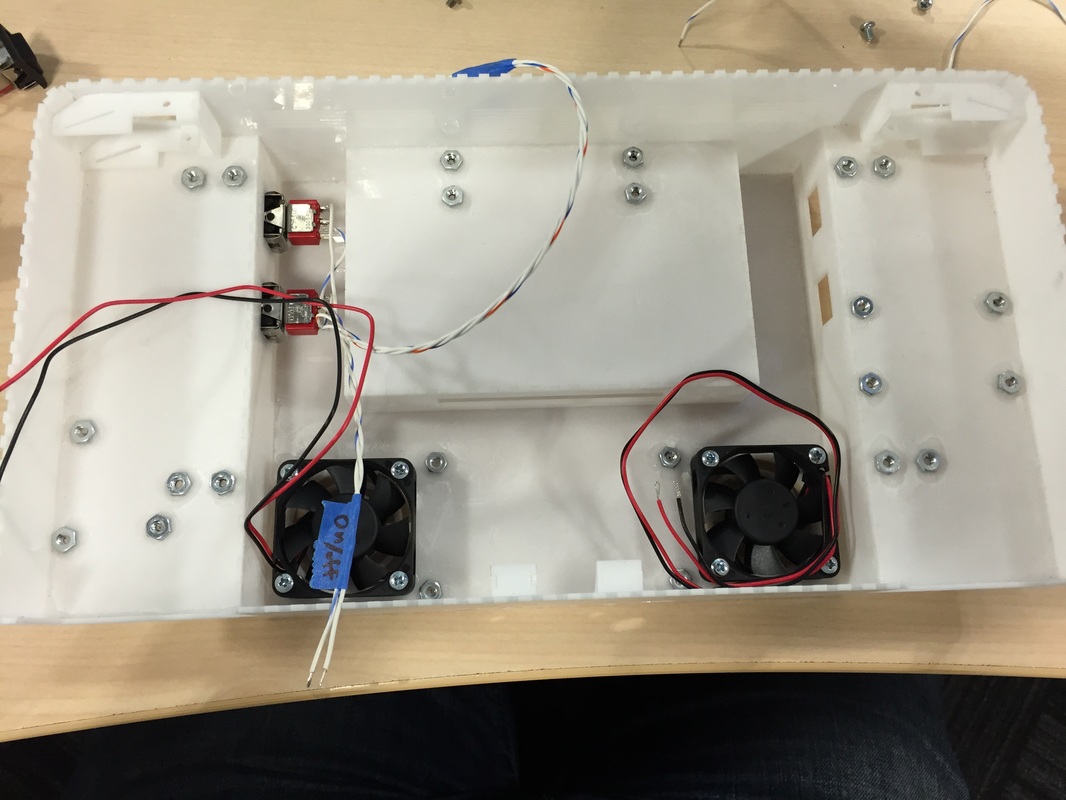
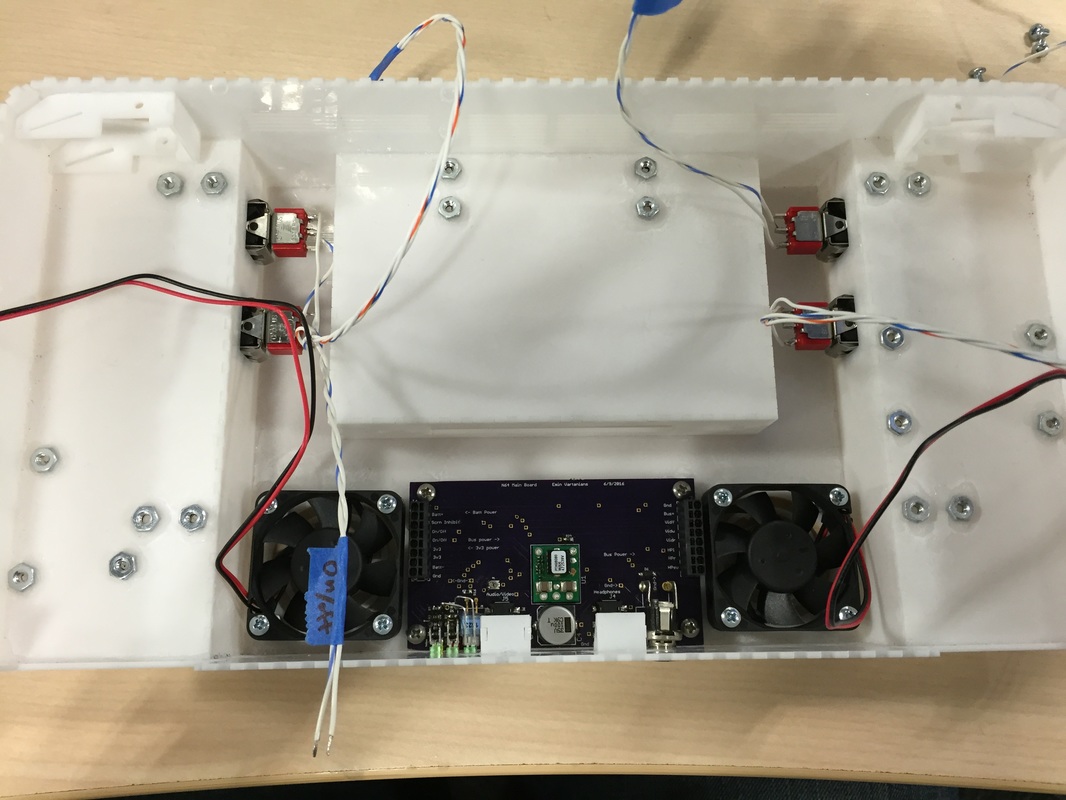
So I after all the glue cured I put everything but the N64 board into the box and tried to test it all. With the Battery brackets in I could finally put the power PCB in, then connect the N64 and screen wires to each other. DIdn't try too many buttons but the few I tried worked just fine. My general plan is to integrate with long wires, try it out, then replace with shorter wires custom for each length.
So I after all the glue cured I put everything but the N64 board into the box and tried to test it all. With the Battery brackets in I could finally put the power PCB in, then connect the N64 and screen wires to each other. DIdn't try too many buttons but the few I tried worked just fine. My general plan is to integrate with long wires, try it out, then replace with shorter wires custom for each length.
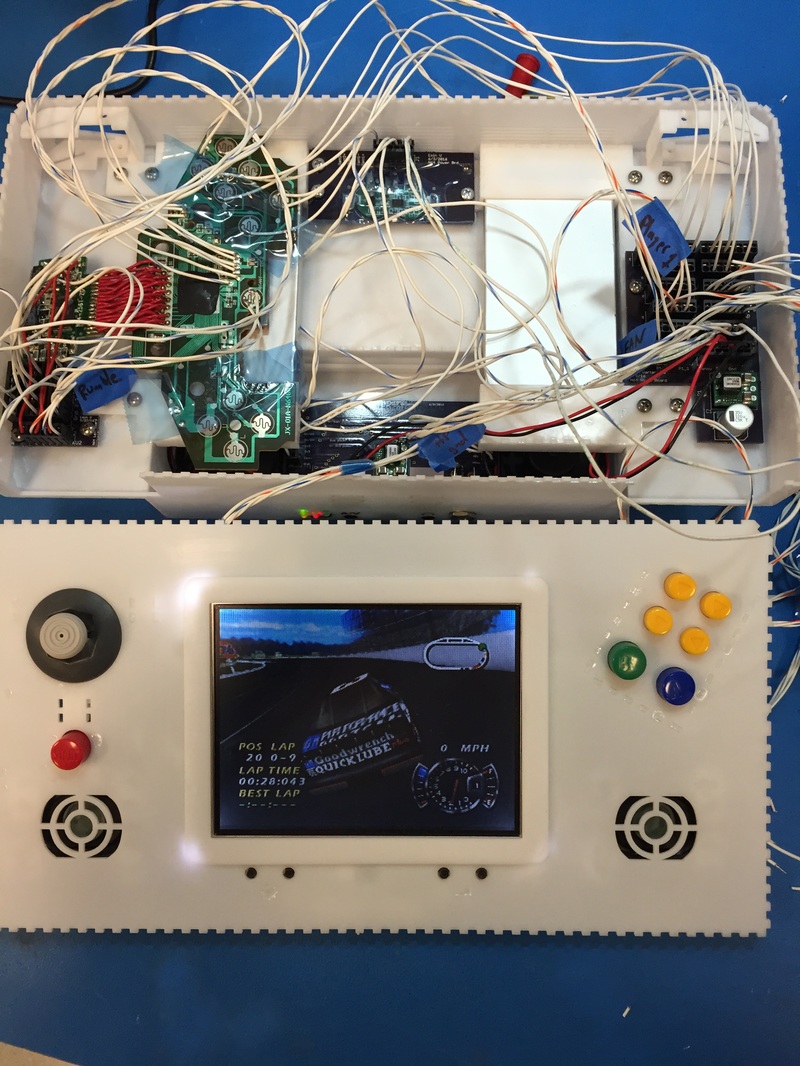
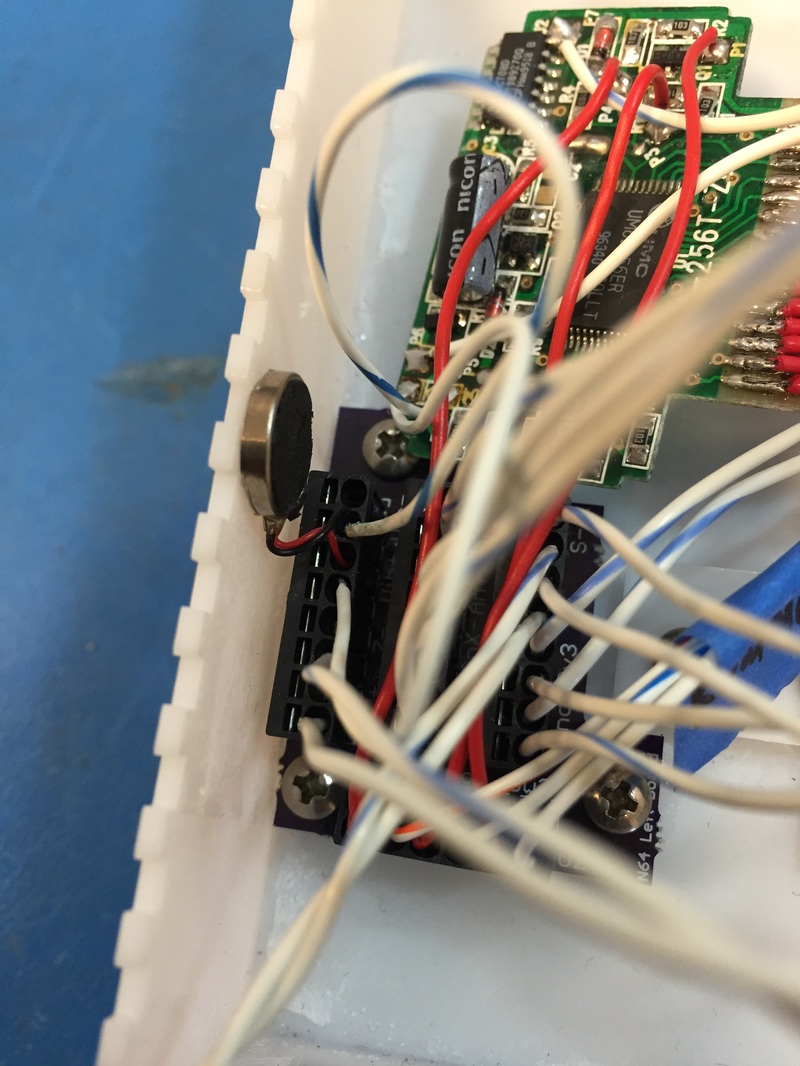
Run the Unit
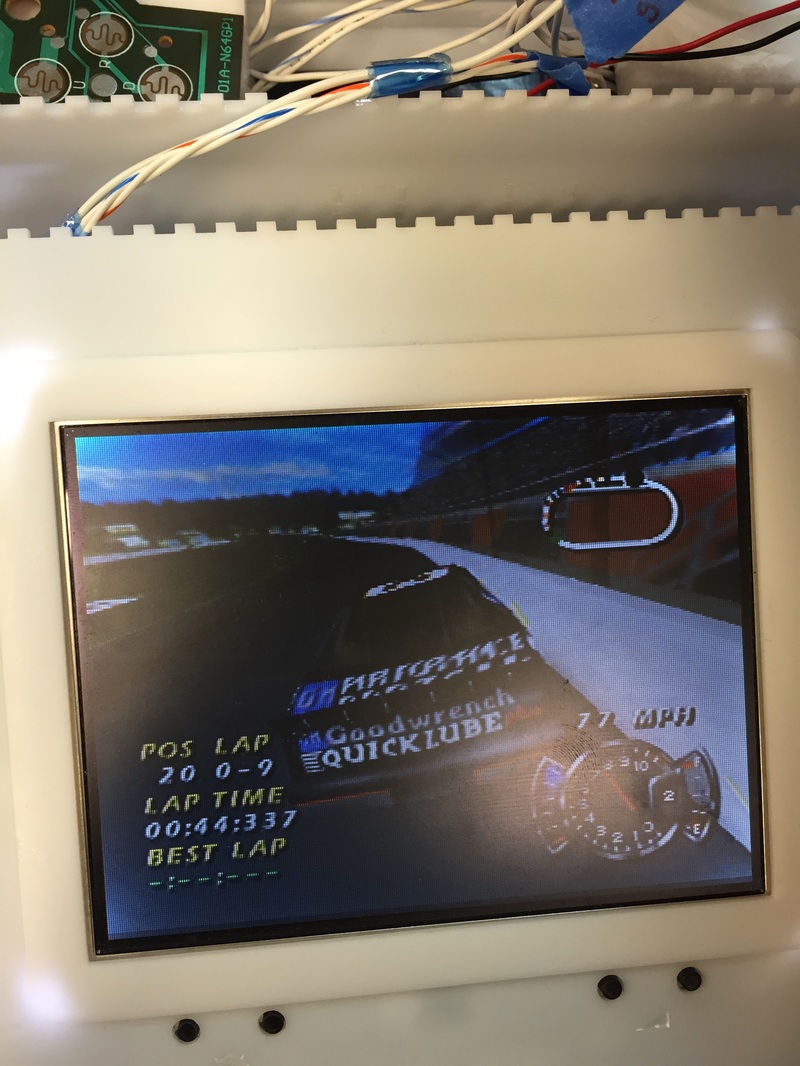
Connected everything with the N64 outside and ran the game. It all worked! Even tried the rumble motor and it rumbles just fine.
Connected everything with the N64 outside and ran the game. It all worked! Even tried the rumble motor and it rumbles just fine.
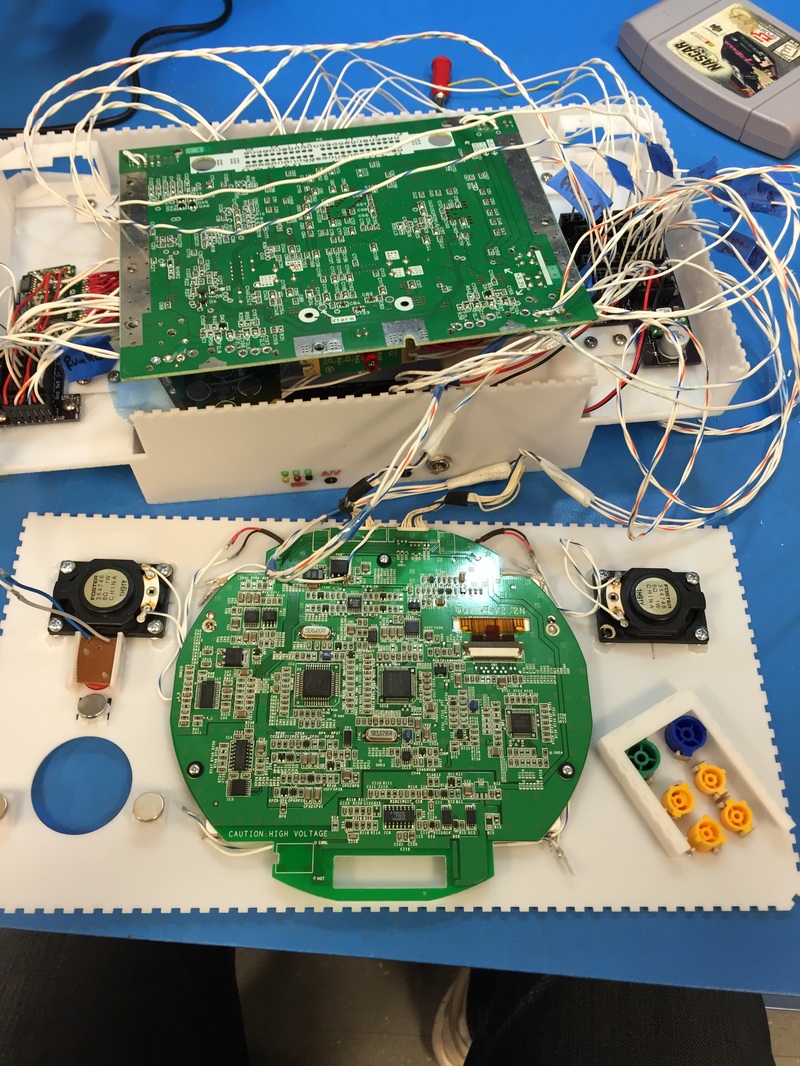
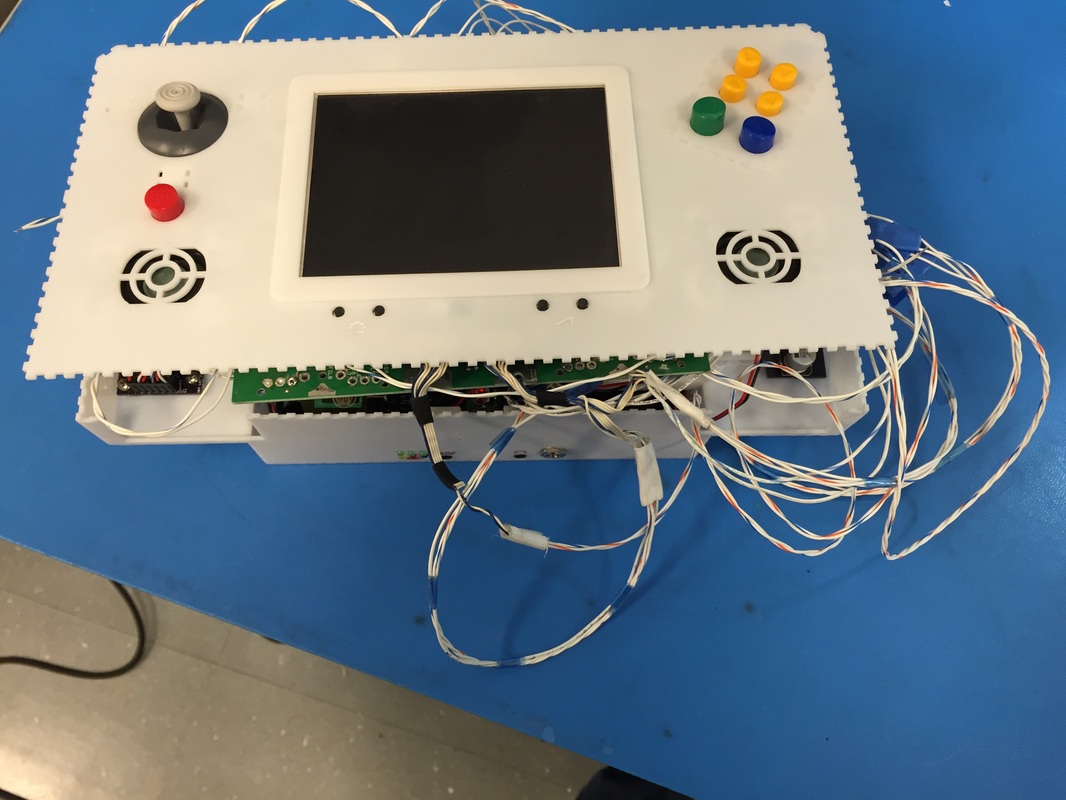
Cram More Stuff In!
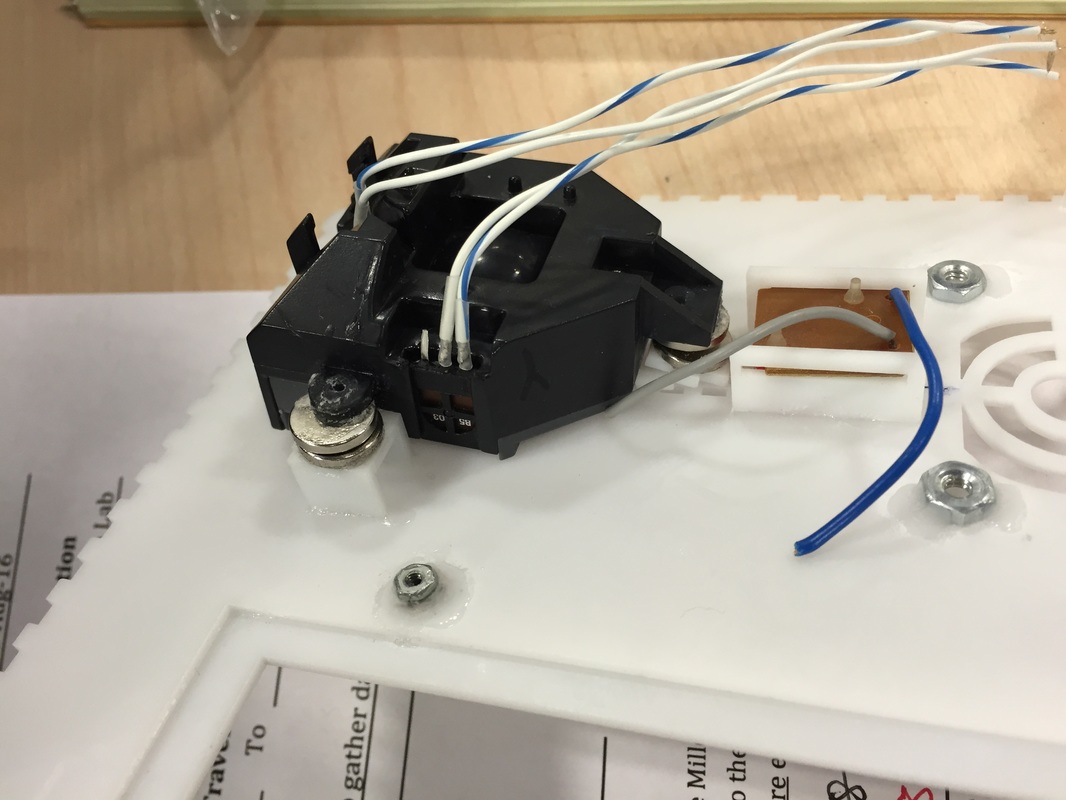
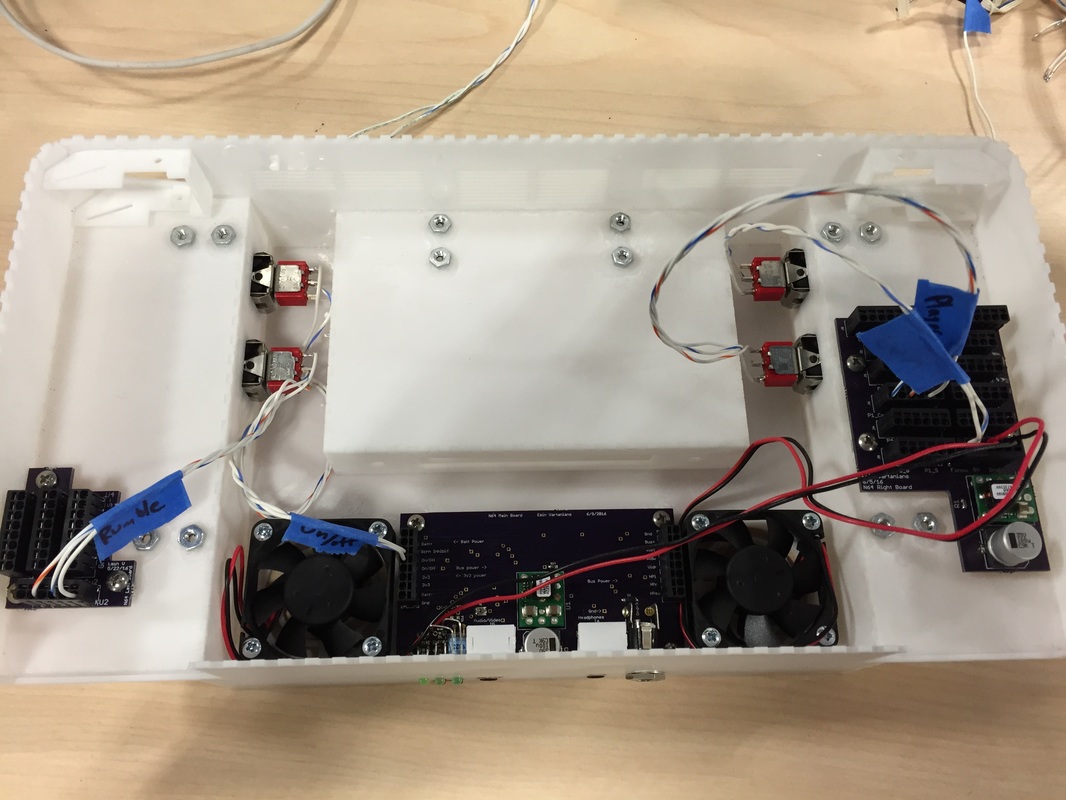
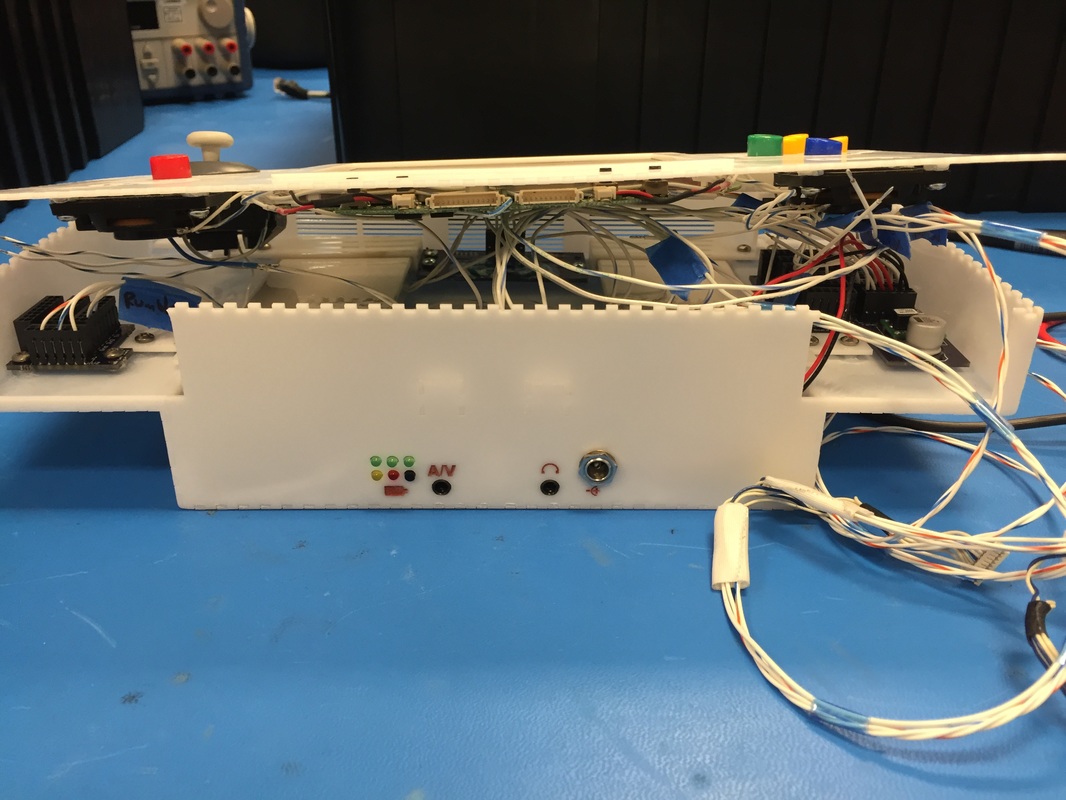
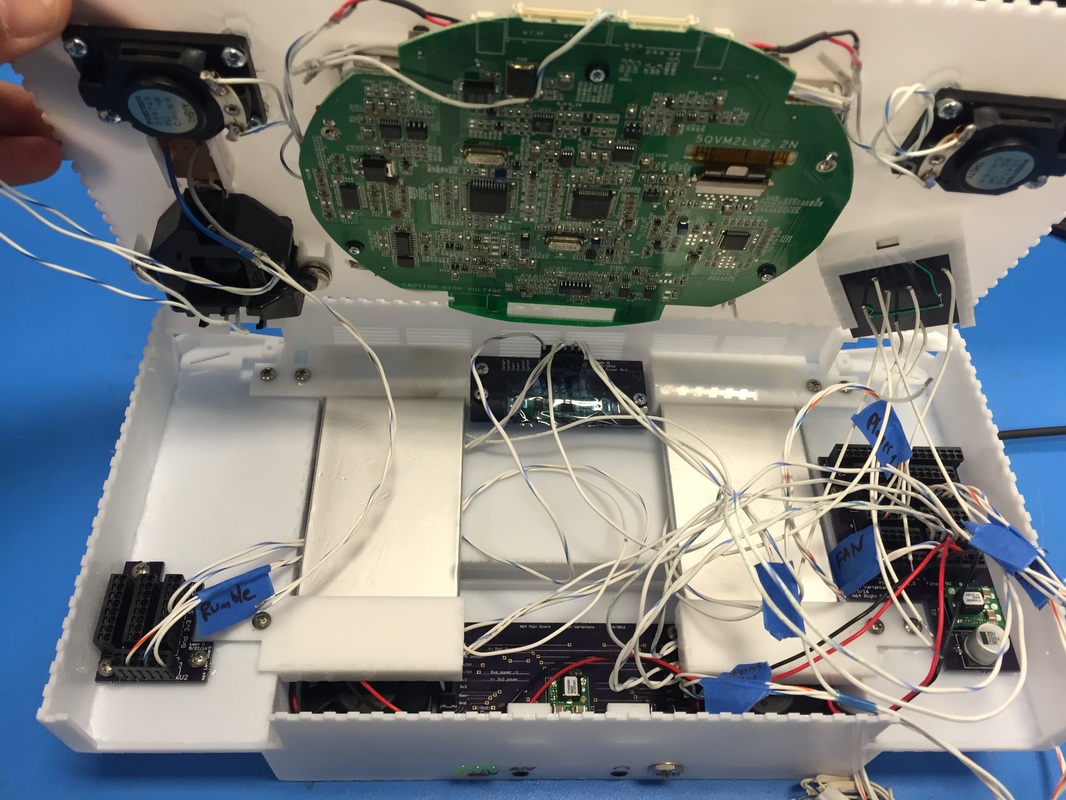
Now comes the N64's turn. Tried a million ways to integrate the game cartridge without taking anything out...failed miserably. Had to take everything out including the fans and main PCB and batteries so I could fit the cartridge through the slot. So now I gotta integrate everything with the N64 in the middle which makes me nervous. Currently holding wires down with blue tape (flash breaker) but I think the correct course of action will be lacing cord. Next big thing should be securing the controller PCB better and gluing nuts to hold that down, the one that goes all the way through the N64 will be a bit of a struggle. Can't wait...
Now comes the N64's turn. Tried a million ways to integrate the game cartridge without taking anything out...failed miserably. Had to take everything out including the fans and main PCB and batteries so I could fit the cartridge through the slot. So now I gotta integrate everything with the N64 in the middle which makes me nervous. Currently holding wires down with blue tape (flash breaker) but I think the correct course of action will be lacing cord. Next big thing should be securing the controller PCB better and gluing nuts to hold that down, the one that goes all the way through the N64 will be a bit of a struggle. Can't wait...