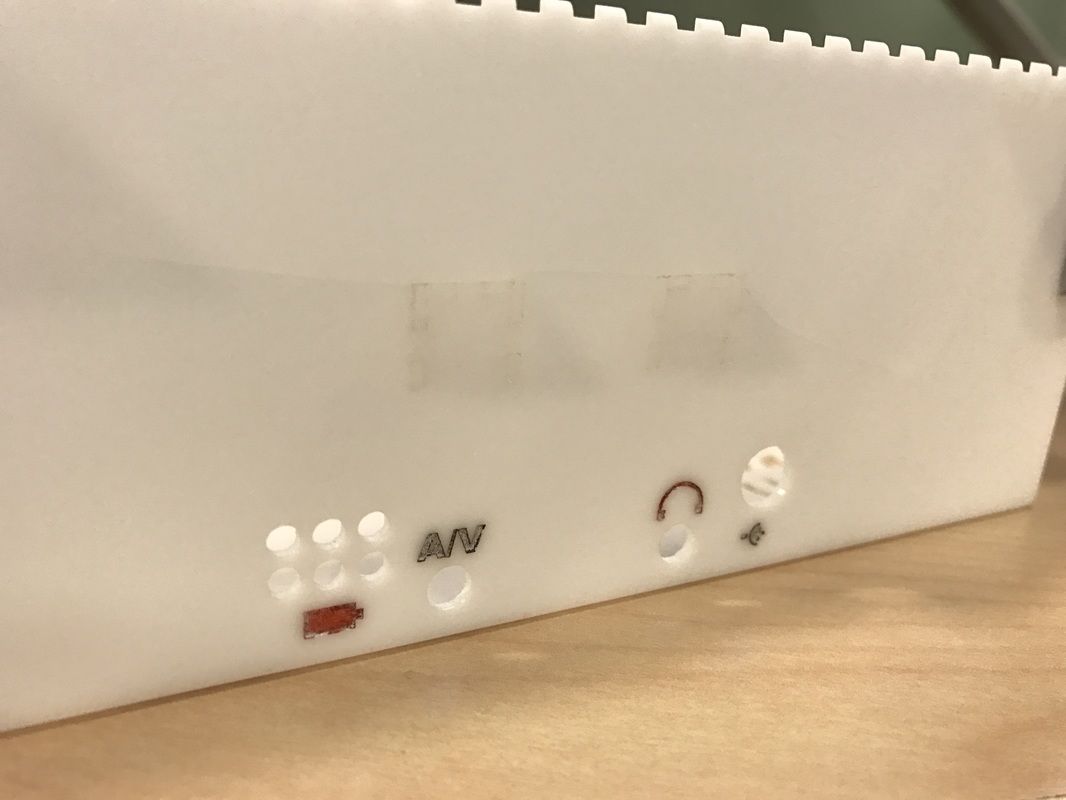
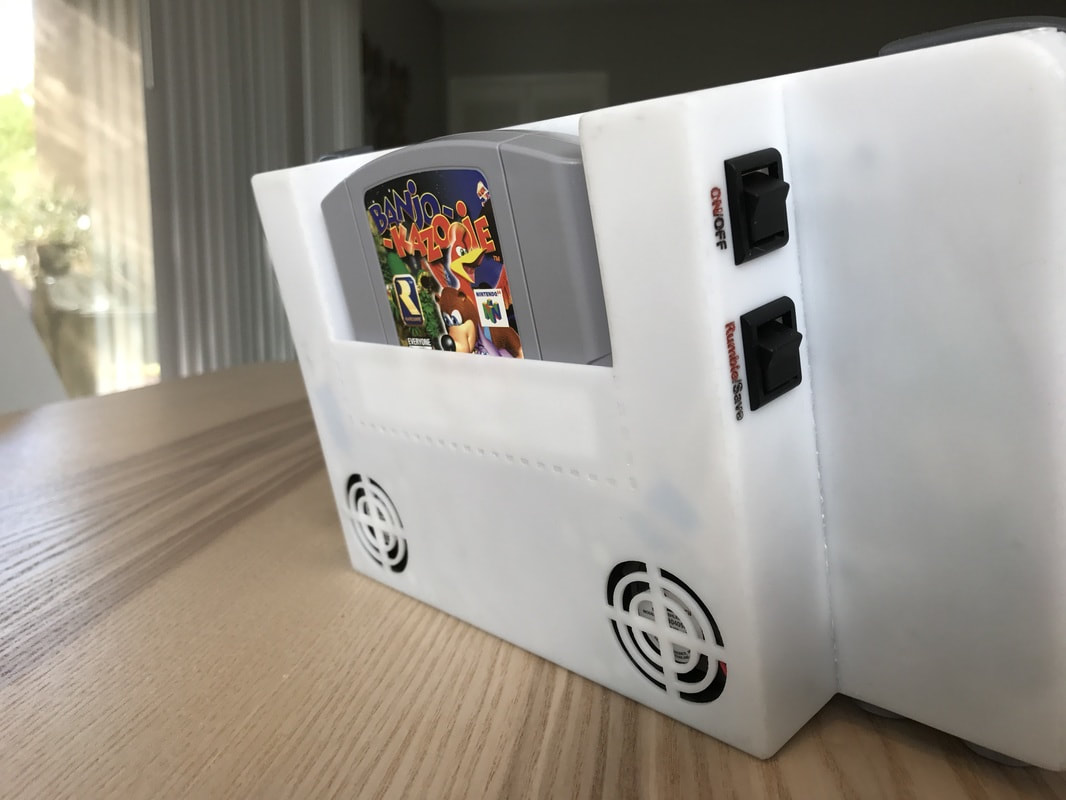
The Case
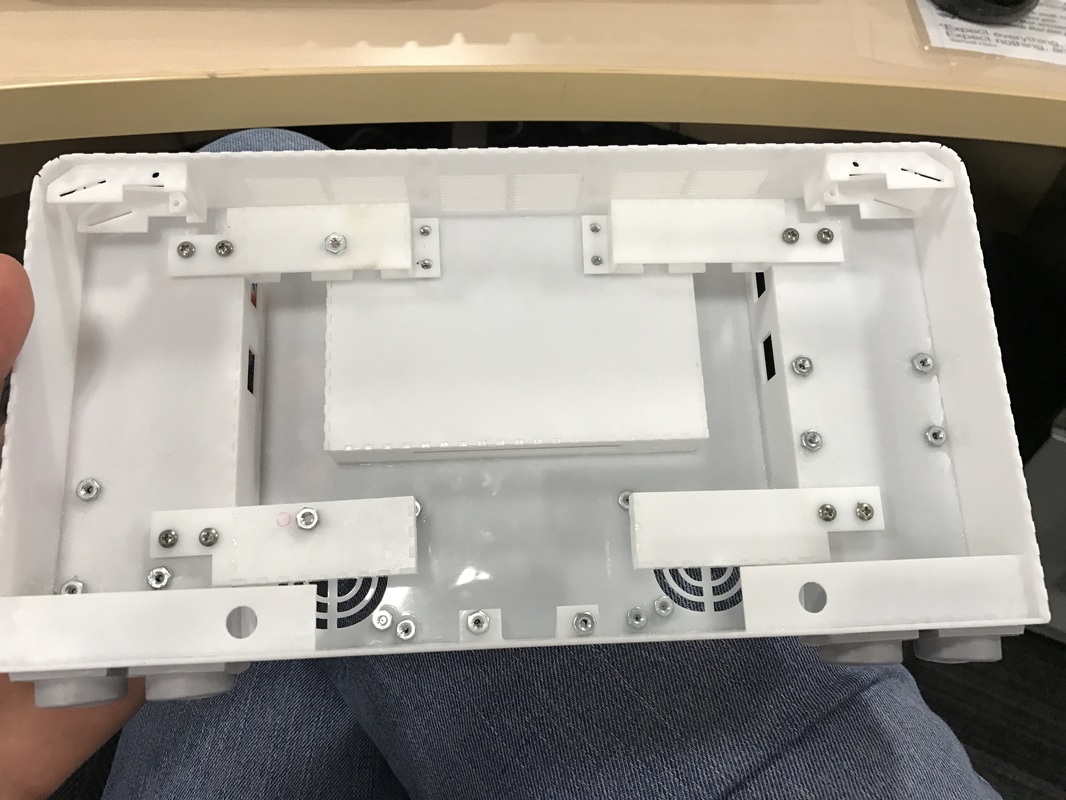
Cut out the case just like before. Glued it together with minimal problems. Applied acrylic paint just like before, then sanded the puppy down with 80 grit to take off the glue marks and round the corners/edges, 220 grit to take off the 80 grit's marks, and finally a wet 800 grit to get it back to the smooth baby's bottom it started out at. Finished off the case by gluing the nuts in place per before. Had a mistake while sanding the bottom piece where I cracked the plate, but unless you're looking for it you can't really see it.
Cut out the case just like before. Glued it together with minimal problems. Applied acrylic paint just like before, then sanded the puppy down with 80 grit to take off the glue marks and round the corners/edges, 220 grit to take off the 80 grit's marks, and finally a wet 800 grit to get it back to the smooth baby's bottom it started out at. Finished off the case by gluing the nuts in place per before. Had a mistake while sanding the bottom piece where I cracked the plate, but unless you're looking for it you can't really see it.
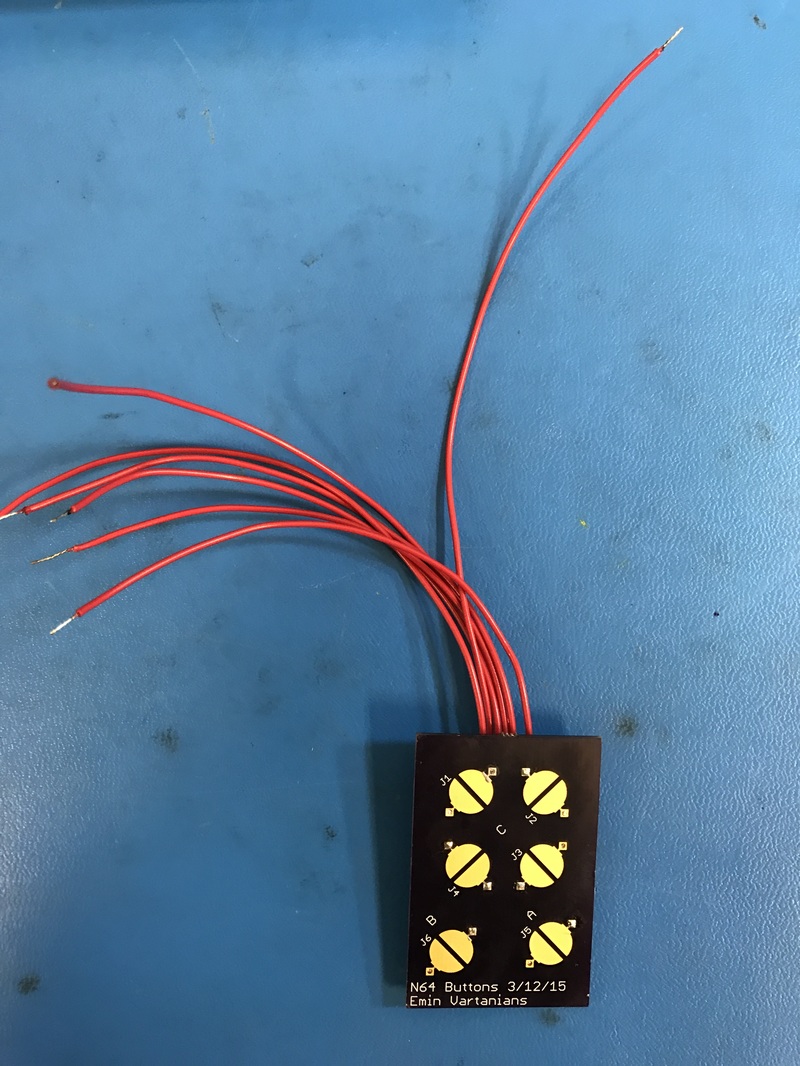
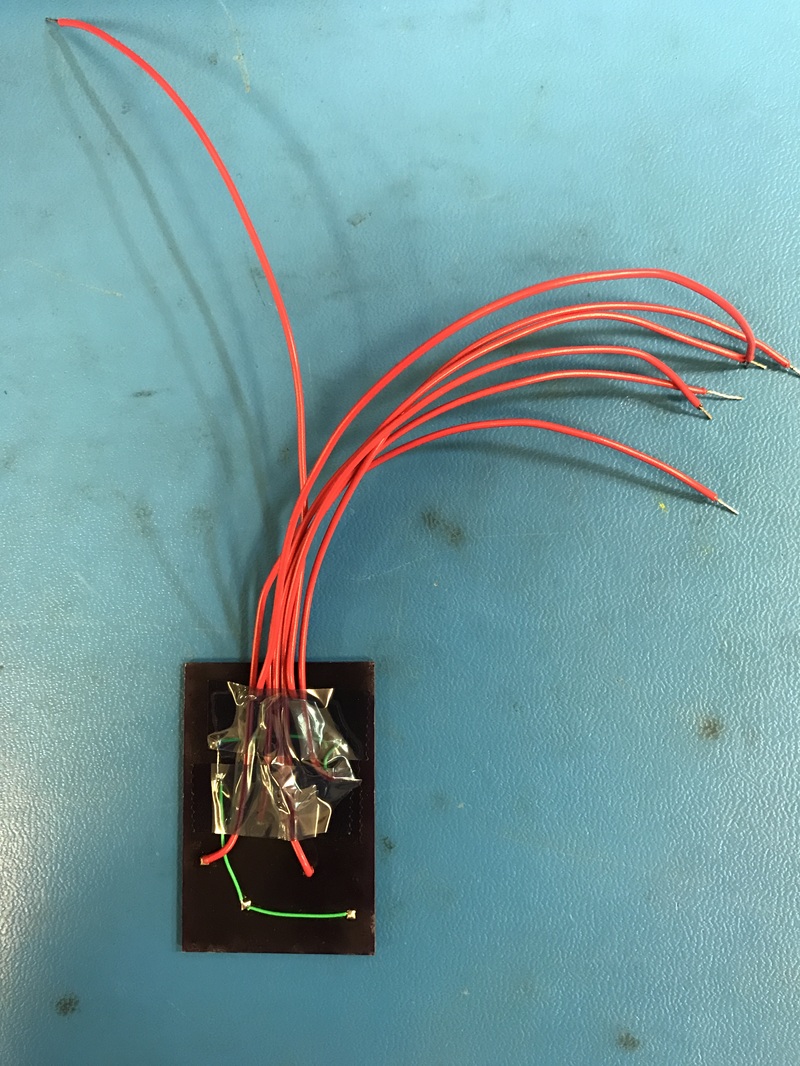
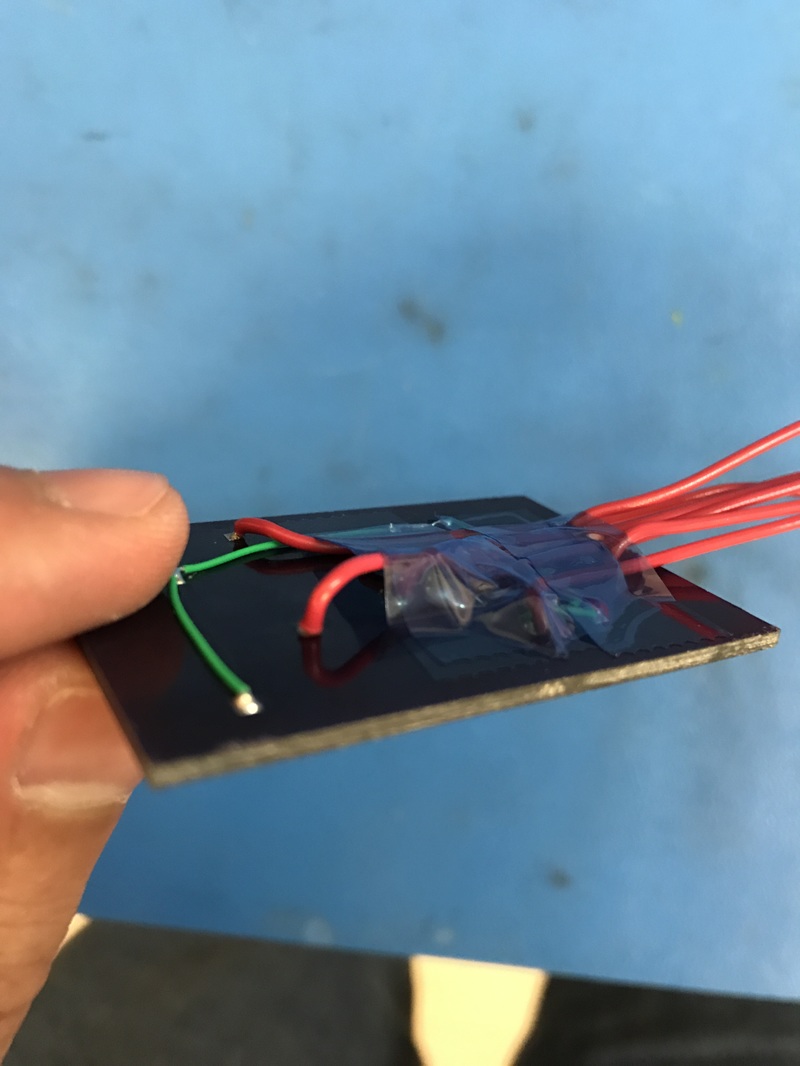
Buttons
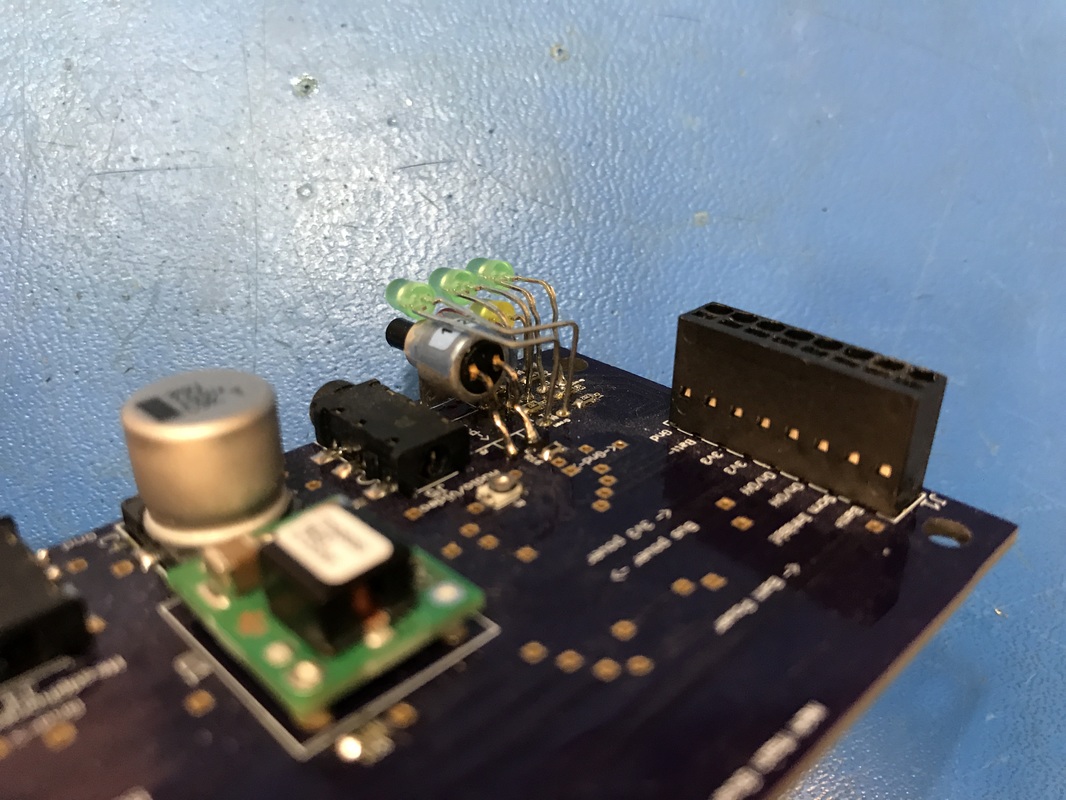
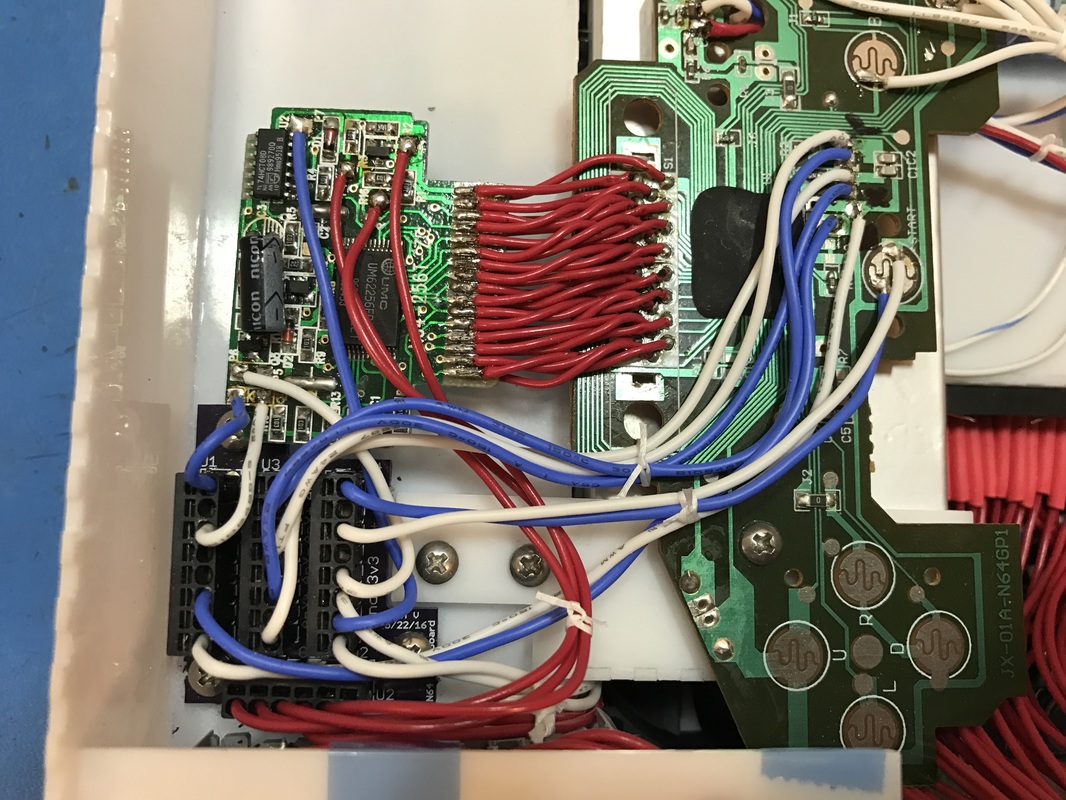
The ABC buttons were not doing well, the wires kept breaking off the PCB due to sharp corner bends I was doing. So I used the same red wire as way before when I did the cartridge relocation to do the ABC buttons. Also taped them down for strain relief and we're good to go.
The ABC buttons were not doing well, the wires kept breaking off the PCB due to sharp corner bends I was doing. So I used the same red wire as way before when I did the cartridge relocation to do the ABC buttons. Also taped them down for strain relief and we're good to go.
Main PCB
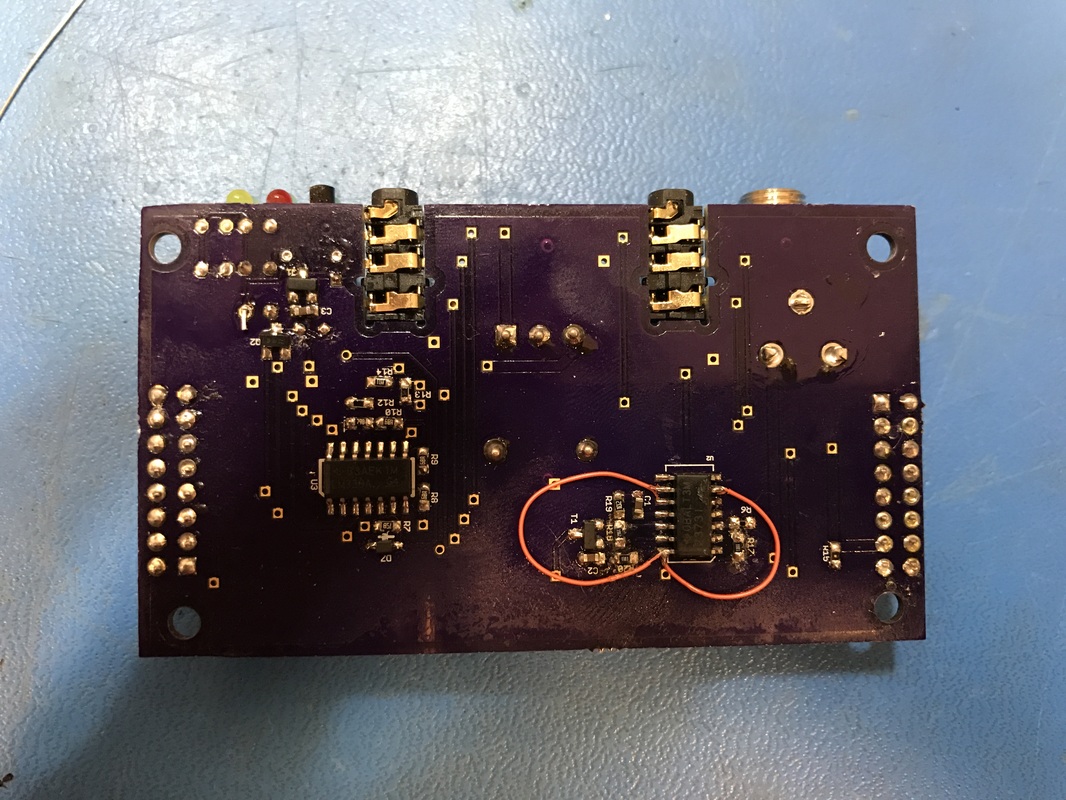
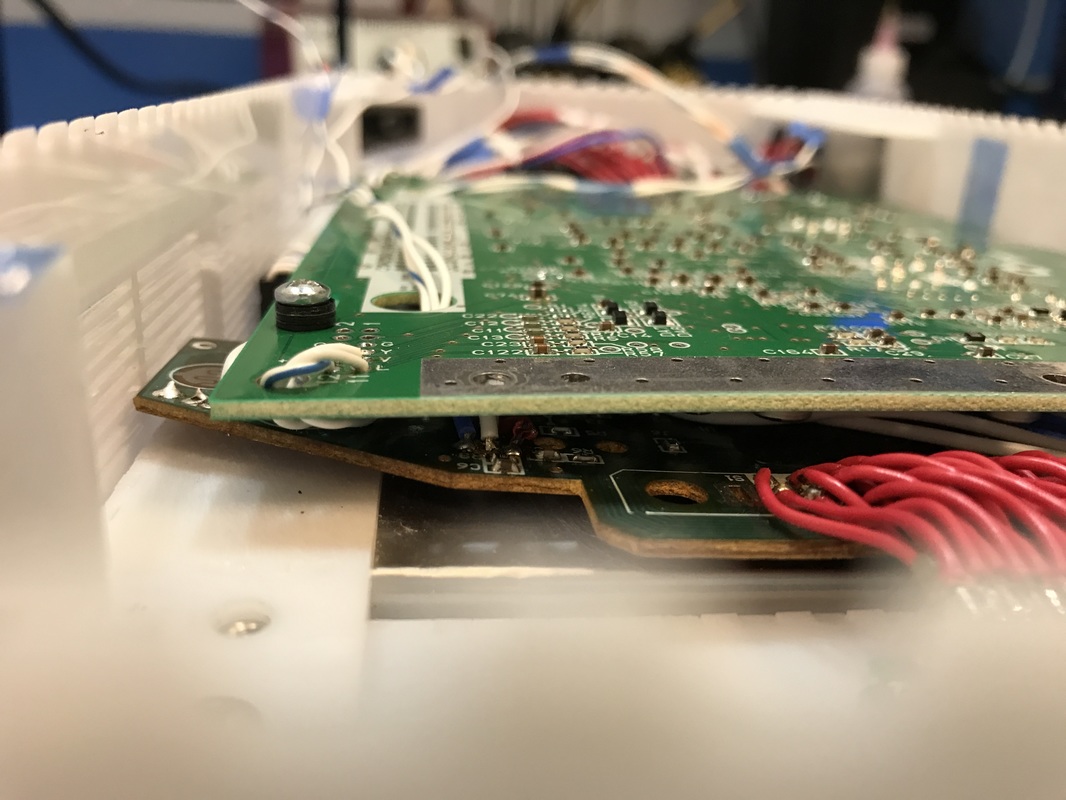
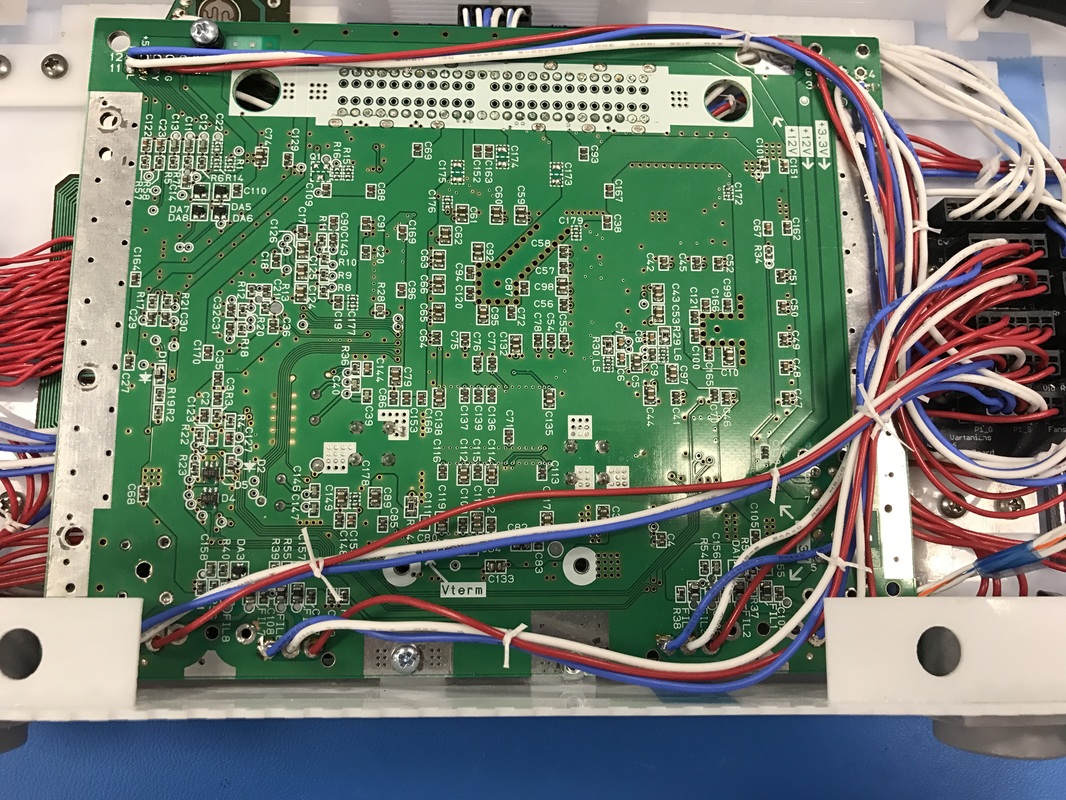
I realized I hadn't taken a good picture of the bottom of the main PCB so here you go. Also put solder on the legs of the battery indicator button to strengthen it against the user pushing.
I realized I hadn't taken a good picture of the bottom of the main PCB so here you go. Also put solder on the legs of the battery indicator button to strengthen it against the user pushing.
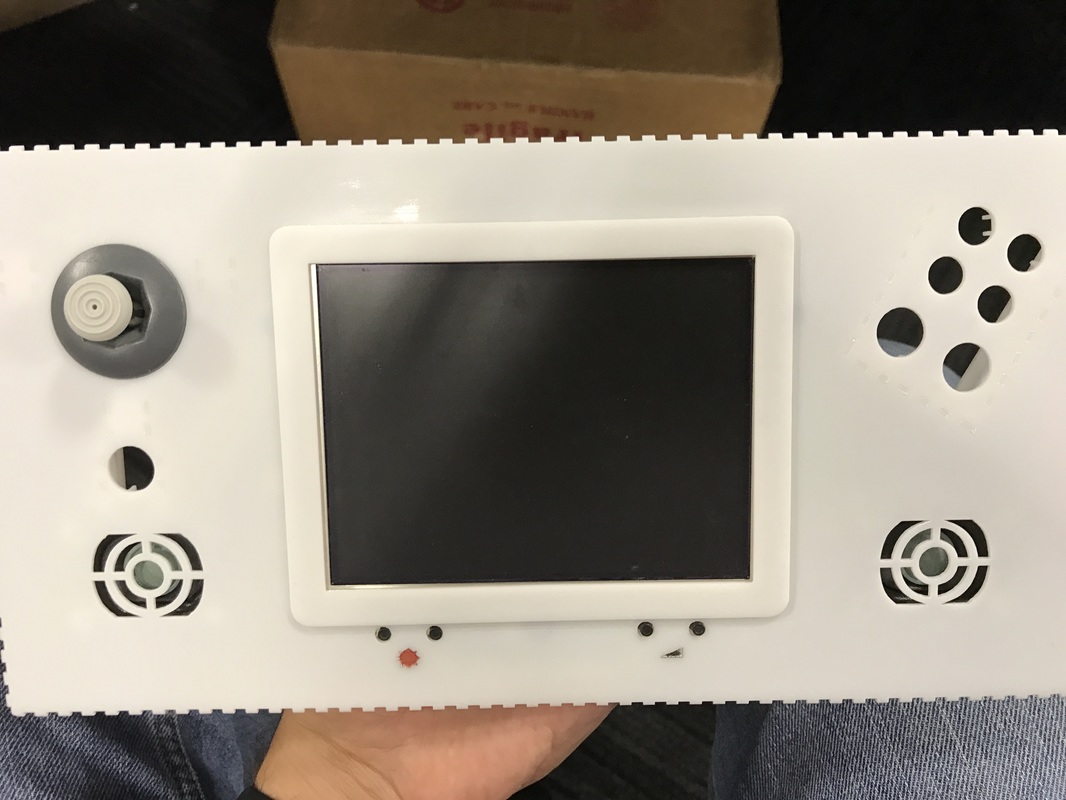
Face Plate
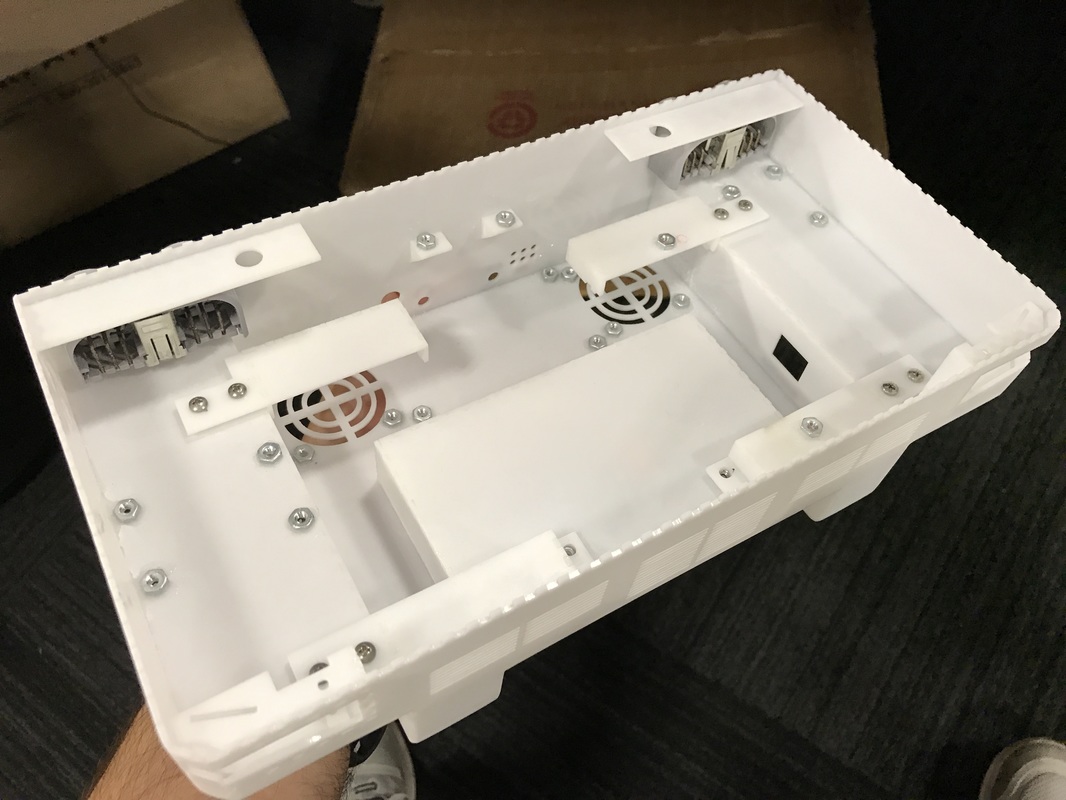
Started assembling the face plate just like before. The ABC buttons fit really easily since the rewiring. The screen screw hole locations were still a bit rough but I'm glad they worked out and held. I used a screwdriver threaded through the hole to make a small mark on the acrylic so I knew where to glue to screw.
Started assembling the face plate just like before. The ABC buttons fit really easily since the rewiring. The screen screw hole locations were still a bit rough but I'm glad they worked out and held. I used a screwdriver threaded through the hole to make a small mark on the acrylic so I knew where to glue to screw.
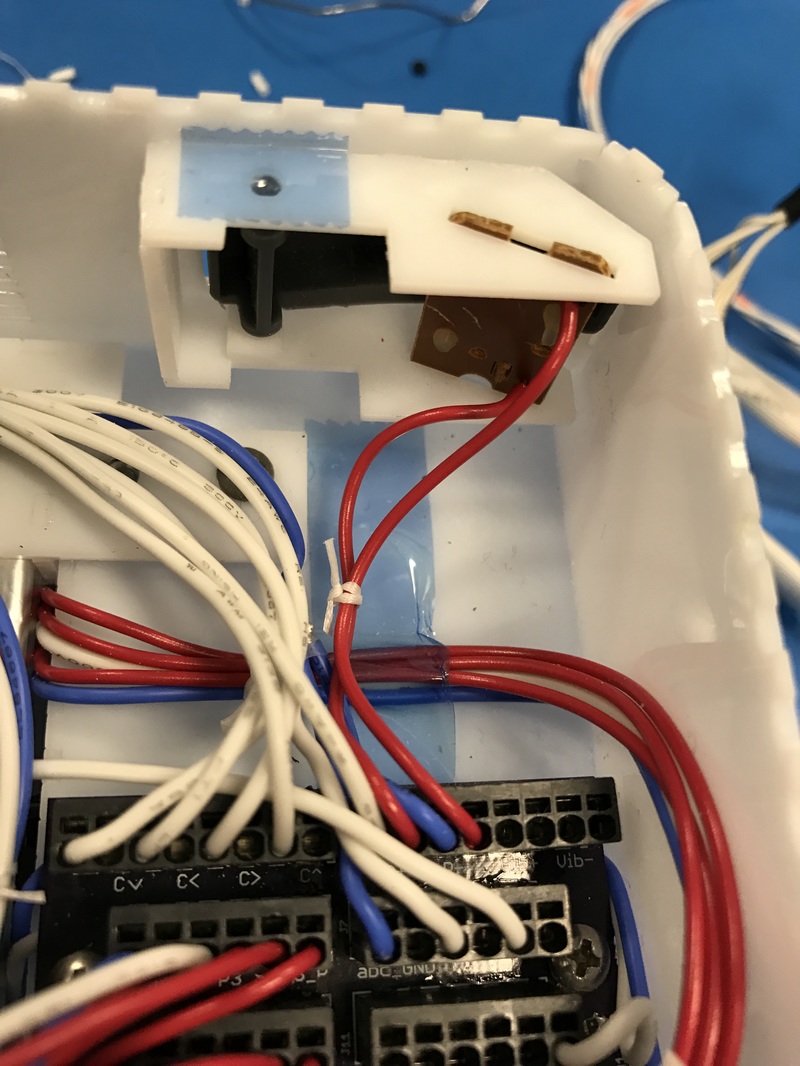
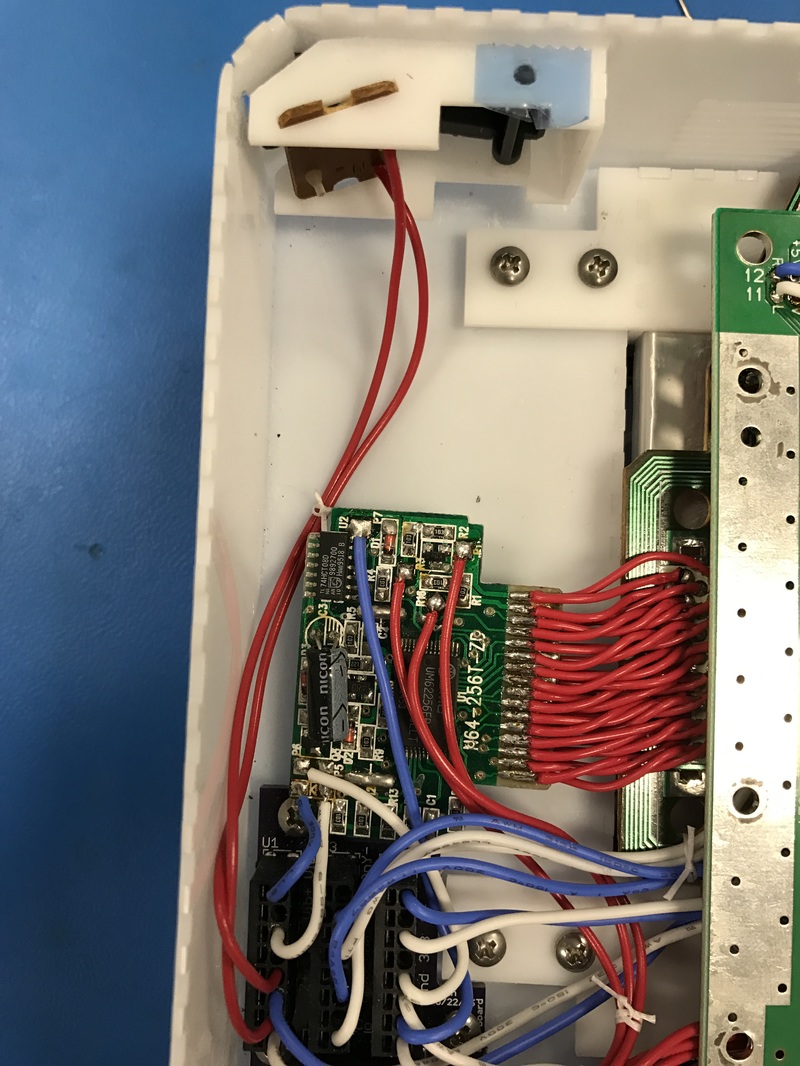
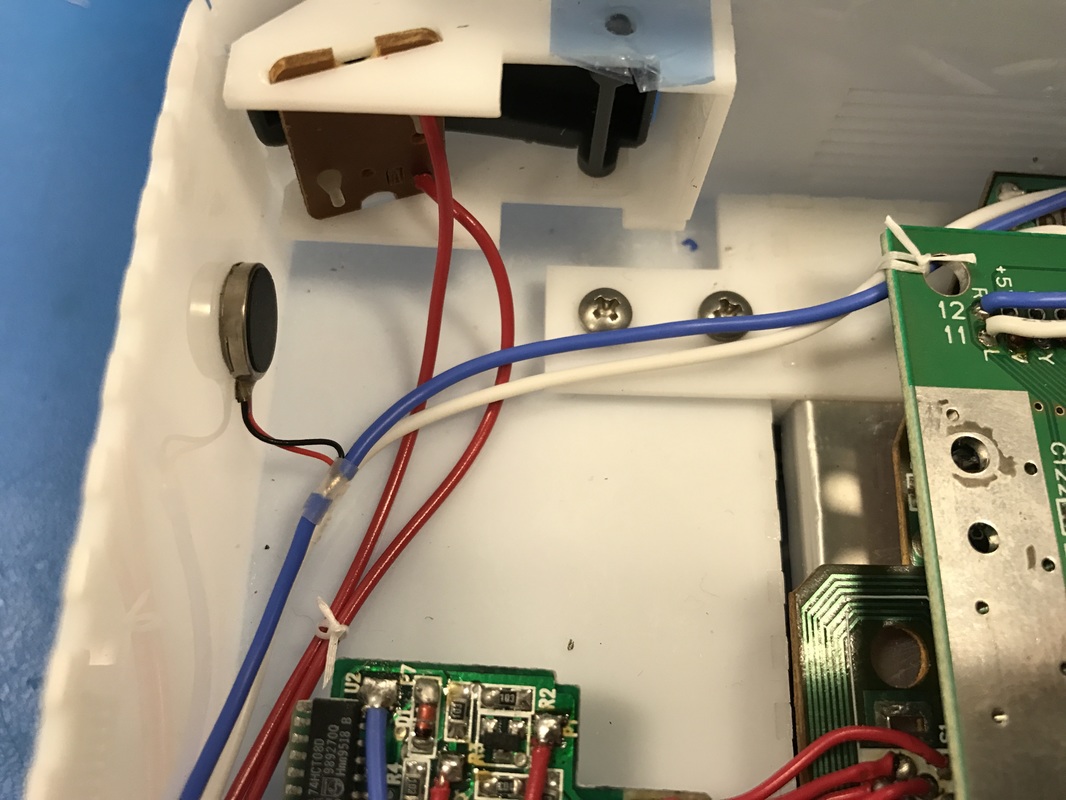
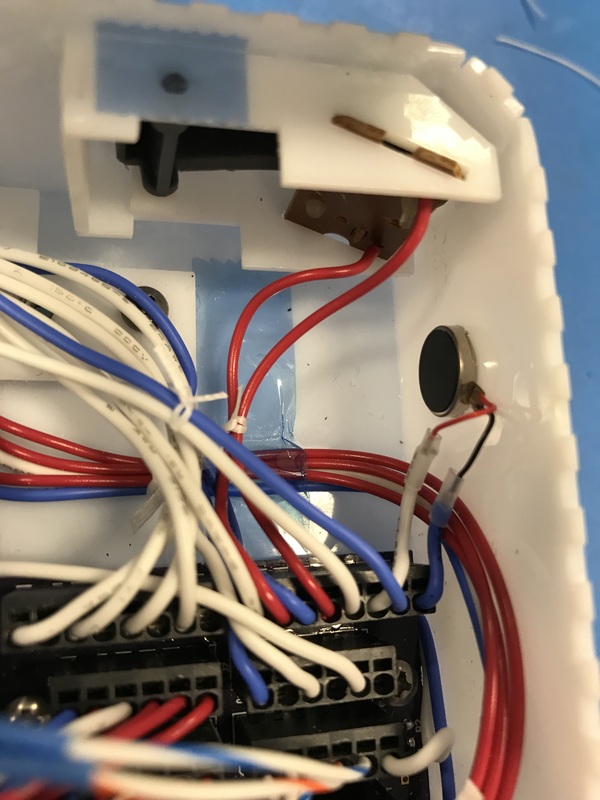
Integration
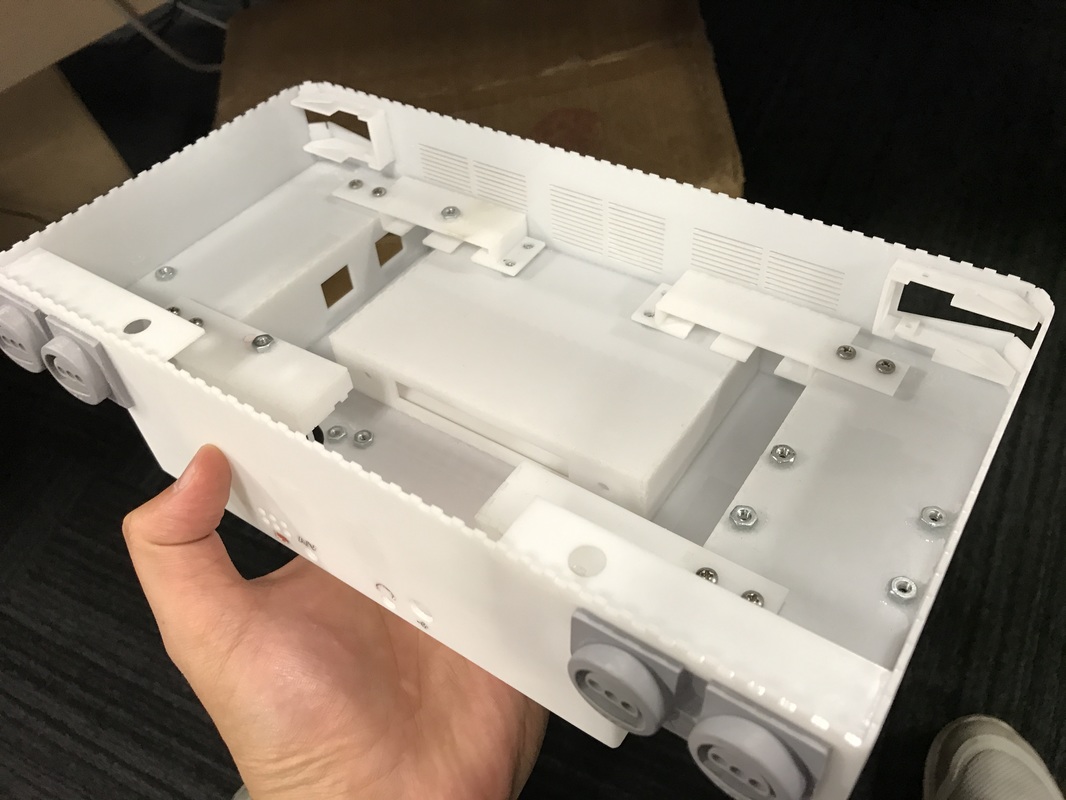
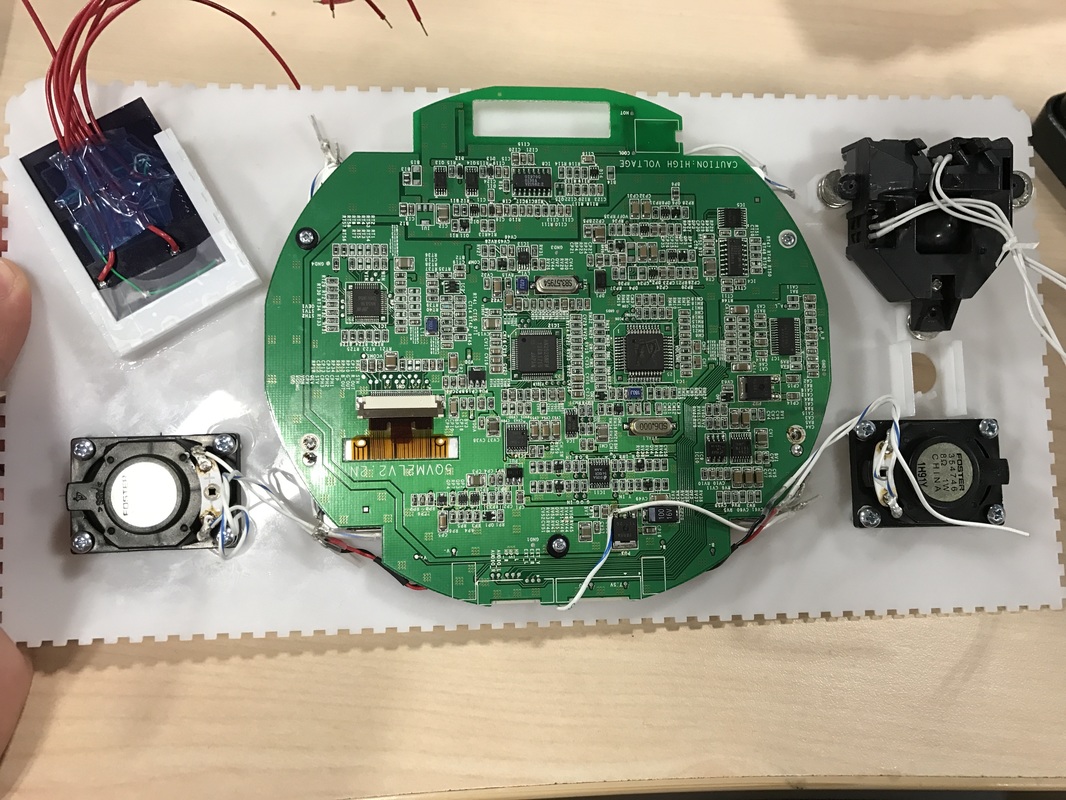
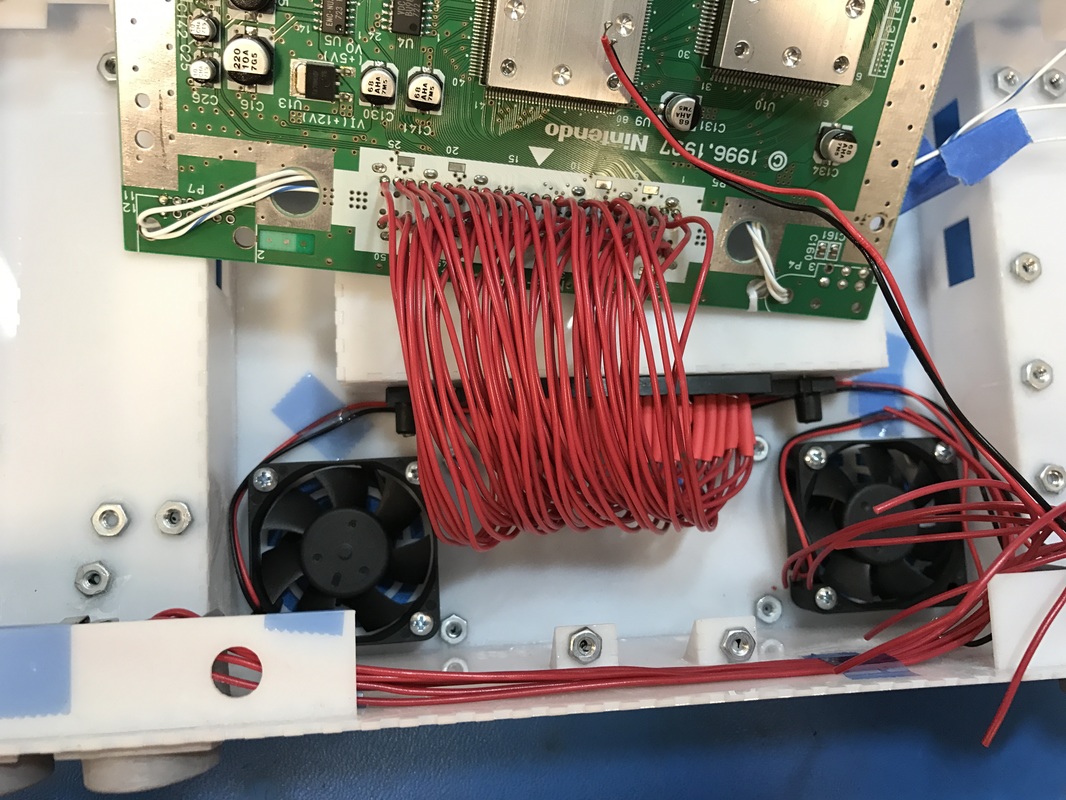
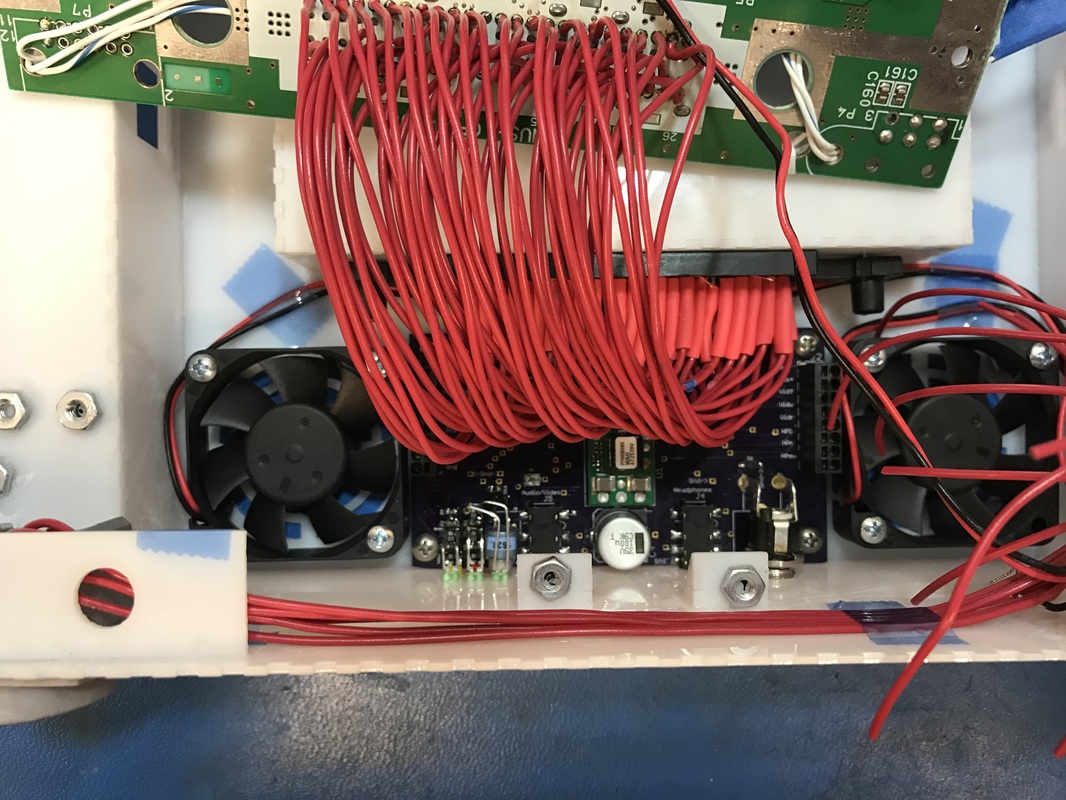
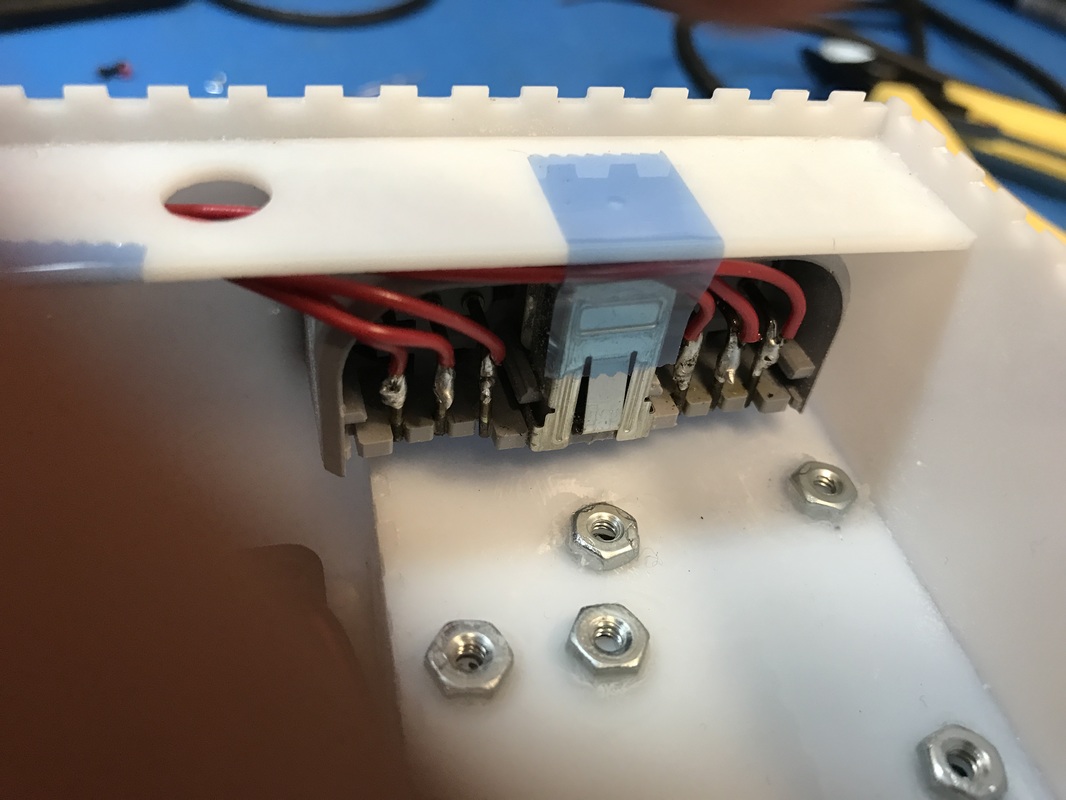
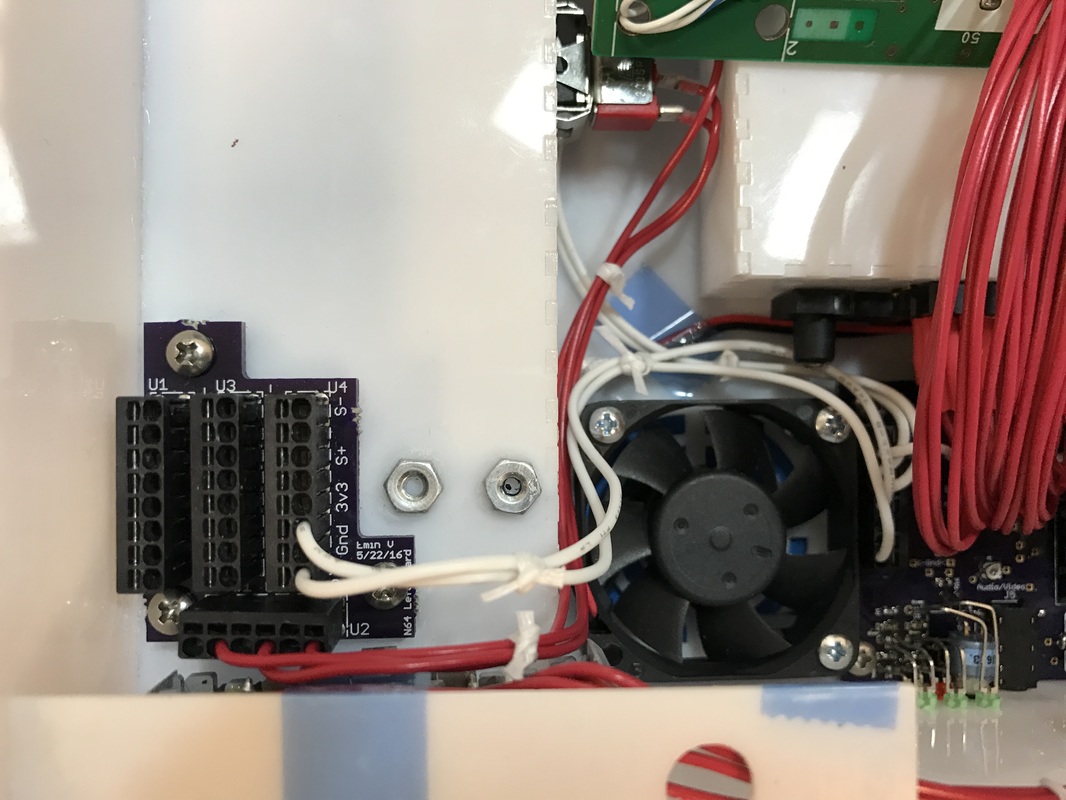
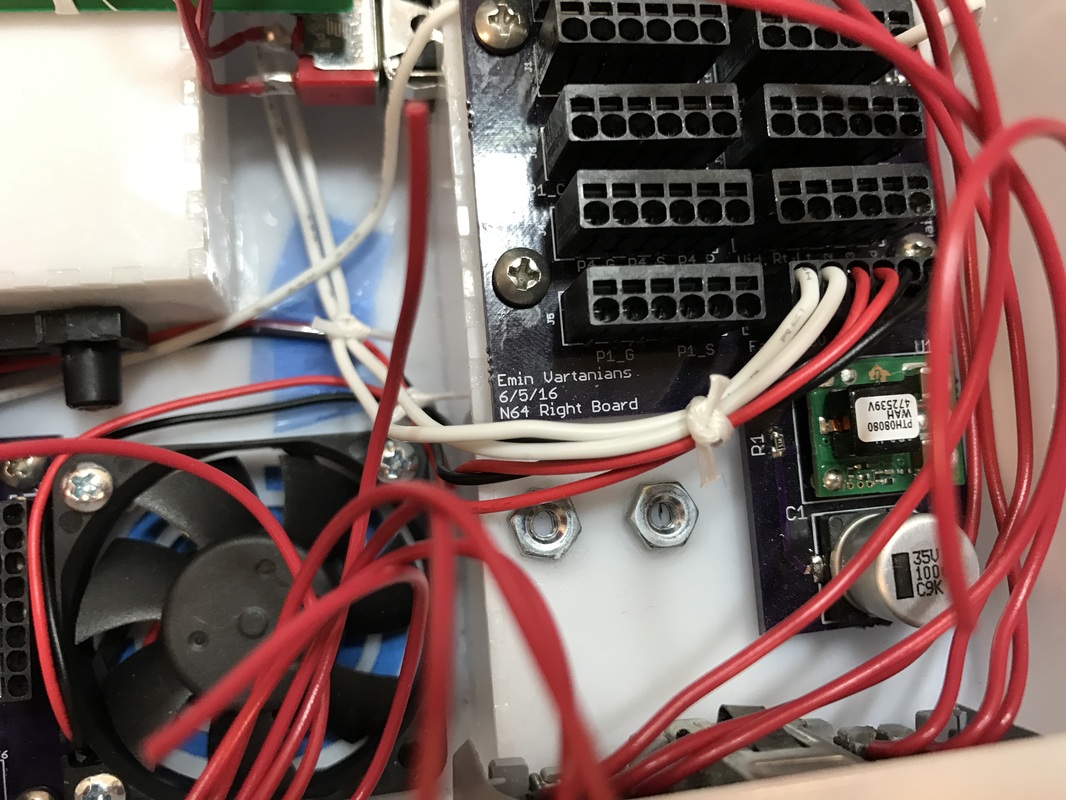
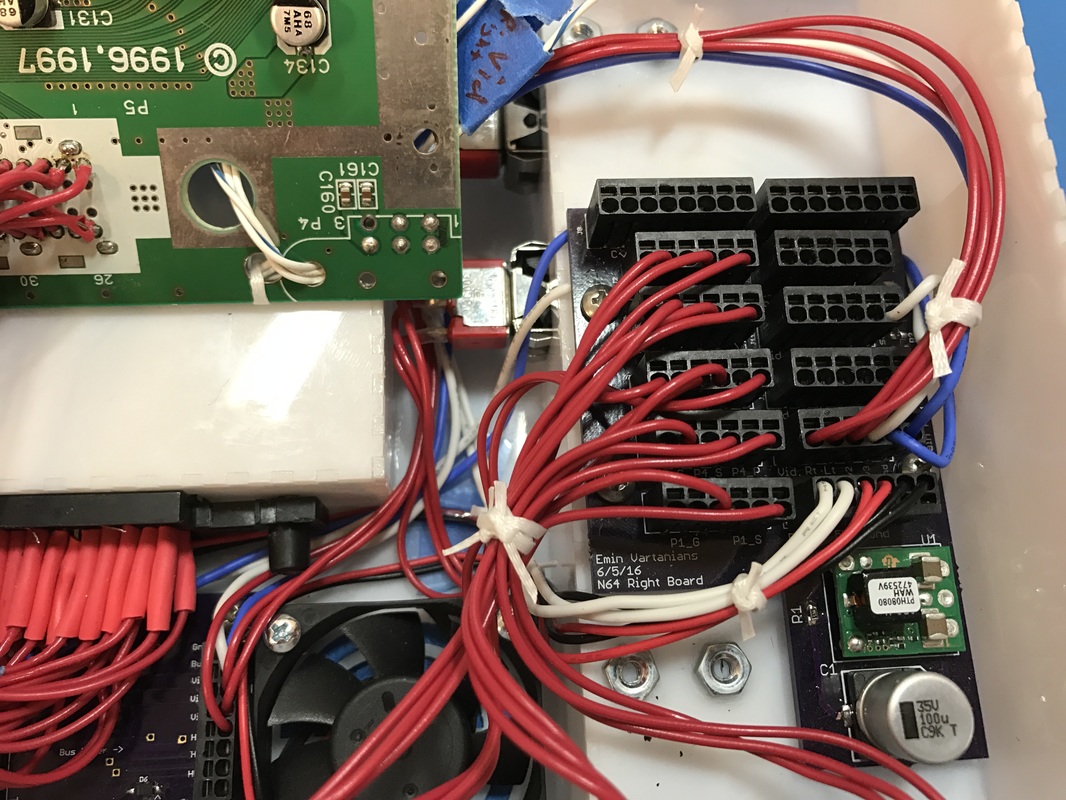
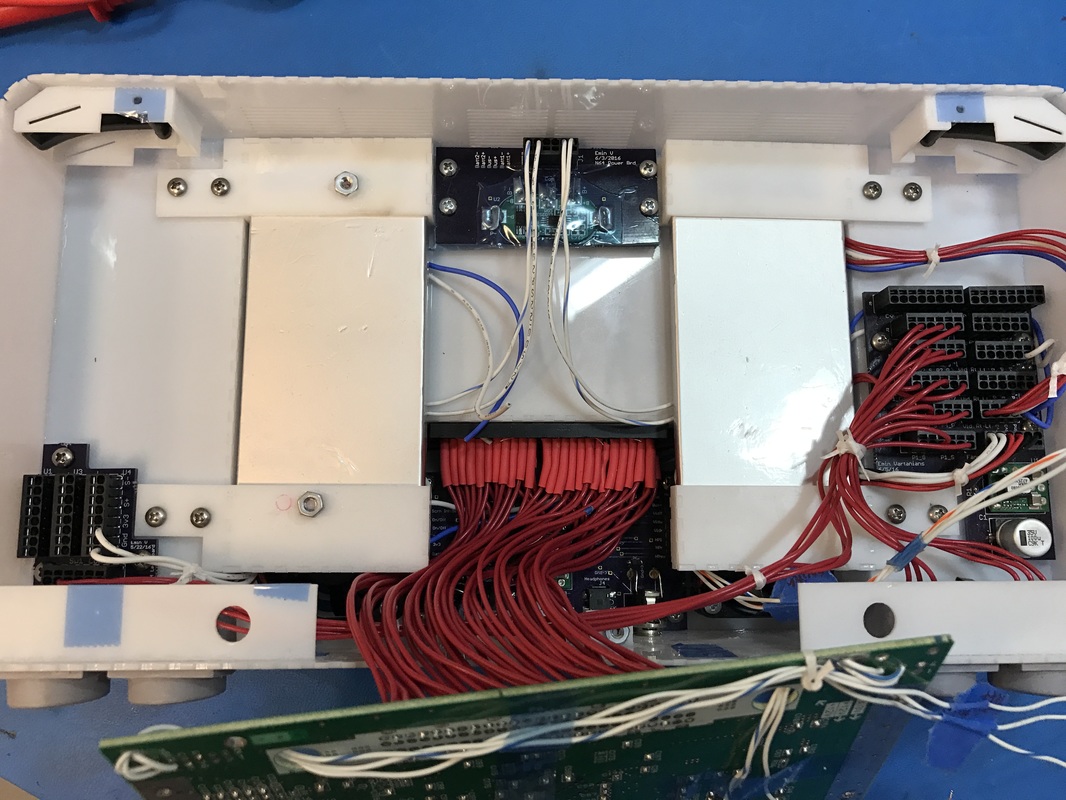
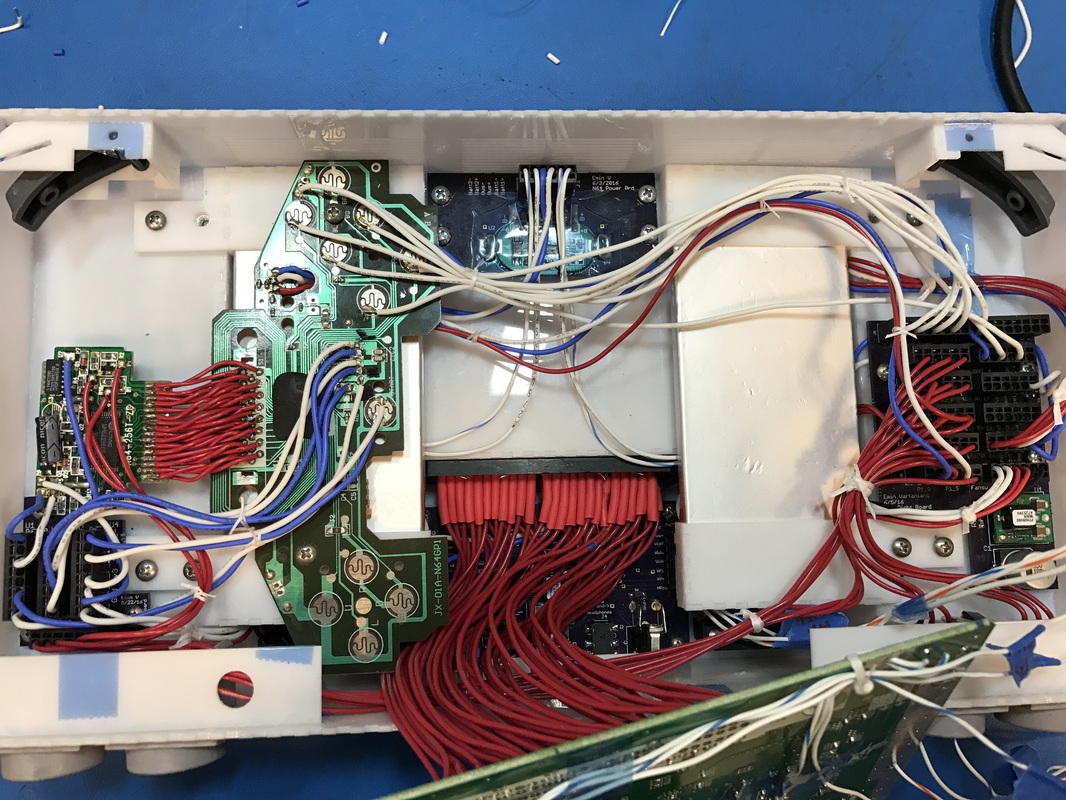
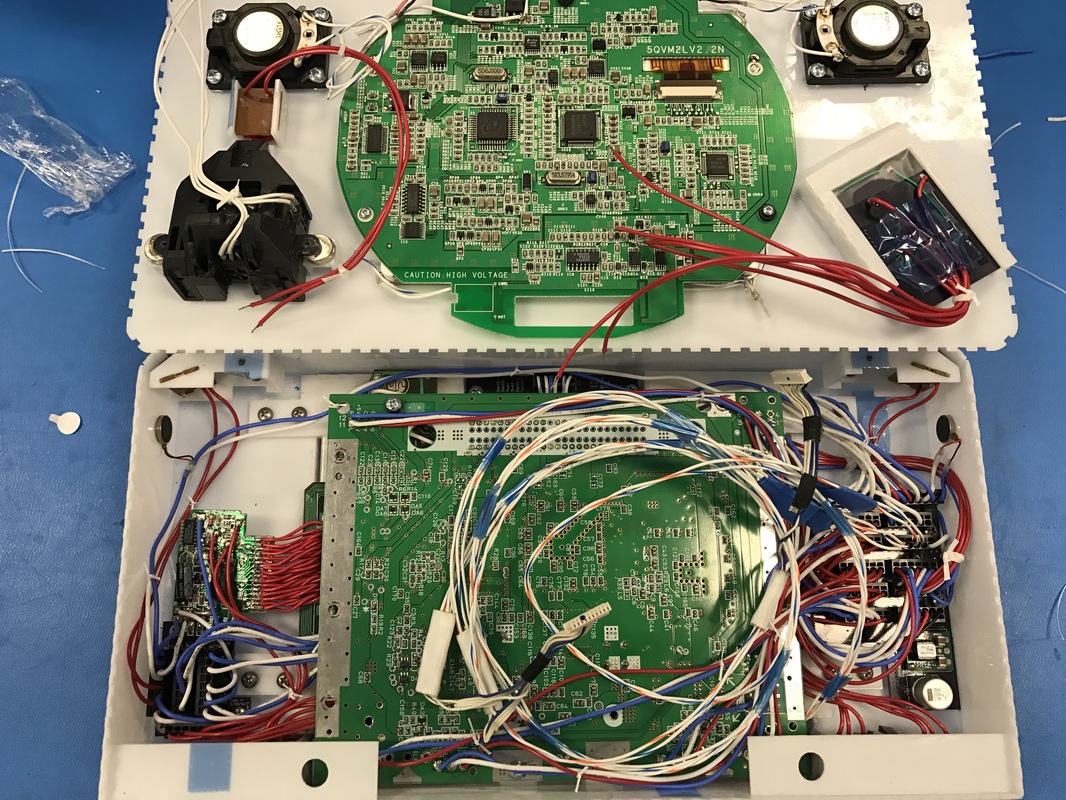
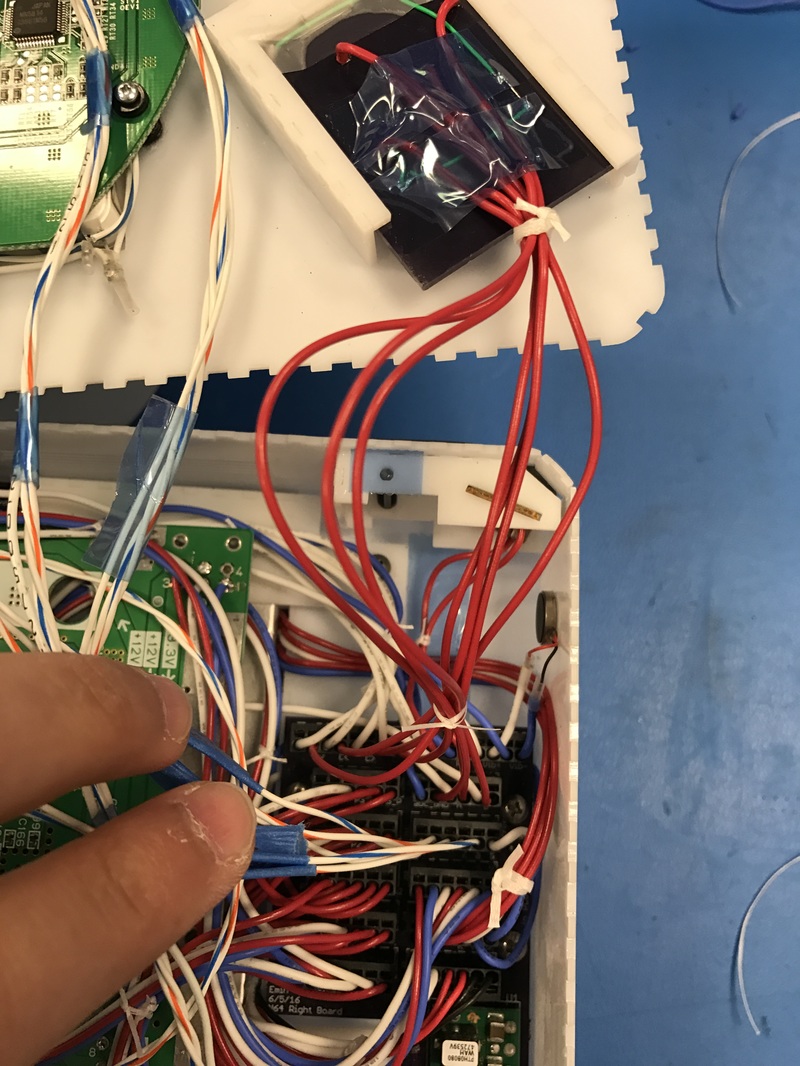
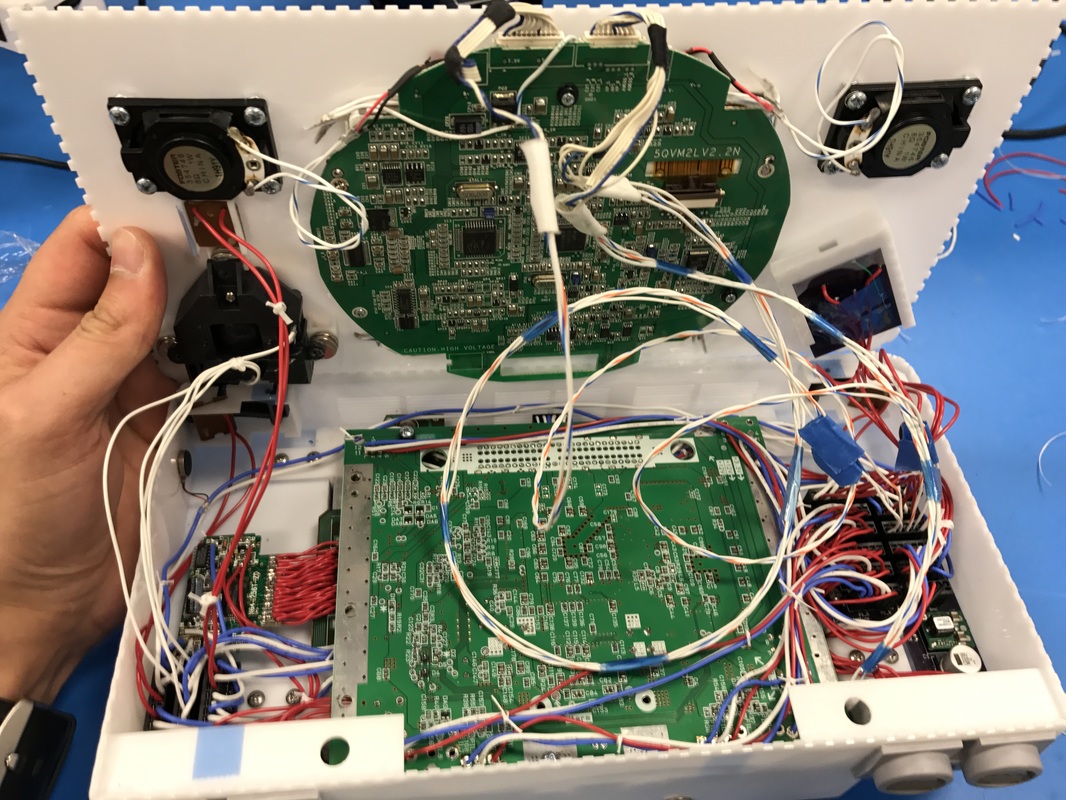
This was strenuous. Lots of small details you can probably see better than me explaining in words. I rewired almost everything with 26AWG silicone wire since it was better for the tight curves, The integration sequence is pretty particular, the order really matters. The controller PCB bends a bit as you can see since I didn't size the N64 board's component heights very well, but since the controller PCB is so thin I thin and has copper only on one side I think it'll be fine. I used lacing cord to bundle all the wires together for neatness, used a clove hitch knot followed by a regular knot (half knot) to secure all of them.
This was strenuous. Lots of small details you can probably see better than me explaining in words. I rewired almost everything with 26AWG silicone wire since it was better for the tight curves, The integration sequence is pretty particular, the order really matters. The controller PCB bends a bit as you can see since I didn't size the N64 board's component heights very well, but since the controller PCB is so thin I thin and has copper only on one side I think it'll be fine. I used lacing cord to bundle all the wires together for neatness, used a clove hitch knot followed by a regular knot (half knot) to secure all of them.

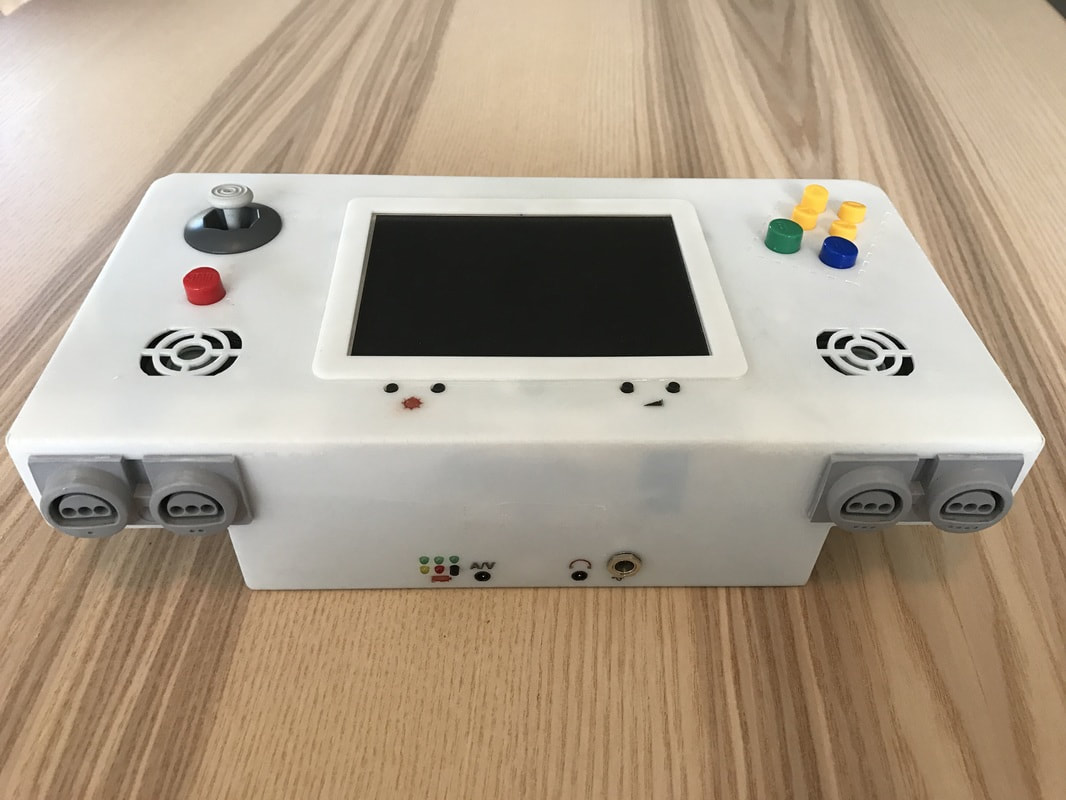
Final Product
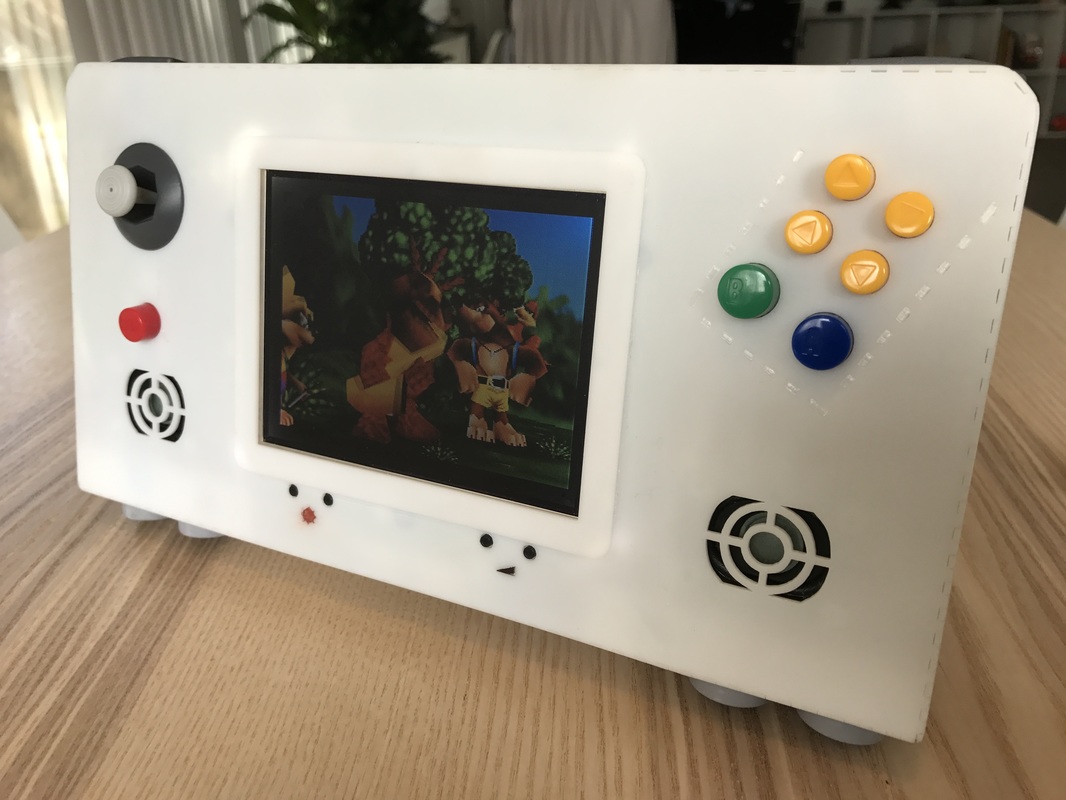
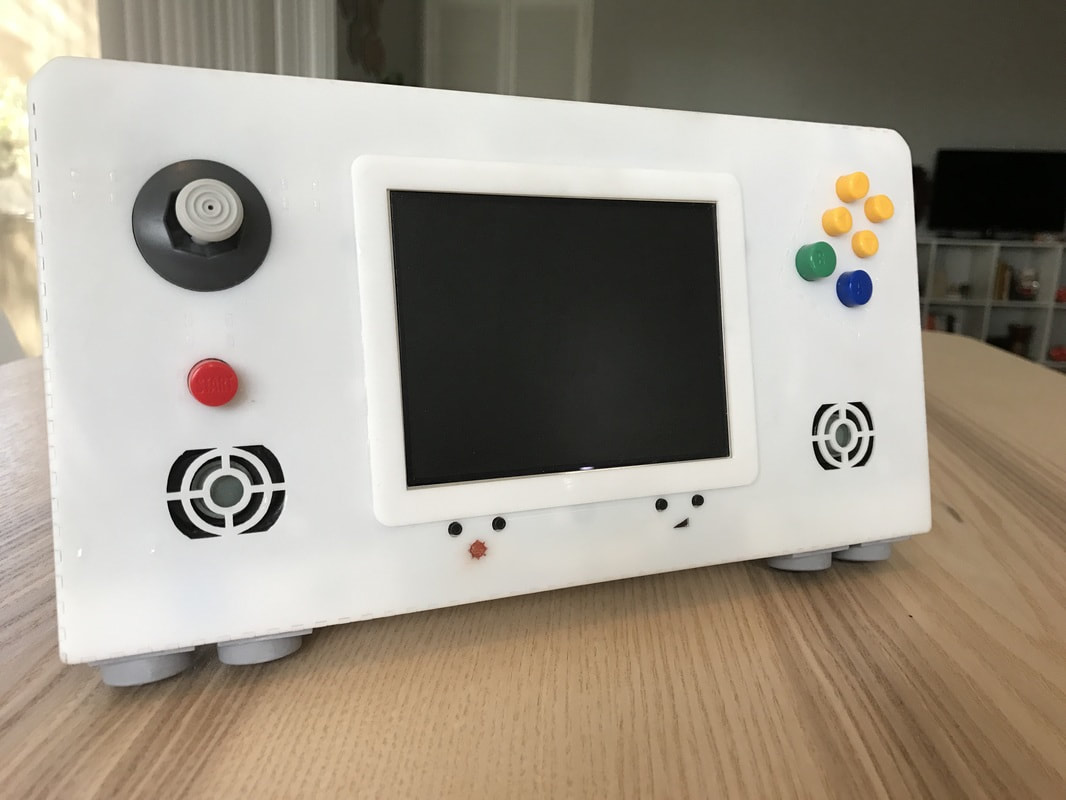
Here is the final product! the face plate fits perfectly on and is not being pushed up by the wiring inside like the test build before. The rumble motors work beautifully, the screen is a little dark under the sun but it'll do ok. All in all I'm really excited about this project. I'll do a demo video soon showing off all its features. Thanks for following this thread, half the fun has been seeing what other people think of the project so don't be shy about commenting.
Here is the final product! the face plate fits perfectly on and is not being pushed up by the wiring inside like the test build before. The rumble motors work beautifully, the screen is a little dark under the sun but it'll do ok. All in all I'm really excited about this project. I'll do a demo video soon showing off all its features. Thanks for following this thread, half the fun has been seeing what other people think of the project so don't be shy about commenting.
  |   |
