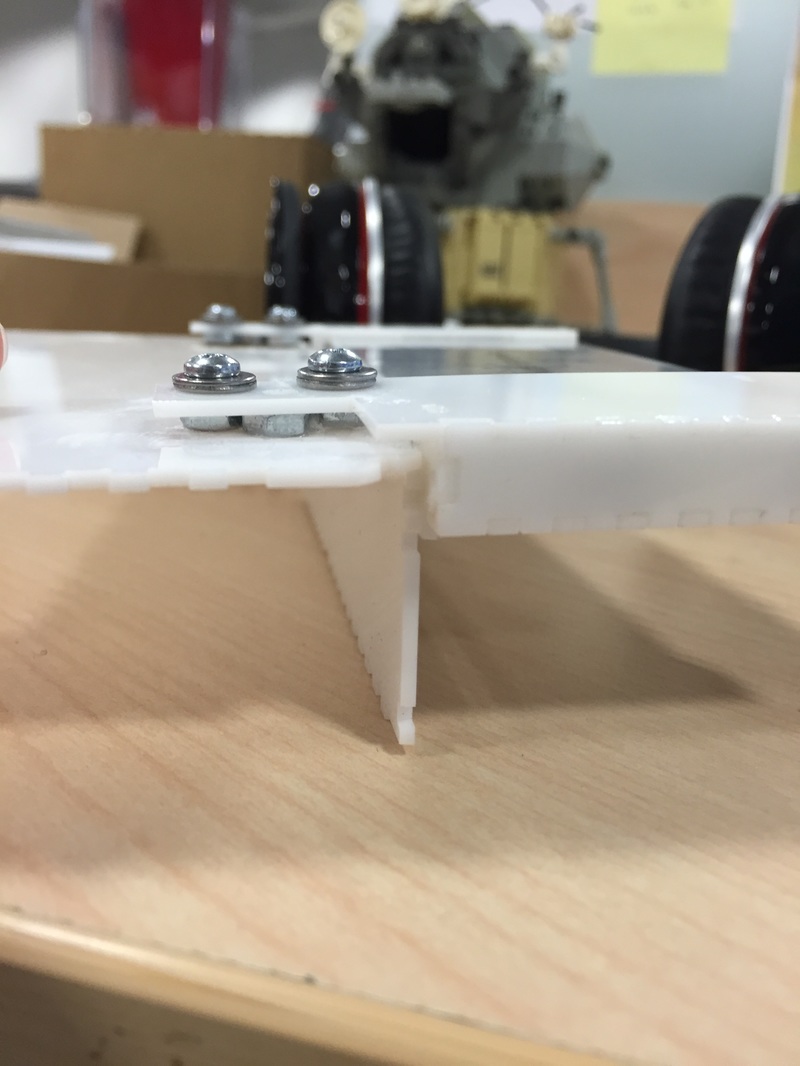
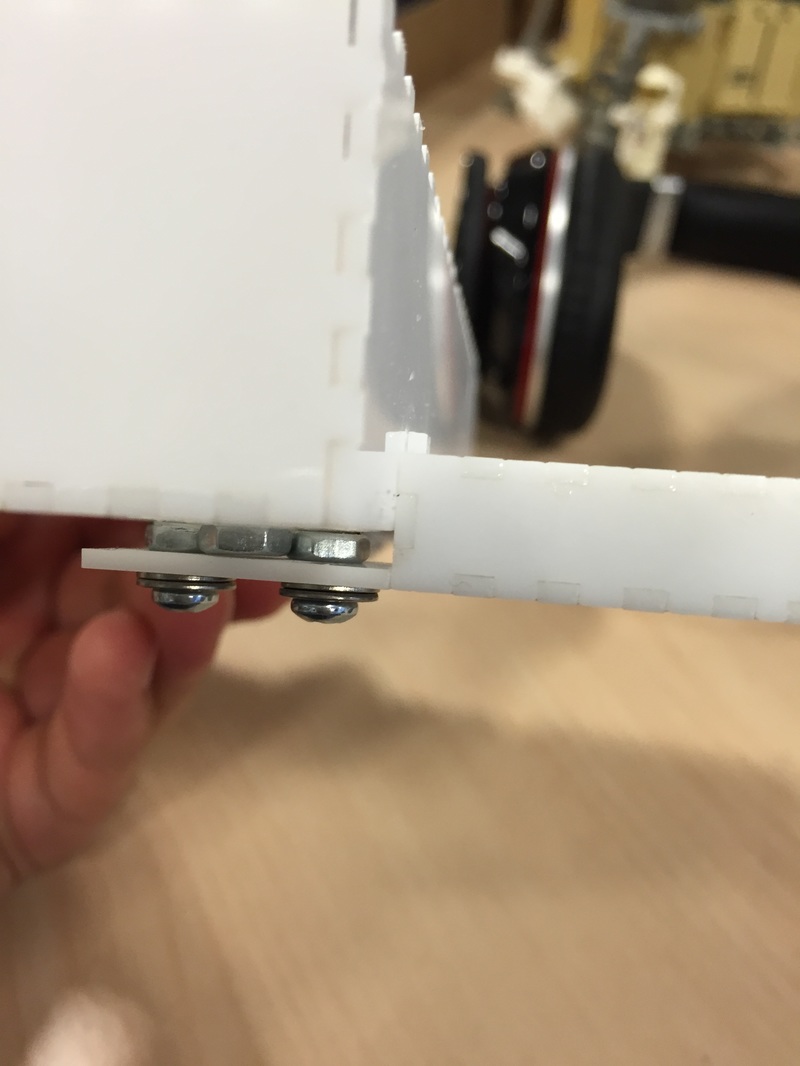
Box corners
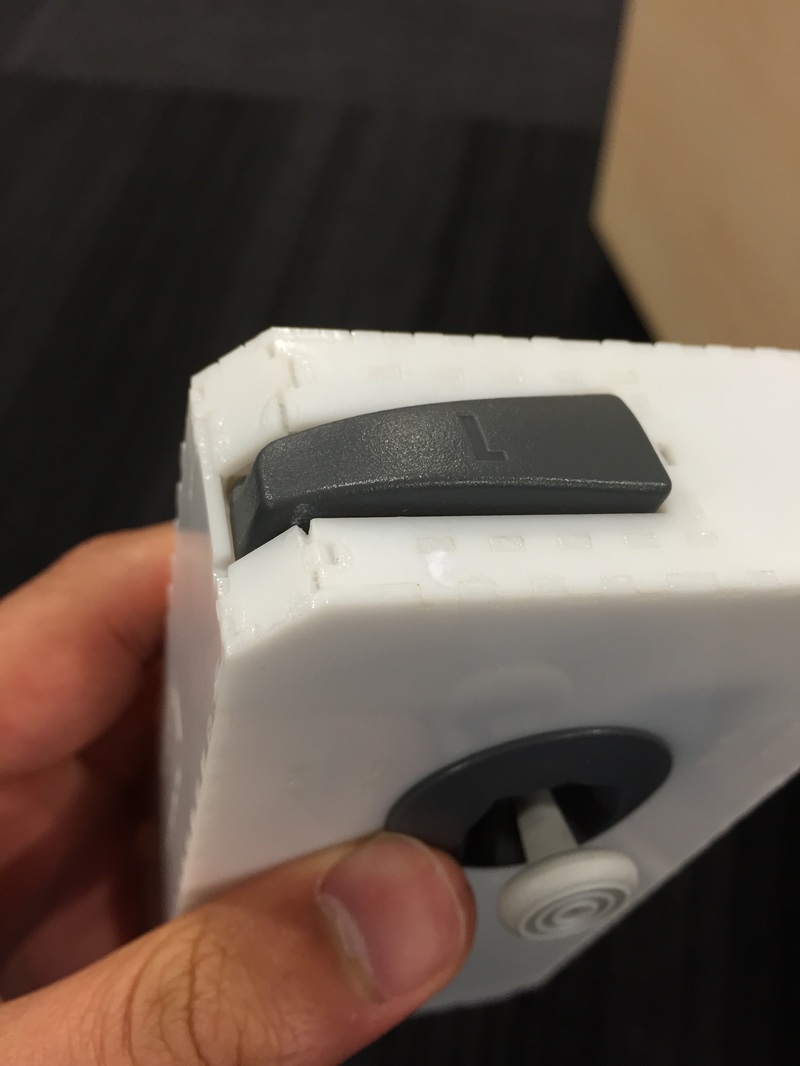
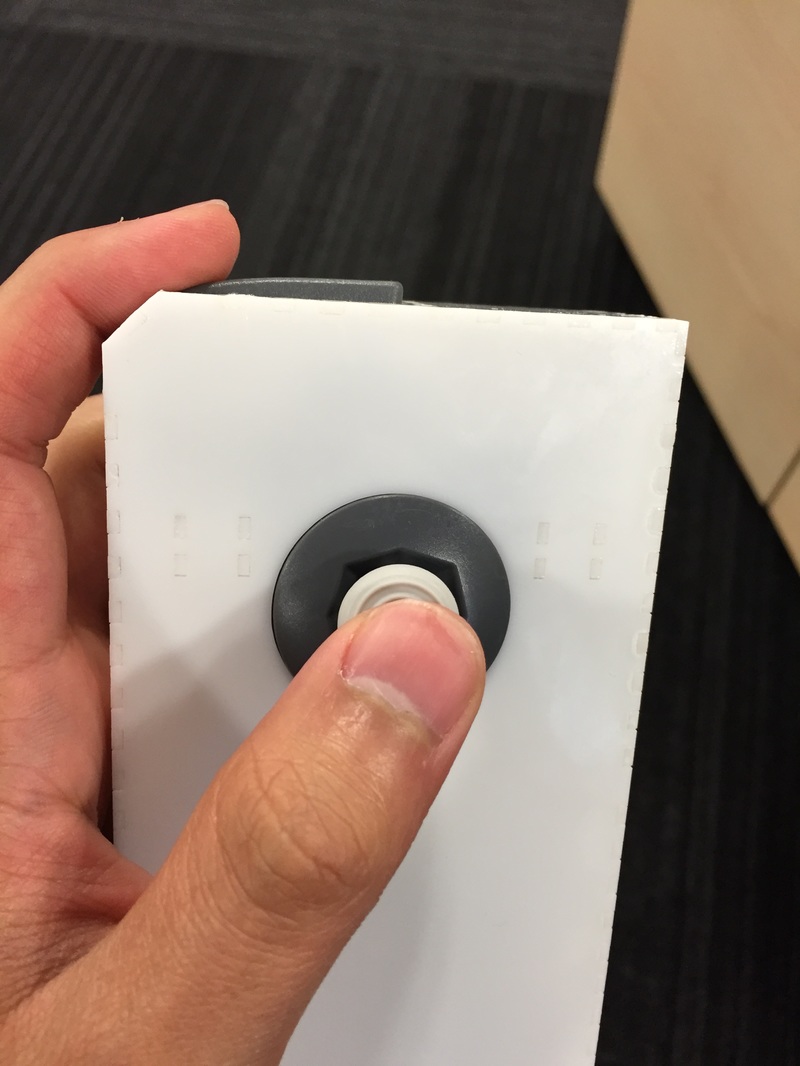
Small change to the box. Everyone who picked it up commented that shoulder buttons are hard to reach because of the harsh right angle edge of the box. So I set out to make a bevel. This pushes the button a bit more the the edge and makes the structure of the whole case less sound but feels so much better! Also looks really cool too. So the shoulder buttons and case area are settled.
Small change to the box. Everyone who picked it up commented that shoulder buttons are hard to reach because of the harsh right angle edge of the box. So I set out to make a bevel. This pushes the button a bit more the the edge and makes the structure of the whole case less sound but feels so much better! Also looks really cool too. So the shoulder buttons and case area are settled.
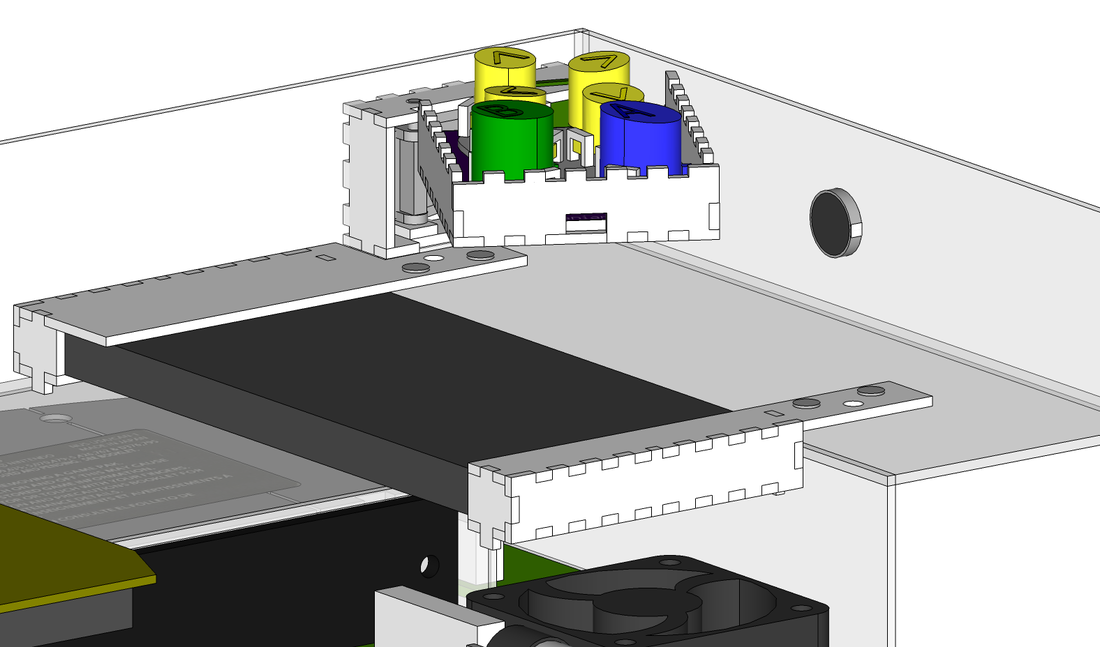
Battery Bracket
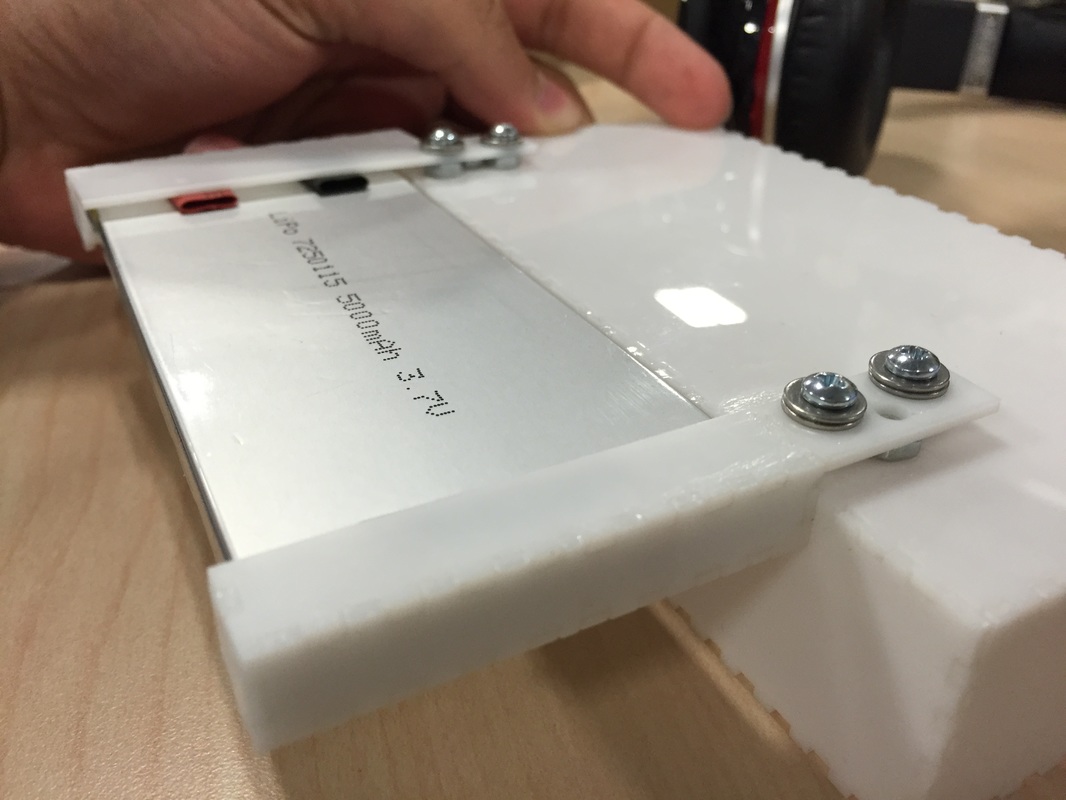
Had to find a way to hold the batteries in place. It's hard to do since it's got no holes to put bolts through or anything. I re positioned them just under the N64 board so that I can put brackets around the top ends and anchored them to the inside of the bottom side of the case (see the picture). This allows the batteries to be taken out if they need to be replaced while allowing the bracketing to be moved out of the way so the N64 can be taken out. I used 3/16" 4-40 screws and nuts to hold the bracket down. With a couple washers as shims they held on really well! I just used the acrylic glue to hold the nuts down. I got all the nuts and screws from McMaster Carr.
Had to find a way to hold the batteries in place. It's hard to do since it's got no holes to put bolts through or anything. I re positioned them just under the N64 board so that I can put brackets around the top ends and anchored them to the inside of the bottom side of the case (see the picture). This allows the batteries to be taken out if they need to be replaced while allowing the bracketing to be moved out of the way so the N64 can be taken out. I used 3/16" 4-40 screws and nuts to hold the bracket down. With a couple washers as shims they held on really well! I just used the acrylic glue to hold the nuts down. I got all the nuts and screws from McMaster Carr.
Vibration Motor + connectors
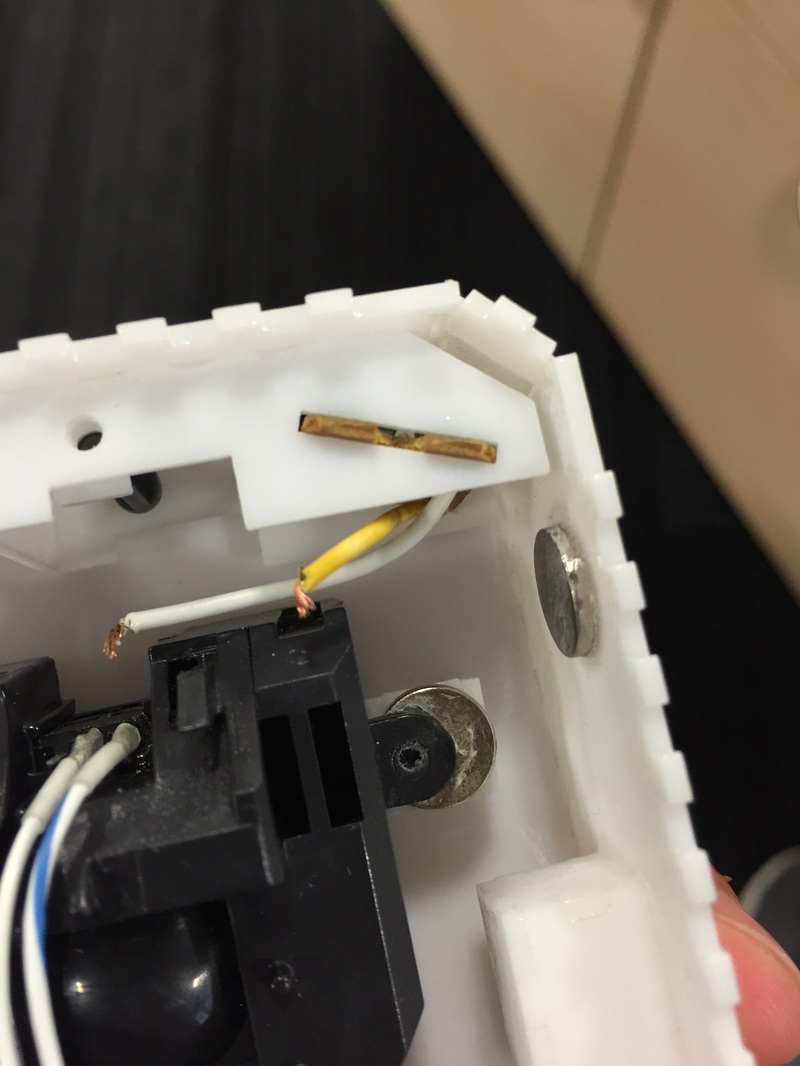
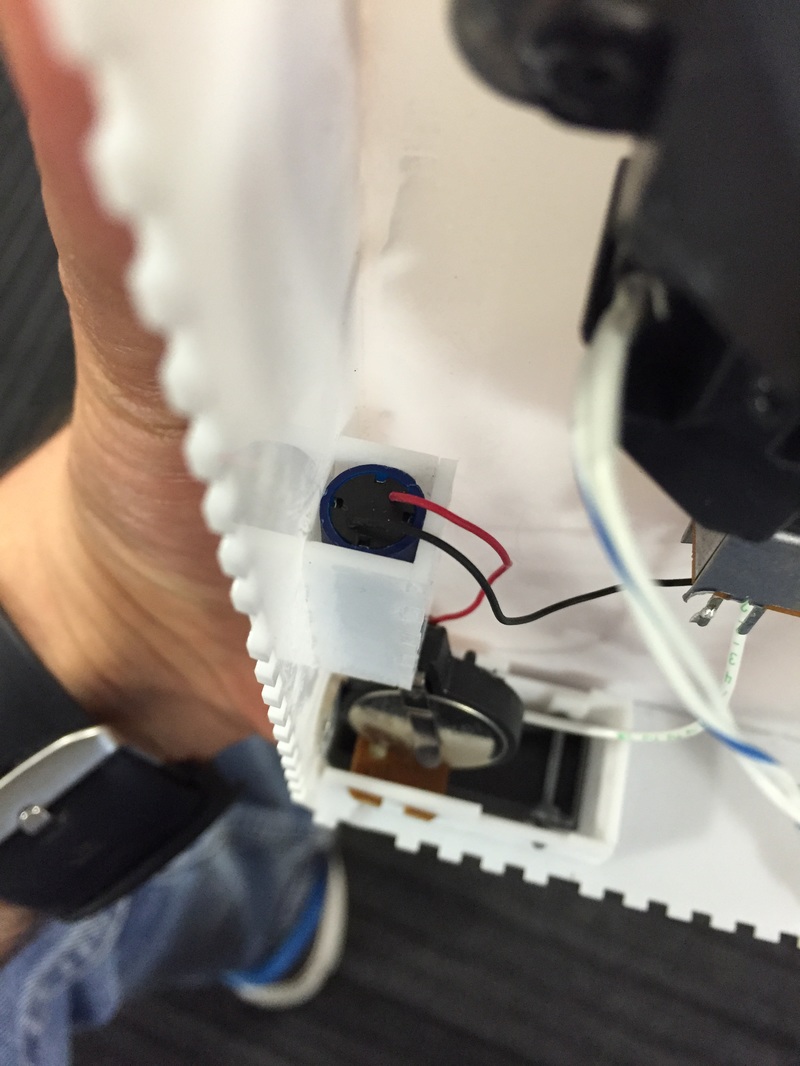
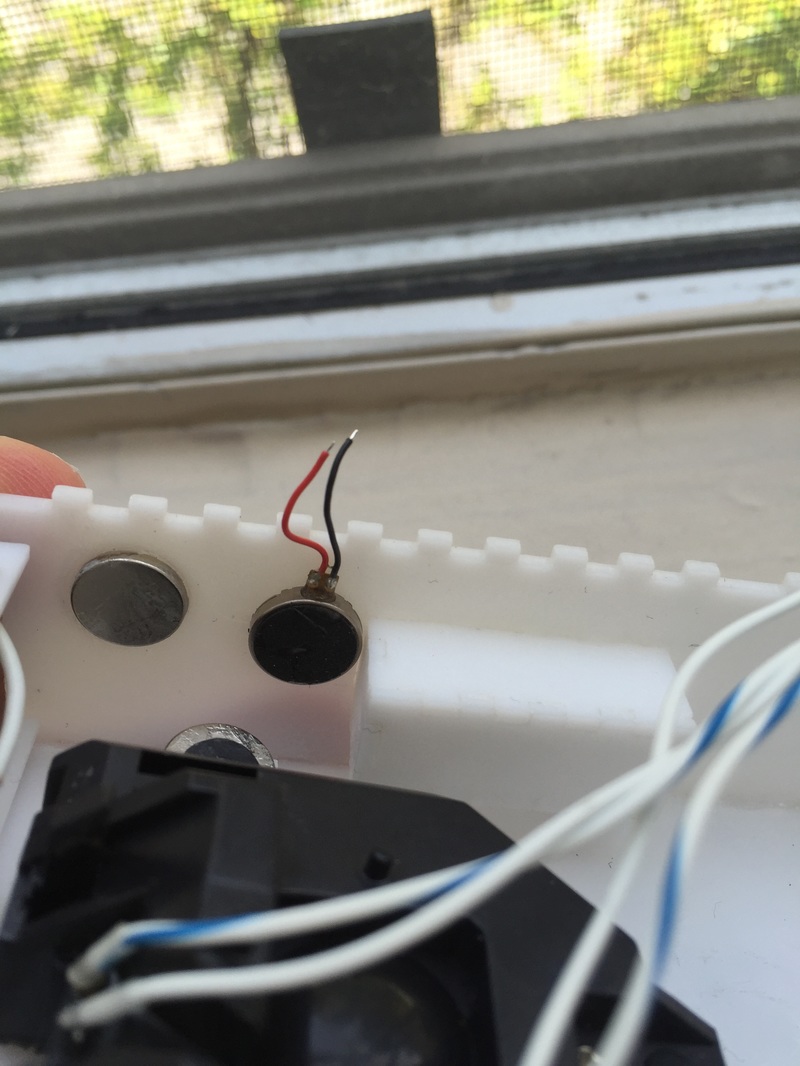
I ordered the 28822 vibration motor from Digikey. and designed a little pocket for it on the inside of the test box. Turns out that thing is REALLY powerful and shakes out of its pocket so it rattles too much. You can see pictures of it inside the box being powered off a switch and 3V coin cell battery. I swapped the 28822 motor for a tiny button vibrator from digikey again. This guy was way nicer. No rattling and the current consumption is way smaller (I think like 50mA) plus it comes with a small sticky backing so I don't need a bracket for it.
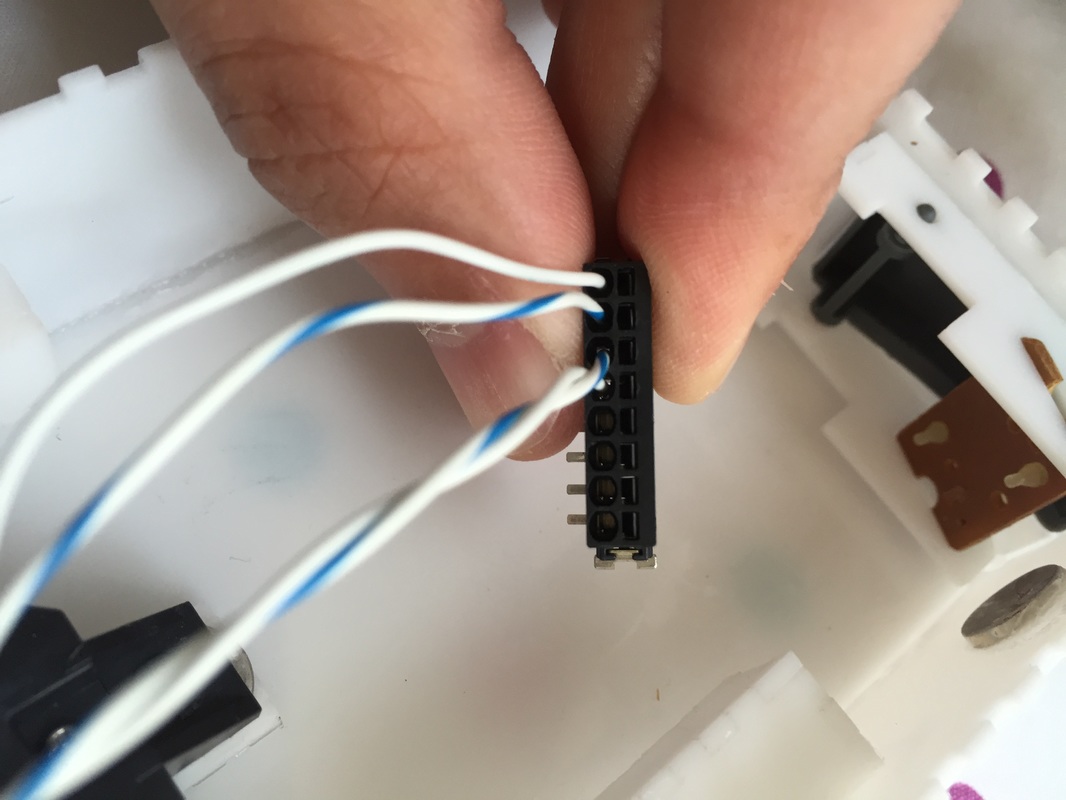
I also bought a connector which has push pin release from digikey. This will come in handy when I gotta build the PCB which takes all the controlls and wires coming from everywhere and distributes it to other places (since nothing is soldered down).
I ordered the 28822 vibration motor from Digikey. and designed a little pocket for it on the inside of the test box. Turns out that thing is REALLY powerful and shakes out of its pocket so it rattles too much. You can see pictures of it inside the box being powered off a switch and 3V coin cell battery. I swapped the 28822 motor for a tiny button vibrator from digikey again. This guy was way nicer. No rattling and the current consumption is way smaller (I think like 50mA) plus it comes with a small sticky backing so I don't need a bracket for it.
I also bought a connector which has push pin release from digikey. This will come in handy when I gotta build the PCB which takes all the controlls and wires coming from everywhere and distributes it to other places (since nothing is soldered down).

Next Steps:
I gotta work a bit on the mounting of the screen. Once that's settled I can cut a complete face plate (including a place for the start button since that's never been done before). If that needs no revisions then I think I'll be ready to start cutting the bottom most pieces of the final case and start integrating stuff into it. Very exciting!
I gotta work a bit on the mounting of the screen. Once that's settled I can cut a complete face plate (including a place for the start button since that's never been done before). If that needs no revisions then I think I'll be ready to start cutting the bottom most pieces of the final case and start integrating stuff into it. Very exciting!
