3D print
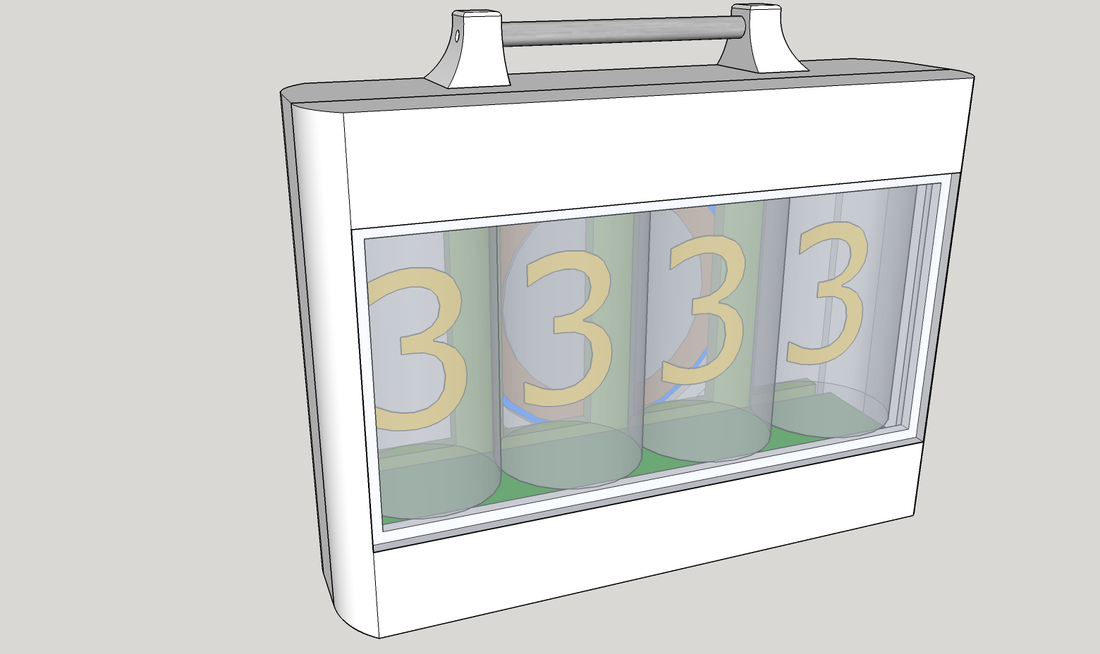
Got the model to a place where I wanted to see how it'll look on my wrist, can't beat the real thing. Printed it up on a 3D printer and man is it badass. It's measurements are 56 x 40 x 16 mm which puts it at a comfortable "big watch" weight class. I added a circular glass backing sorta like the apple watch for the inductive charging. I printed two versions of it, one with the band attach points and one without so you can see both below.
Got the model to a place where I wanted to see how it'll look on my wrist, can't beat the real thing. Printed it up on a 3D printer and man is it badass. It's measurements are 56 x 40 x 16 mm which puts it at a comfortable "big watch" weight class. I added a circular glass backing sorta like the apple watch for the inductive charging. I printed two versions of it, one with the band attach points and one without so you can see both below.
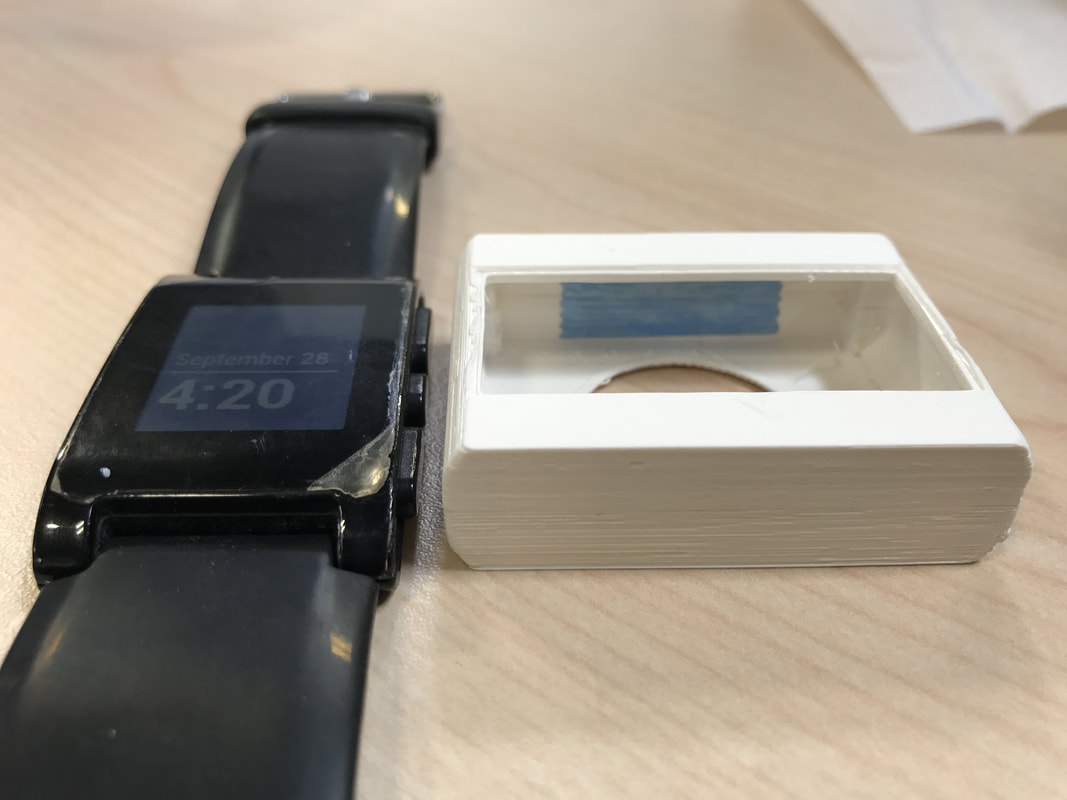 Watch size as compared to my original Pebble with the 30mm band | 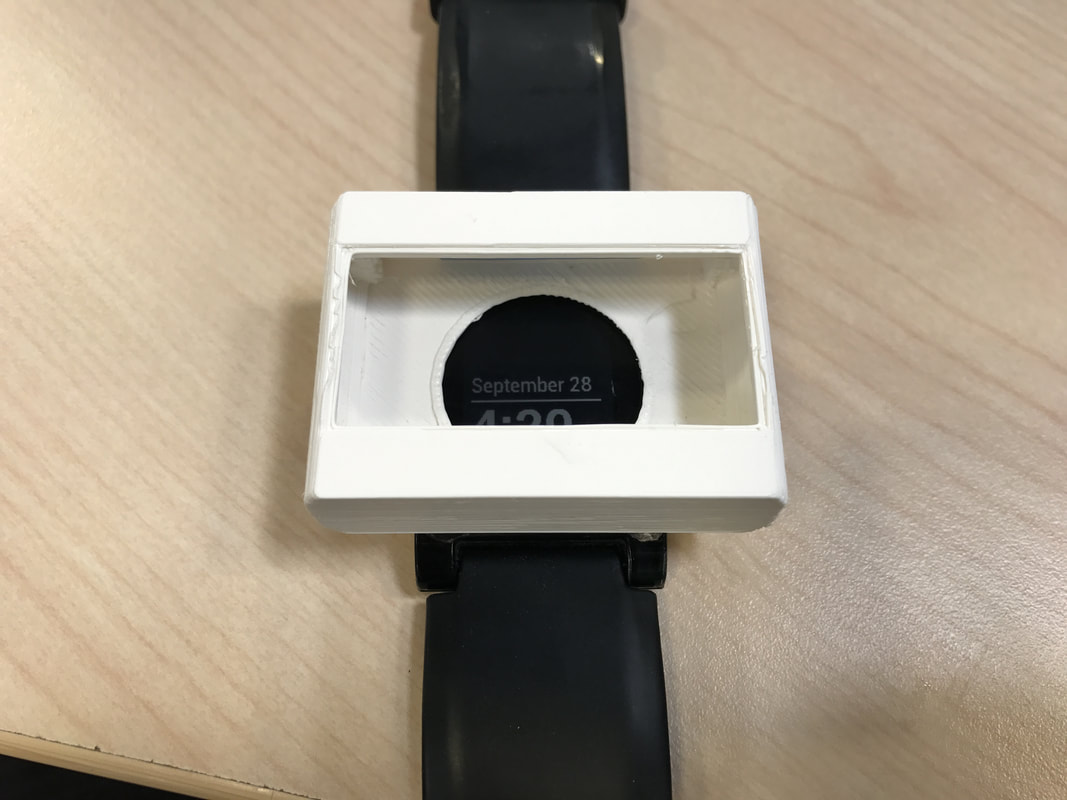 As for as watches go its not the craziest size. | 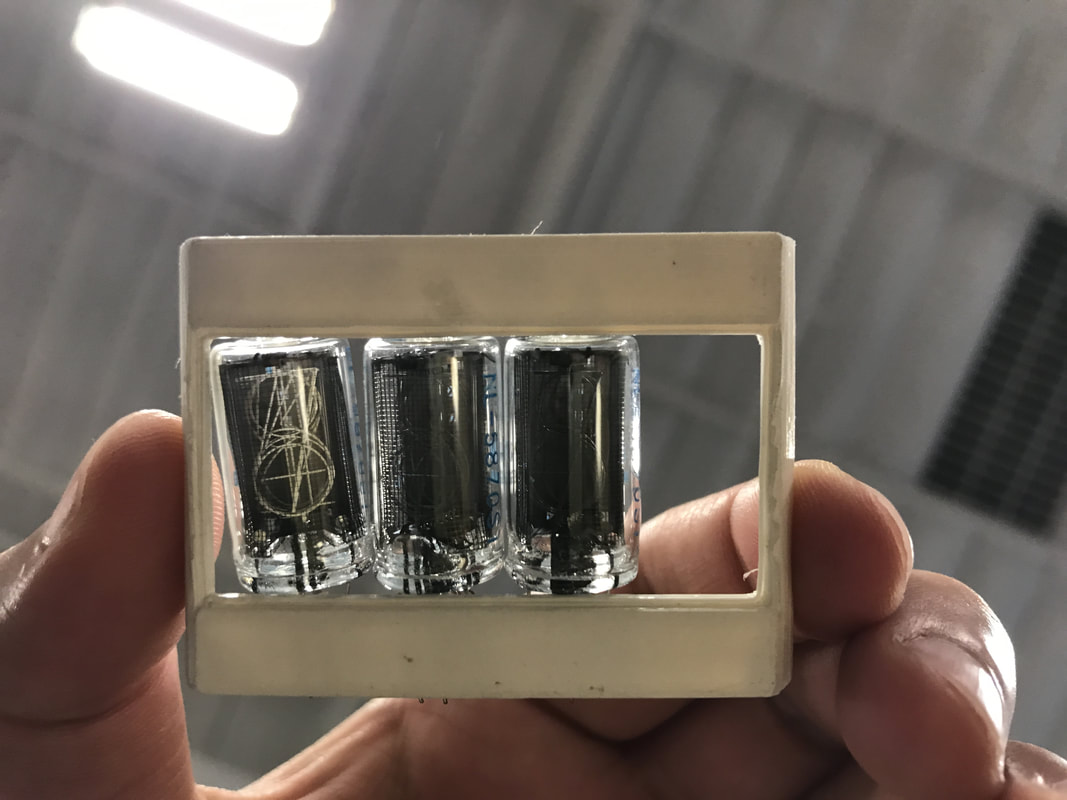 Fit 3 tubes in there to see how they'll look. Not bad considering its slapdash. |
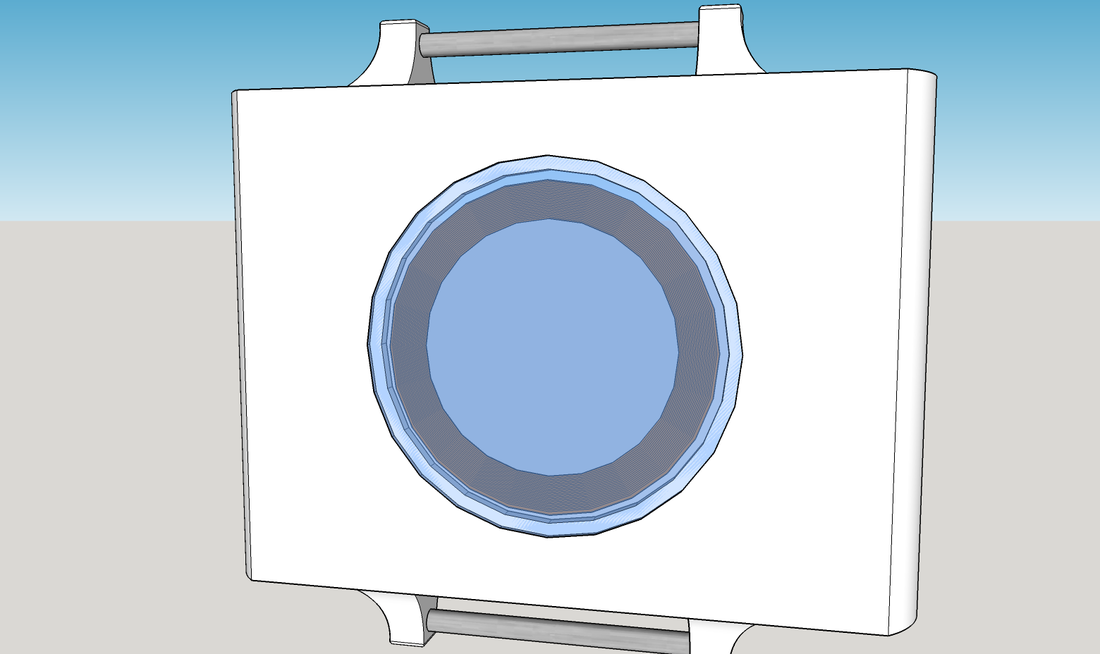
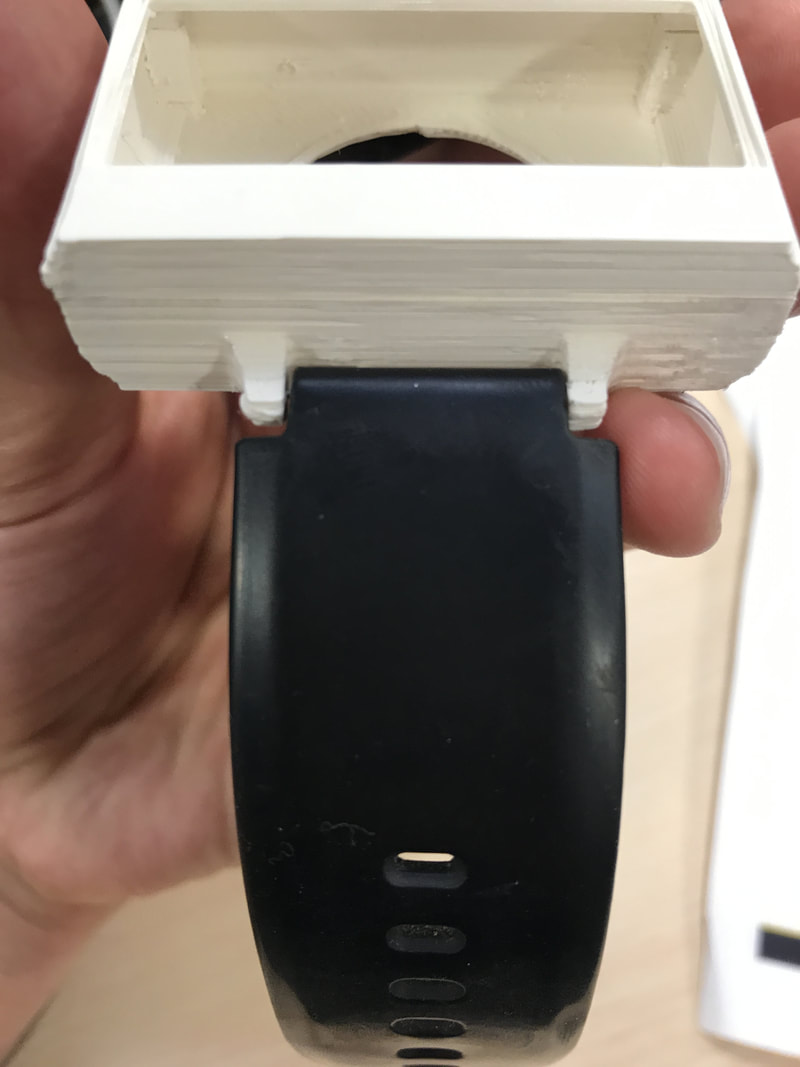 22mm attach points with 30mm shoulder from my Pebble as a tester | 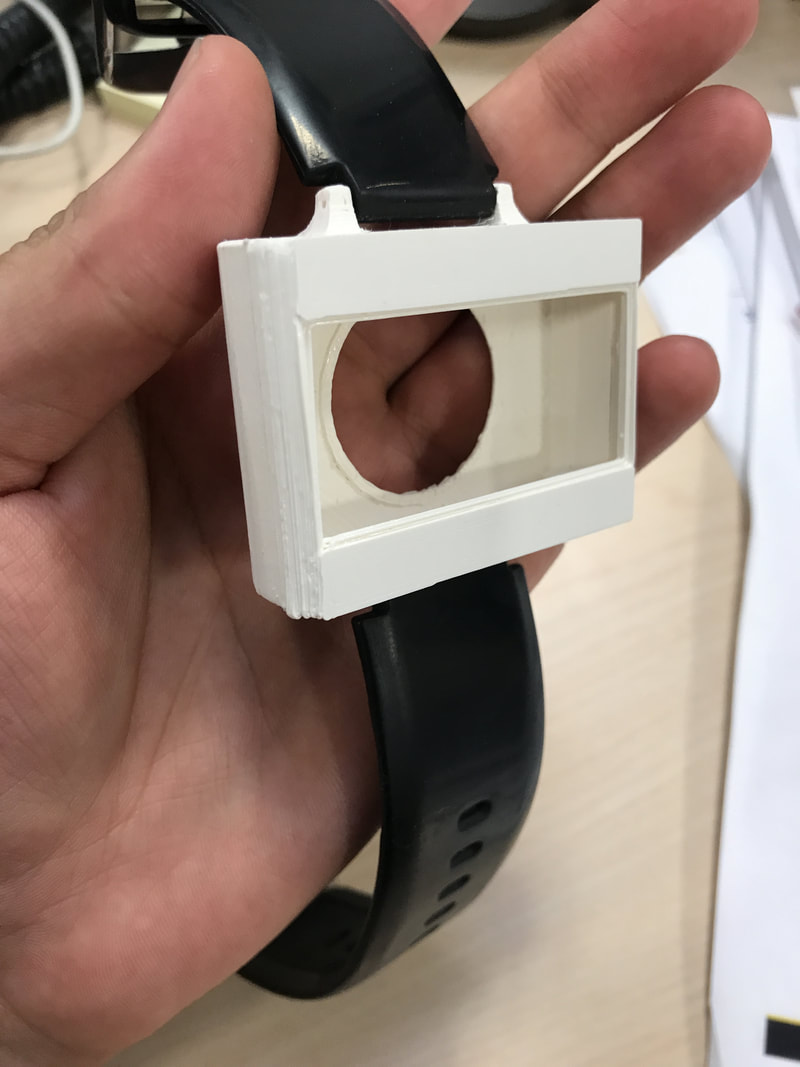 Nice tight package | 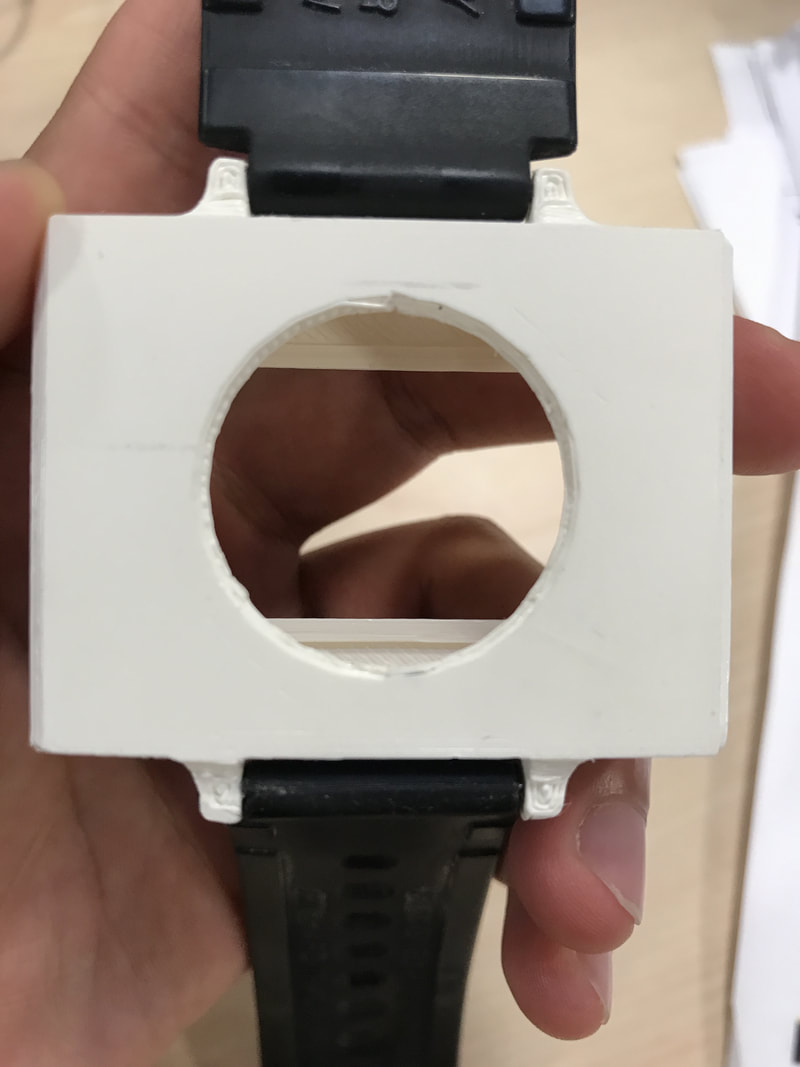 Glass backing part where coil and magnet for inductive charging goes. |
Magnets
I bought some tiny magnets from supermagnetman (PN D1003B) to fit at the tips of tiny posts that will protrude from the top piece into the bottom piece. One tiny magnet inside the holes, one tiny magnet on the post. The pulling force is pretty good considering they are just for holding the posts in place. I super glued the parts onto the case. I'm thinking of redesigning with ring magnets on the top piece to give it more rigidity. I'm also gonna look into K&J Magnetics as an alternate.
I bought some tiny magnets from supermagnetman (PN D1003B) to fit at the tips of tiny posts that will protrude from the top piece into the bottom piece. One tiny magnet inside the holes, one tiny magnet on the post. The pulling force is pretty good considering they are just for holding the posts in place. I super glued the parts onto the case. I'm thinking of redesigning with ring magnets on the top piece to give it more rigidity. I'm also gonna look into K&J Magnetics as an alternate.
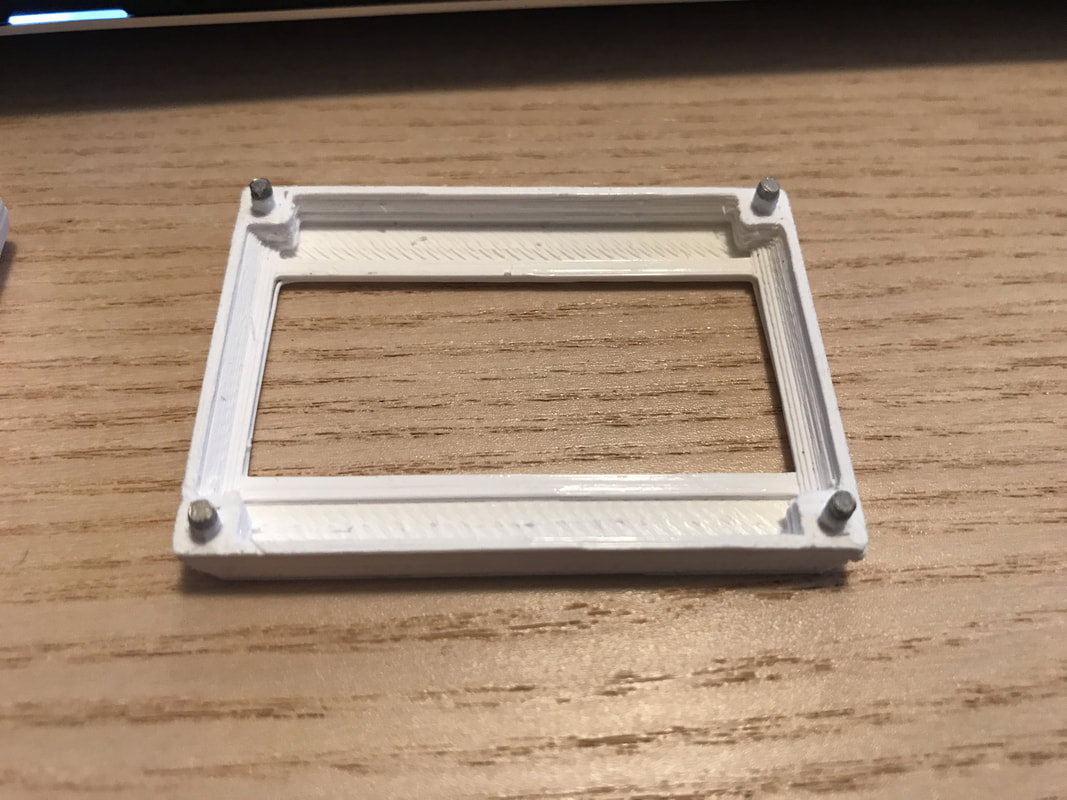 Tiny magnets on 4 tiny posts | 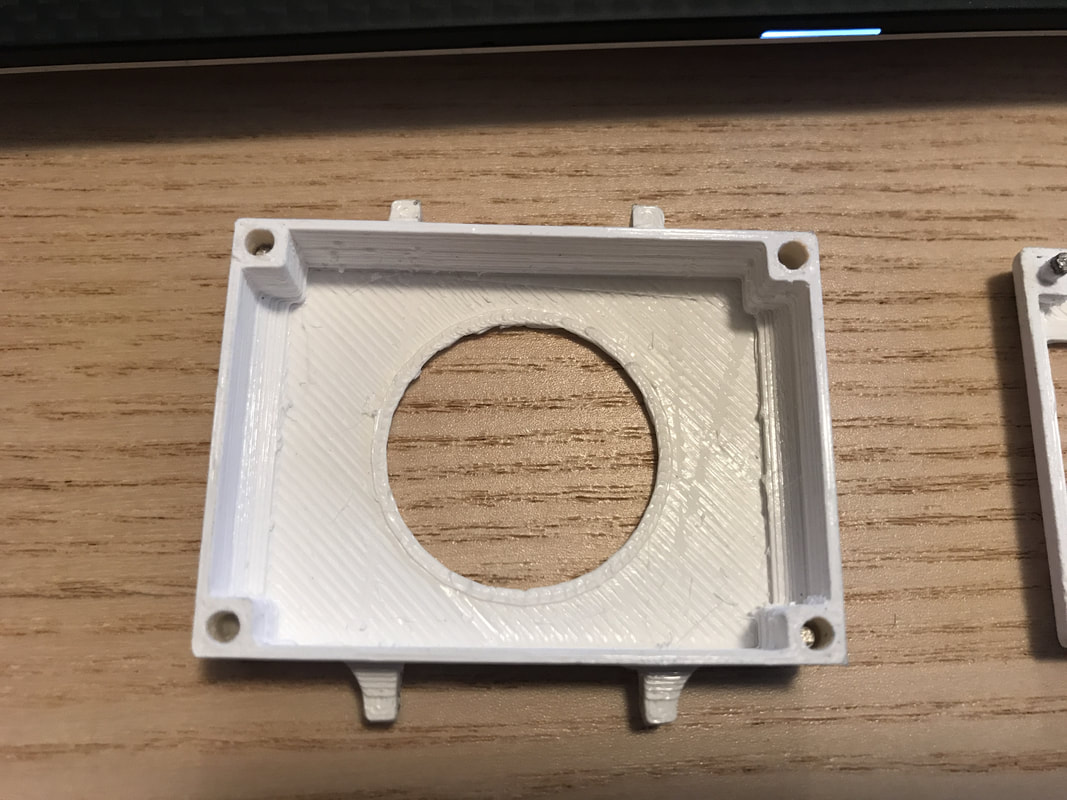 Tiny magnets inside 4 tiny holes |  Checkout how much attractive force these tiny magnets have! |
3D Model + Screws
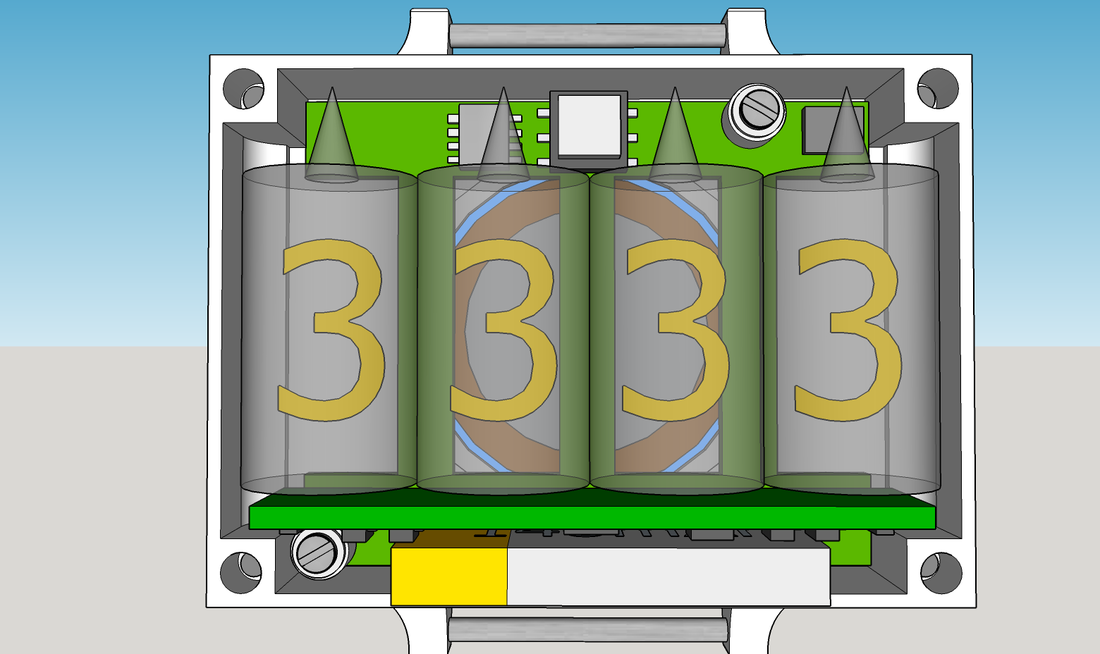
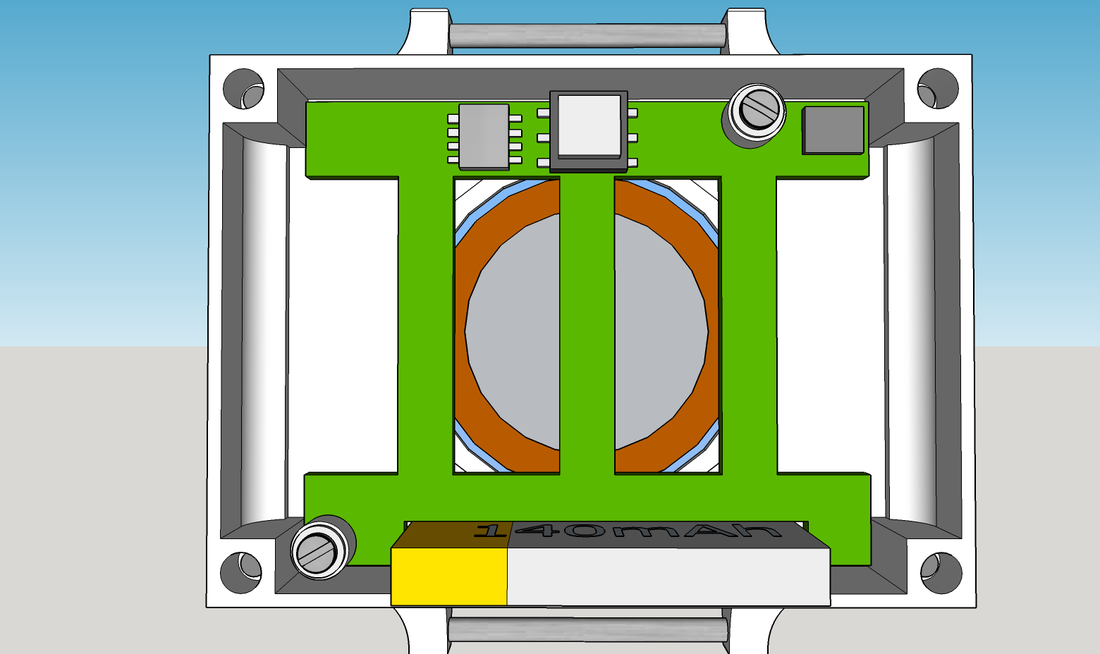
Here's how the models looking. You can see the tubes, the PCBs, the battery, the coil, etc. The last picture is how I'm planning on holding the PCB down to the case. Tiny posts coming up from the base with number 0 holes tapped for tiny screws, then a spacer and washer will allow me to screw down and hold the PCB down. I've submitted models to both Protolabs and 3Dhubs and the 3Dhubs gave me a better deal including bead blasting, anodizing, and volume production.
Here's how the models looking. You can see the tubes, the PCBs, the battery, the coil, etc. The last picture is how I'm planning on holding the PCB down to the case. Tiny posts coming up from the base with number 0 holes tapped for tiny screws, then a spacer and washer will allow me to screw down and hold the PCB down. I've submitted models to both Protolabs and 3Dhubs and the 3Dhubs gave me a better deal including bead blasting, anodizing, and volume production.
 |  |  |
 | 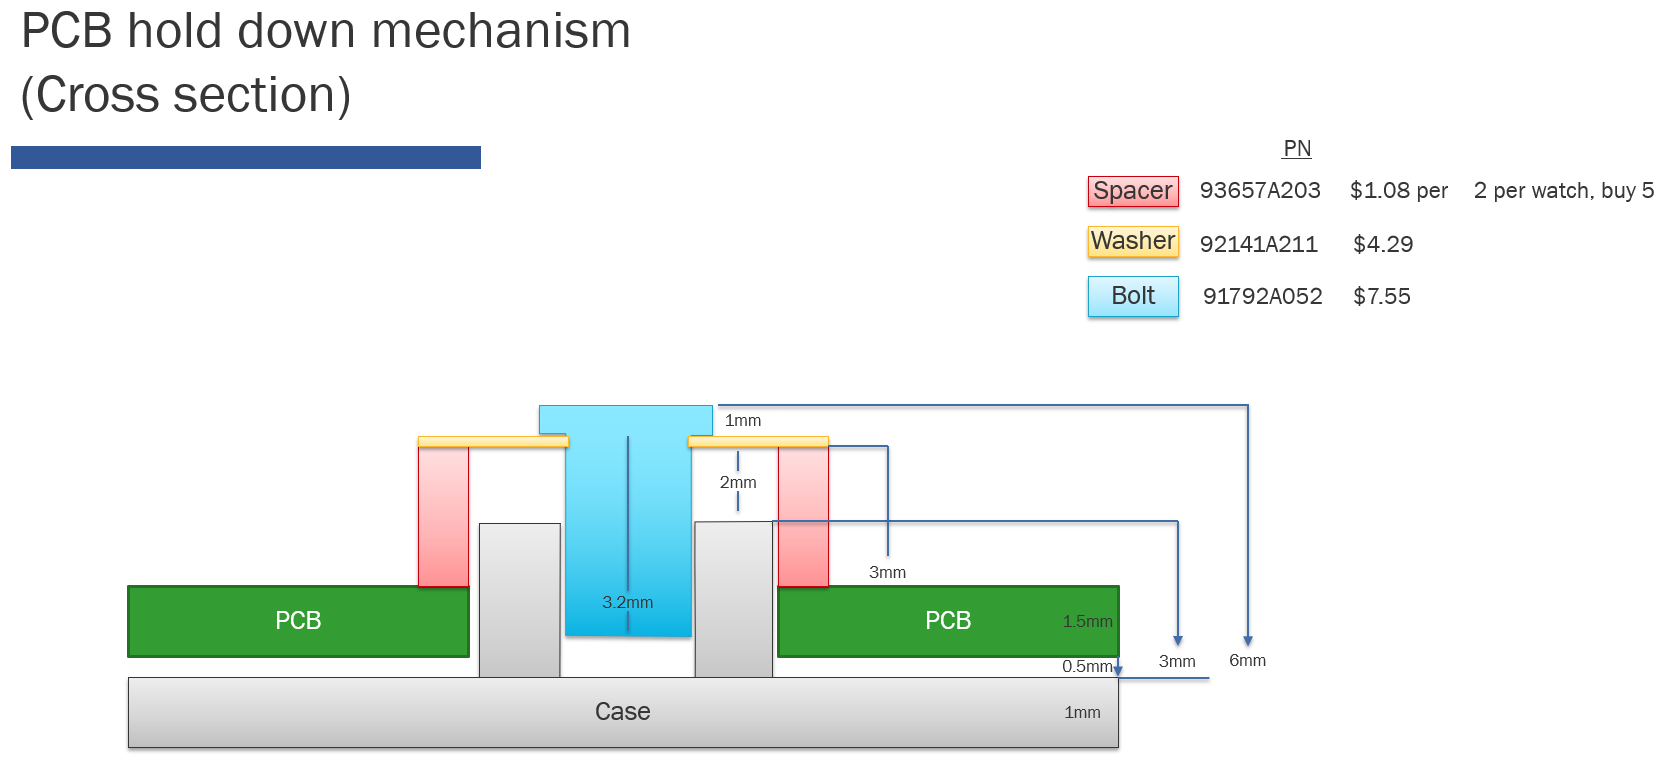 All the PNs are from McMaster |
Next Steps
I got a quote for Gorilla Glass from S.I. Howard Glass for the front piece and the backing circular piece. For a set of 4 its $180 and for a set of 10 its $220 so I'm heavily considering volume production of some parts. The glass I'm getting is only half a millimeter thick! I gotta look a bit deeper into how vulnerably to shattering these tiny pieces would be when the glass is so damn thin.
I'm also gonna start into the electrical design, I'm imagining about 3-4 weeks for block diagram, schematics, and layout of main board, base board, and battery protection board. We'll see...
